How To Design Perfect Product Labels [6 Steps For Beginners]
Why do some products seem to jump out at you while others grow old on the shelf? A well-designed label can have a profound influence on the success of your product. With consumers making split-second decisions based on looks alone (1/3 of our purchasing decisions are based solely on the product's packaging), it can be difficult for your product to steal the spotlight.
You may think you need a graphic designer to create professional-quality product labels, but that isn't always the case.
According to packaging expert and author Maria Dolores Vidales Giovannetti, packaging is "that which is in direct contact with the product itself or that holds, protects, preserves, identifies, and/or facilitates handling and commercialization of the product."
By this definition, packaging is much more than just the box a product comes in. After working hard to create a product you're proud of, is your packaging doing everything it can to convince consumers it's a product worth buying?
Use the following steps to create labels and packaging that will inspire customers to purchase.
1. Get To Know Your Buyers
Who is your target demographic? The more you know about them, the easier time you'll have designing your labels. Think through their shopping motivations.
Ask yourself:
- What's their age, gender, ethnicity, location, occupation, lifestyle, education level, and/or relationship status? Is there anything else that defines them?
- Why would they buy your product over a competitors? What are their values?
- What are similar brands doing in the space?
- What do they dislike about competitors' packaging/marketing?
- What colors are they drawn to?
2. Choose A Label Size
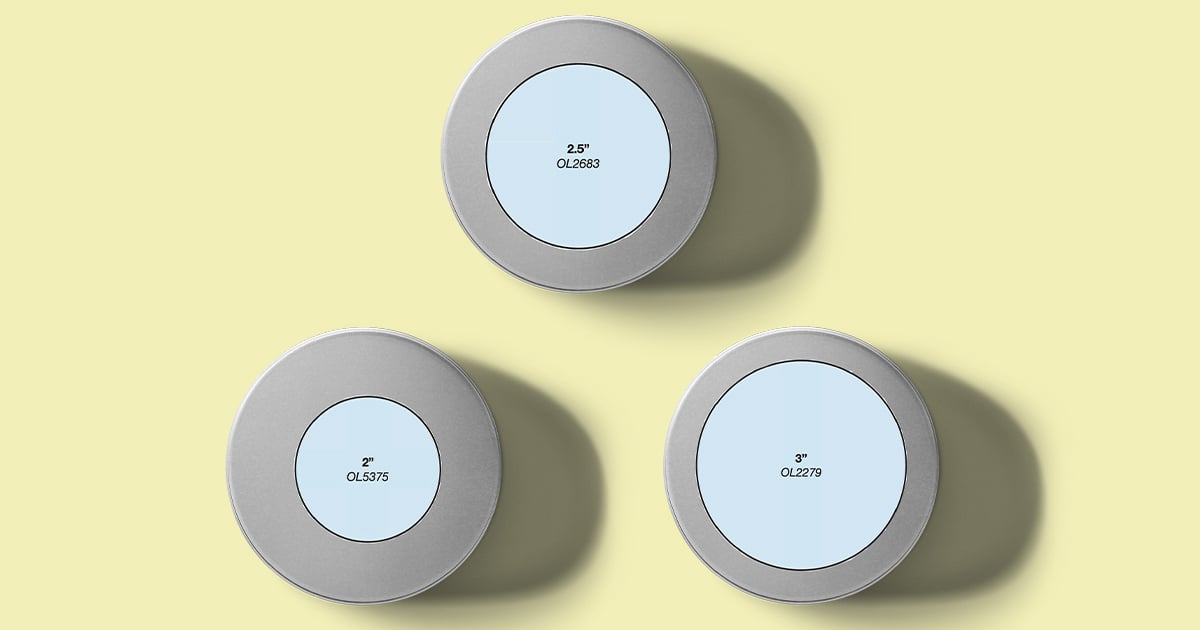 Various lid label sizes on round tins
How do you know how much packaging your product needs? We offer more than 300 label sizes to give you the utmost flexibility when it comes to packaging your product.
Before deciding, ask yourself:
- Is there an industry standard?
- Which is more visually important, the packaging or the product?
- Is there enough room on your product to get across all the necessary information?
- What look are you going for? Do you want a full-wrap label that covers 95% of the container or a small, minimalistic label?
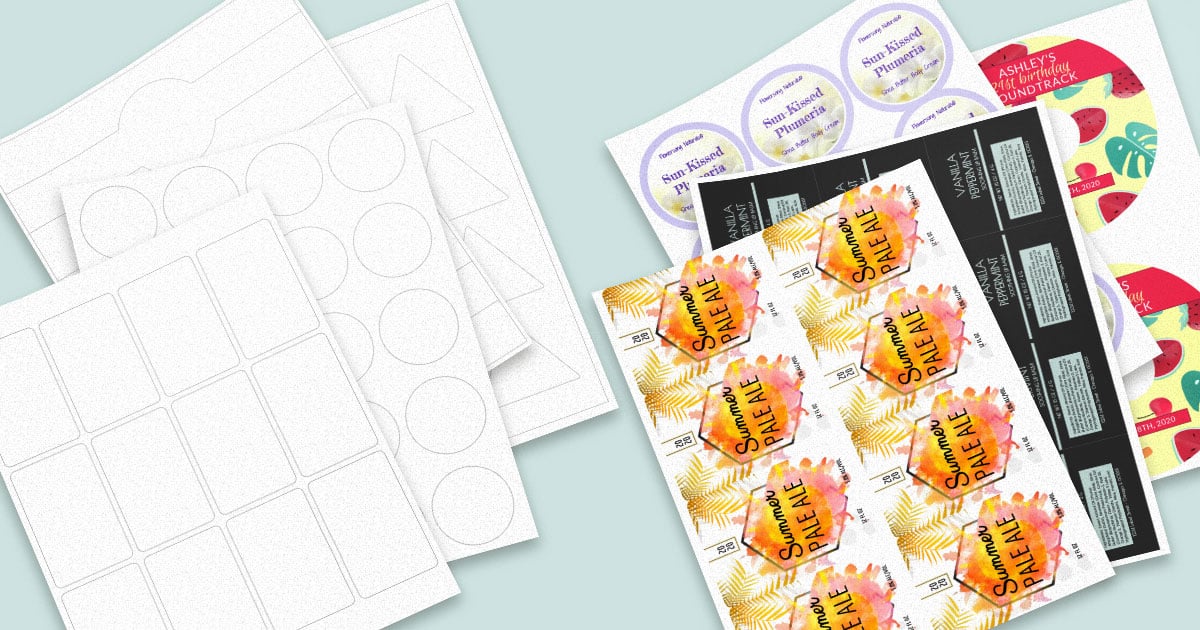
Try out popular label shapes and sizes using our label size guide. Print the free PDF and cut out any shapes/sizes you're interested in. When you've narrowed down your options, visit our Shop By Size page.
3. Pick Your Label Material
You have options when it comes to choosing a label material for your packaging. We offer more than 40 different materials for use with various containers, bottles, boxes, and more.
Consider The Use
 Sugar scrub label on white gloss label paper
If your product is for the bathroom or shower, for example, make sure you use a waterproof label. We offer a handful of label materials that can hold up to moisture, direct contact with water, and more.
If you need waterproof printed labels for a large scale order, you can also go with our custom film/bopp labels
Do Something Different
 Candle label on brown kraft label paper by Tin Wicks Candle Co
Your label material is an easy place to make packaging upgrades or opt for a more eye-catching choice. Textured brown kraft labels, metallic foil labels, or holographic labels can add a layer of dimension to your product and attract more potential customers. Don't want a fully metallic label? Consider cold-foil stamping, which adds metallic detail to your labels in specified areas.
See how premium materials affect purchasing decisions or take a look at all of your label material options.
Complement The Container
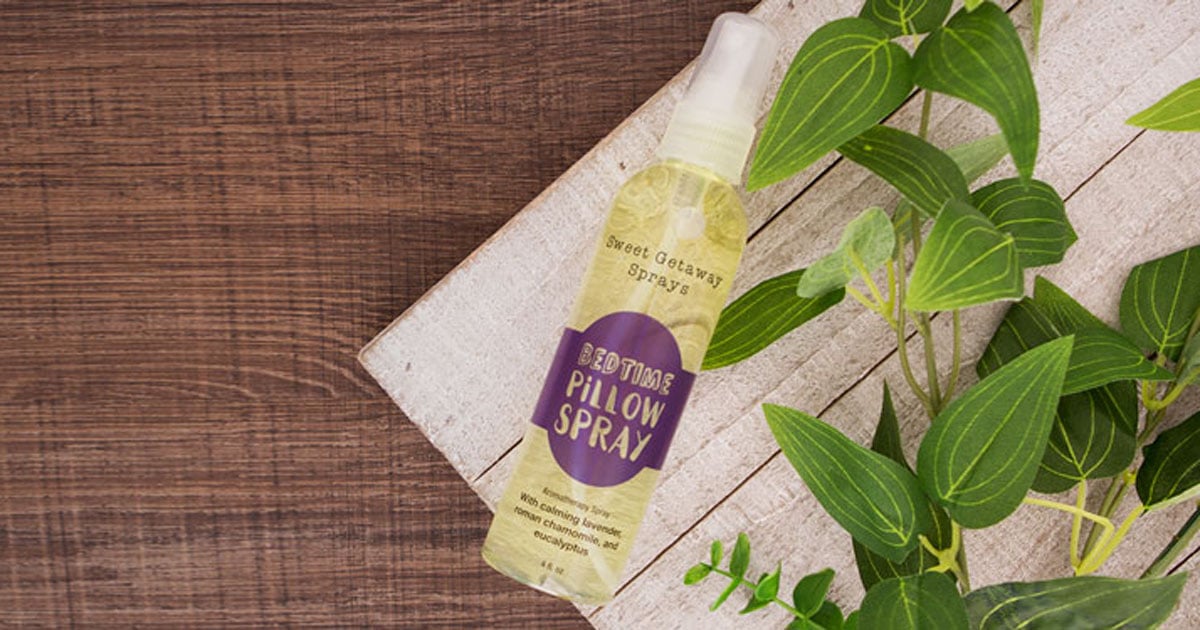 Bath and body product label on clear gloss label paper
If you're using a clear glass or plastic container or you have unique packaging, lean into it. Clear labels can help you achieve that "no label look" and help the uniqueness of your packaging stand out.
If you're using a colored or clear material, it's important to note that most printers can't print white – they don't have a white ink or toner cartridge. This means they interpret white as the absence of color and that your print will appear semi-transparent. This means you'll likely be able to see the material or surface color through your design. Learn more about white ink.
Another way to compliment your container, especially a uniquely-shaped one, is by using shrink sleeves. Shrink sleeves are made out of a durable, flexible material that's placed over a product. It's then shrunk using heat to fit snugly around the container, giving you 360 degree coverage. While they're pricier than traditional labels, it may be worthwhile for the branding benefits and boosted sales.
4. Select A Label Template
Configurations can vary between label providers so make sure to start with the template provided by your label company. Diecuts or perforations, for example, can be in slightly different spots. While they may look similar, those small mismatches could be glaring when you go to peel up your label.
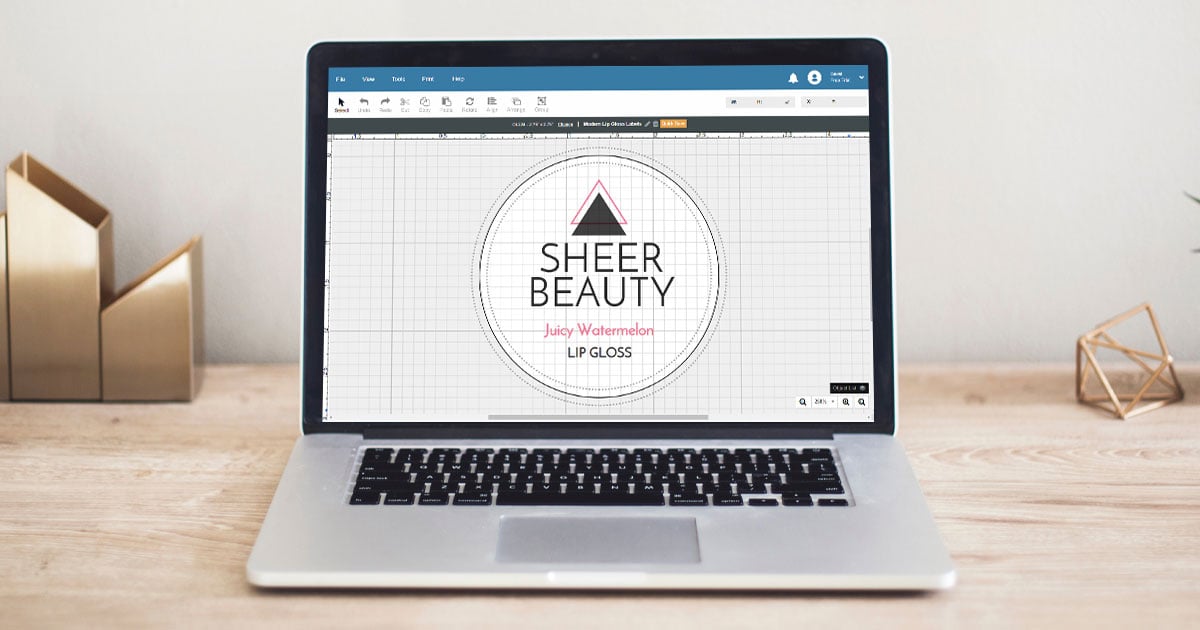
Access our extensive library of label templates, available in a variety of formats. Check out the pros and cons to the five most popular design programs or jump straight into Maestro Label Designer, design software exclusively for OnlineLabels.com customers and products.
Select a label template category to get started:
5. Setup Your Canvas
There's a difference between designing for web and for print. While we've engineered our labels for hassle-free printing, they can shift as they feed through the printer. To ensure your design prints as well as possible, follow these artwork tips:
Take Note Of Folds & Overlaps
Wrap-around labels are incredibly popular for fully covering a jar, bottle, or container. But it can be easy to forget that there is usually a sliver of overlap at the end.
Measure how much overlap you're going to have and consider marking that on your canvas. Doing this will help remind you to keep important designs and text out of the section.
Map Out Safe Zones & Bleed Area
To make sure nothing important gets cut off your label, we recommend keeping everything 0.125 inches away from the label outline on the inside, and adding 0.125 inches of design past the outline on the outside.
The interior section is called the safe zone – it's most likely to stay within the label diecut during printing. The outside section is called the bleed area, it acts like a buffer. If your label sheets shift during printing, this "buffer design" prints on your label instead so you're not left with blank/unprinted edges.
Learn how to turn on these guides in Maestro Label Designer.
Recognize Non-Printable Margins
For label configurations that are very close to the edge, you may want to test your printer's non-printable margins. Since most printers can't print all the way to the edge of a sheet, you may be left with an unprintable perimeter called the "non-printable margin."
Find out how close to the edge your printer can go with this printable margin test, then keep those parameters in mind during the design process.
6. Design Your Product Label
Your label should be as uniquely "you" as your product and match the style of your brand. Use the following tips to create a product label that evokes the right feelings and emotions in your shoppers.
Add Imagery
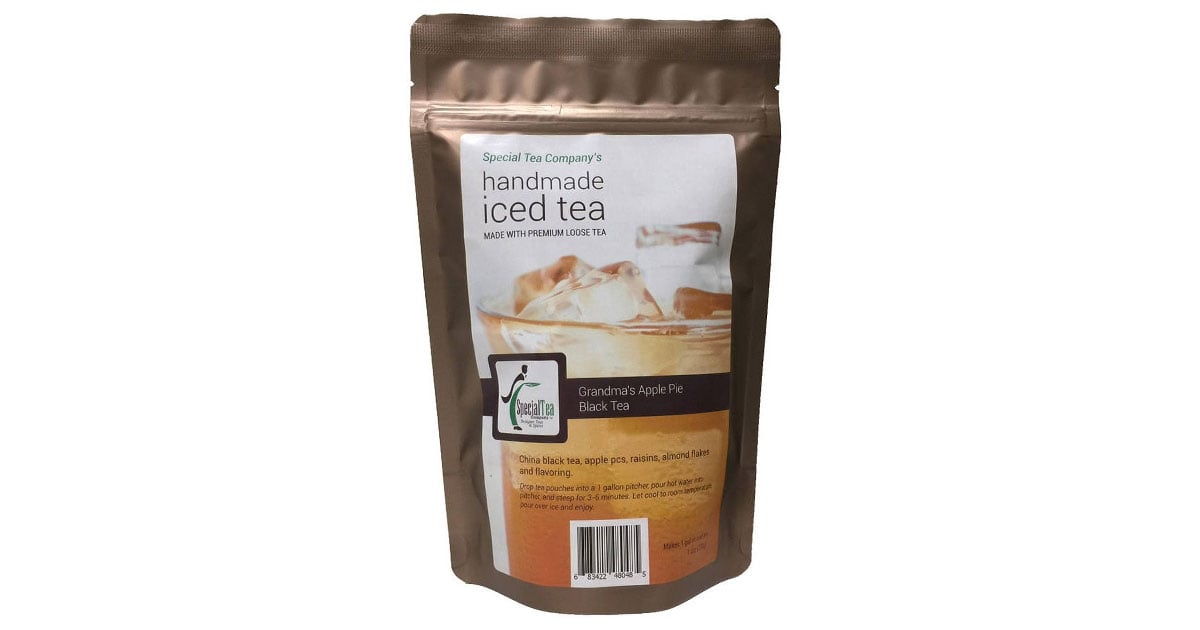 Tea bag label with a picture of iced tea in a glass by Special Tea Company
Use graphics and images to convey characteristics of your product. They can help consumers make quick associations between your product and things they find important. Think about including a picture of your product, a close-up of the texture, or an illustrative symbol to represent the flavor.
Upload images in Maestro Label Designer or browse through clipart to create the perfect design.
Use Graphics
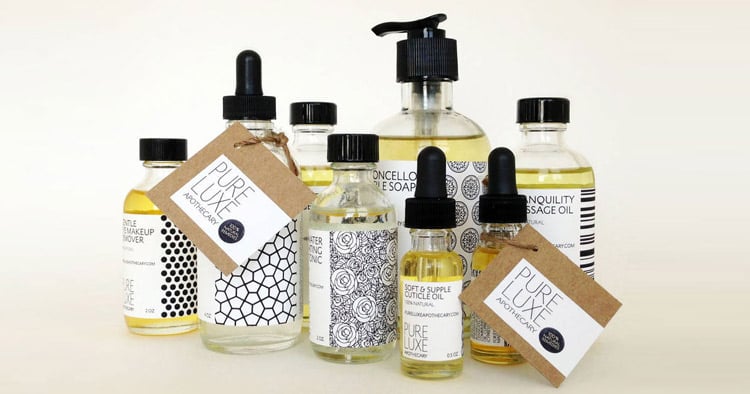 Bath and body products with patterned labels by Pure Luxe Apothecary
Patterns, backgrounds, brush strokes, and more can do a lot to drive home your branding, too. When properly positioned, these can differentiate your product on the shelf and make your customers' decision process even easier.
If your product is a luxury item, you likely want to use a more refined design with soft or subtle patterns. If it's more of a necessity, choose something utilitarian. Or perhaps it's aimed at young audiences, in which case a more playful and colorful design may make the most sense.
Consider Colors
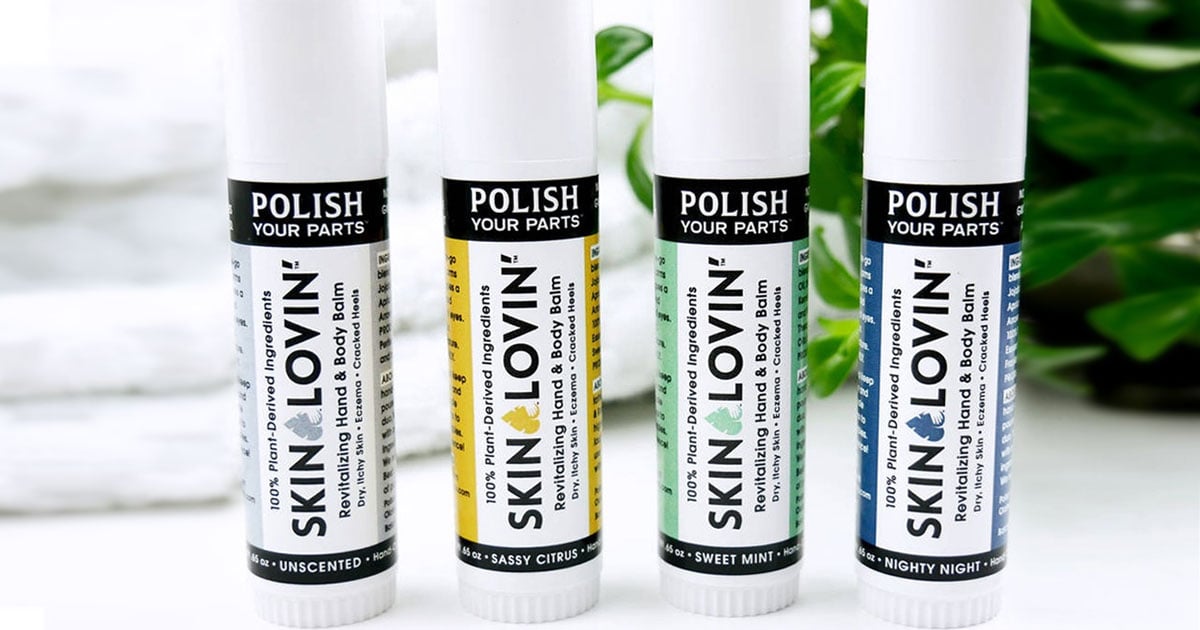 Body balm tubes with color-coded labels to distinguish scents/flavors by Polish Your Parts
The colors you use when creating a product label are very important to the way your product is received in the marketplace. They play a role in our purchasing decisions, emotional ties to a product, and more.
Make sure to incorporate your brand's colors into your product label. It can be tempting to go wild with fun colors and fonts but don't stray too far. Try to incorporate the same colors to maintain brand consistency. It will make your brand easy to recognize and can help keep customers loyal to your brand. They'll come to know your brand by the sight of your packaging, website, and marketing materials.
If you already have one product label and are creating a variation, keep them looking uniform by using the same packaging design in different color schemes. Make the banana-scented candle label yellow and the strawberry one red. This will help with brand recognition and consistency without limiting you – there are infinite colors to use as your product lines grows.
Discover more on the topic of color psychology when choosing your packaging design.
Craft Your Sales Message
Once your design is roughly conceptualized, it's time to focus on the content.
Remember why we buy products in the first place – every product (food or otherwise) exists to fulfill a need. That need may be hunger, it could be entertainment, and or perhaps it's decor to dress up a room.
Your product label is the perfect place to explain how your product differs from others on the market. Put yourself in the mind-frame of the customer.
Ask yourself:
- What is exciting about your product?
- What are the unique benefits of your product?
- What are the benefits of buying from your company?
- What promotions or value-adds does your product include that make it a better deal?
Research The Competition
Do a competitive analysis. Pay attention to ads and packaging from your direct competitors, as well as the bigger players in your space. What are they promoting lately, do you offer those same things?
See how you can be a part of a trend, but still stand out. Emphasizing your health benefits or clean ingredients, for example, is an easy way to build the growth health trend into your packaging.
Tell Your Story
Once you have an idea of what to say, be creative. As humans, we communicate best with stories. You want to describe the experience customers can expect to have.
Name your product "Christmas Eve-Scented Pine Cones" instead of "Pine Cone Scent." Immediately, memories of Christmases spent by the fire spring to the minds of your customers and give them a connection to your product. You can even amp up the nostalgia with relevant graphics.
Speak To Your Customer
Write using you-centric language when possible. An example for a lip balm label could be, "You want soft, supple lips that stay hydrated for hours – over or under your lipstick."
The key here is that you insert the customer into the description (the "you" and "your" keywords). This example also describes a perk the customer would benefit from: hydrated lips for hours.
Be Honest
These should be as specific as possible to clearly show a difference from your competitors – but everything you write must be true. Don't make claims you don't have the science to back up – as soon as you imply your product is intended for a medical condition, you've breached "drug" territory and could violate FDA rules. Avoid terms such as "treat," "heal," and "cure" to stay on the safe side.
Find out what products fall under the FDA's purview.
Design The Content
Once you've laid the groundwork with your branding and marketing message, it's time to fine-tune your design.
Size It Up
Make sure the font size is readable. Too large of a font may overwhelm the label and consequently your product. Too small of a font size almost guarantees the information will be overlooked. This requires a search for the perfect balance of size.
At the same time, use various sizes to show the hierarchy of importance. Consumers are prone to skimming so you need your most important text to jump off the page.
Pull an interesting line from your description or take a blurb from one of your customer testimonials and add something to make it pop. This could be the addition of an eye-catching color, a unique text treatment, or a neat graphic that helps call attention to your message.
Incorporate Different Fonts
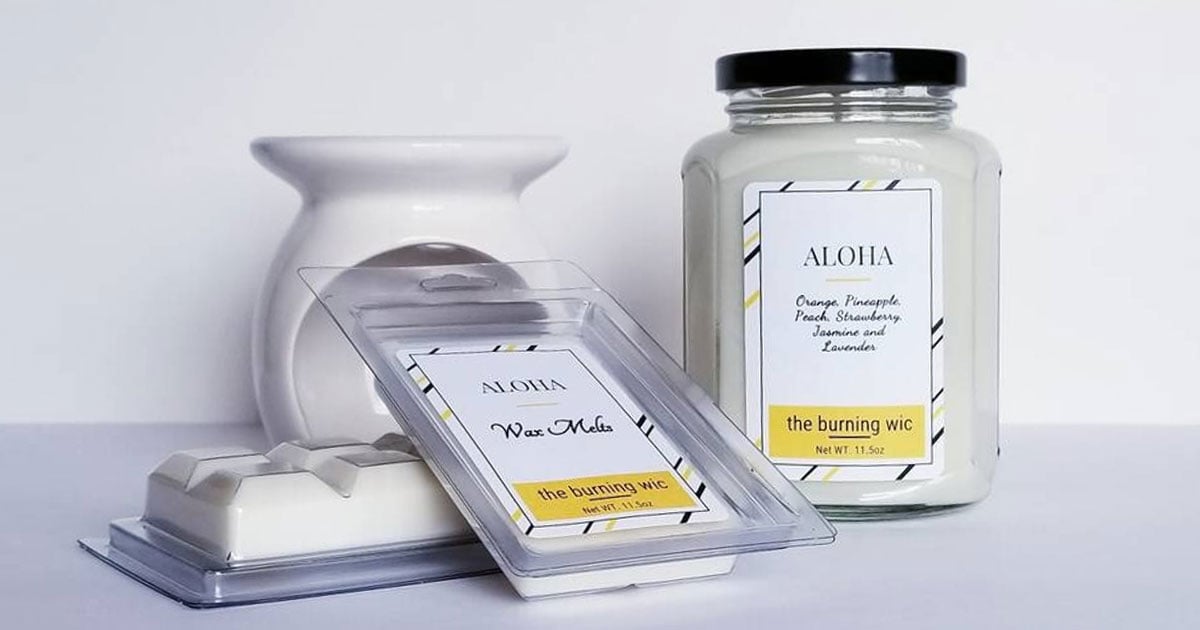 Candle label with multiple fonts by The Burning Wic
Font pairing is used as a way to present lots of information. Be careful though, too many fonts can dilute the message and make it difficult for a potential customer to read.
Learn more about font choice in our article, Choosing the Perfect Font For Your Label Design.
Last Steps
Double-Check The Essentials
Depending on your product, there are certain pieces of information everyone looks for. Make sure the following details are listed on your product label.
Business Name/Logo
You definitely don't want to forget this one! Make sure your business name is noticable and legible. If you have a logo, include that for branding purposes.
Don't have a logo? Try this AI logo generator tool!
Product Name
Keep it front and center, using the largest type size on the label.
Net Weight
Place this on the front of the label toward the bottom. When your product is solid, the net weight is listed in ounces/grams with "Net weight" written in front. Liquids do not need the term "Net weight" and are listed in ounces/milliliters.
Contact Information
Customers may have questions about your product or want to place another order. Include your phone number, email, and website address if you have room. You'll be reducing customer friction and potentially increasing the amount of returning buyers.
It's also a requirement by the FDA. They require the name of the maker and the physical address of their location.
Ingredients
Disclose what went into your product. While certain items such as soaps don't require a list of ingredients, your customers will always appreciate knowing what's in their products. Ingredients should be listed by quantity used, from most to least. Colorants are an exception and can be listed at the end in any order.
Instructions
Make sure to include directions on how to appropriately use your product. Include suggestions and ideas so you're a wealth of knowledge for interested customers.
You want customers to turn to you for everything related to your product. Are there other things your product is good for? Can the container be reused after-the-fact? Add those details or include a URL to your blog/website.
Don't Go Overboard
Avoid information/design overload. The goal is always consumer interest, so don't overwhelm them. While some big brands can pull off a text-heavy label, this approach is not for everyone. That includes design, too. Avoid using too many graphics and leave plenty of whitespace; sometimes one main logo is enough to grab someone's attention.
Strip away fluff and excess if you can – take everything you've written, designed, and planned out, and condense it. Be clear and easy to understand so consumers actually read what's on your label.
Evaluate Your Work
There's a fine line between including too much of your brand's character and not enough information and including too little character and too much information. You want to use enough of each to grab their attention and hold their interest.
Ask yourself these questions when finalizing your design:
- Is there a healthy balance of design and content?
- Are you conveying your desired first impression?
- Are the text size and font legible?
- Did you accurately work around any overlapping sections?
- Do the colors look the way you wanted them?
- Is your packaging purely for initial impact or does it have a use after purchase?
If it has a removable component or safety seal that will be destroyed with the first use, make sure any information it includes isn't pertinent.
Creating point-of-sale labels for your products is an involved job, but you can do it! Using the tips above, you'll create stunning product labels that will help your handmade goods fly off the shelf.
For more information on common design mistakes, we offer a guide on 8 Common Mistakes to Avoid When Designing Stickers, which covers key tips to make your labels look professional.
You can also check out these label printing tips and label application steps to successfully wrap up your product labeling process. You may also be interested in product pricing advice or how to ship ecommerce products. Whatever your needs, we've got you covered!
To see examples of labels and packaging by our customers, visit our Customer Ideas gallery.
Ready to print your labels? Order them custom printed on rolls or sheets today.