How to Make Lip Balm Labels In 4 Easy Steps
We want to help you create professional-quality lip balm labels. So whether you're creating lip balm for your business or for friends down the street, here are a few things to keep in mind.
Just looking for help with application? Skip to our lip balm label application tips.
1. Choose A Label Size
Before choosing a size, it's important to find the measurements of your lip balm tube. You'll need a flexible ruler to get accurate measurements. If you have a measuring tape or bendable ruler, grab that. Otherwise, download and print our printable ruler.
Cut out the ruler using scissors, confirm your ruler increments are accurate, and line up the red line vertically against the bottom of your container (above the scroll). Use your thumb or finger to hold the end in place before stretching the ruler out and obtaining the height.
Be sure to measure only to the lid seem, not over it unless you plan to select a label with a perforated safety tab. Note the height on a piece of paper then continue to measure the circumference. Place the red line in the center of your tube and wrap the ruler around the rest of your container. If you want a full-wrap label, add an extra 1/4 inch to your final dimension.
Once you have both your height and width/circumference, you're ready to shop lip balm labels and find the right size. Look out for our lip balm balms which include a safety seal for tamper-resistance and freshness.
2. Pick Your Label Material
After picking a size and configuration, it's time to choose a material. Consider any of our weatherproof labels for your lip balm containers. They have a more durable facesheet so your products won't scratch or tear in purses or pockets, and the adhesive is a bit stronger to maintain its shape.
Our most popular weatherproof lip balm label materials are weatherproof polyester laser and clear gloss laser. We see a lot of white gloss laser, brown kraft, and clear gloss inkjet though, too.
Need durable, printed labels for a large quantity order? Shop our premium custom film/bopp labels today.
3. Design Your Lip Balm Label
Each label purchase from OnlineLabels.com includes access to Maestro Label Designer, our exclusive web-based design program. Try Maestro Label Designer to create your custom lip balm labels. It comes pre-loaded with blank lip balm label templates and tons of pre-designed lip balm label templates to help you get started!
Before you get into the thick of designing, pay attention to these important details:
Test The Template Direction
Most of the lip balm labels you see in stores have their labels oriented horizontally. Do you want to follow the norm or be your own trendsetter? Make sure you decide before you start designing so your template is facing the right way when you go to print!
Check For Overlap
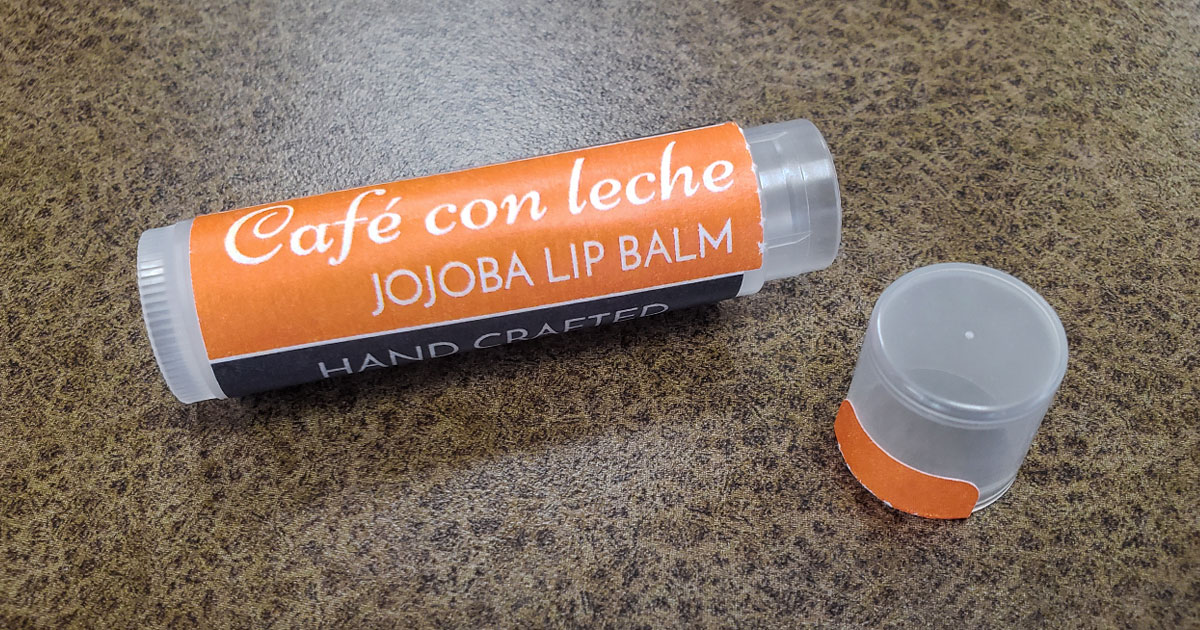
Test a blank label on your tubes before getting started on the design. Our safety-seal lip balm labels (OL1102, OL663, and OL2162) have a little overlap on the ends to help with adhesion. If you don't know this before designing, some of your hard work may get covered up.
Use this chart to help find the label with the perfect overlap for your project:
| Label Product Number | Label Size | Safety Seal | Matching Tube | Overlap | Front | Back |
|---|---|---|---|---|---|---|
| OL421 | 2.125" x 1.6875" | No | 0.15oz Oval | 0.1562 in |

|

|
| OL1102 | 2.125" x 2.125" | Tab | 0.15oz Round | 0.1562 in |

|

|
| OL663 | 2.0625" x 2.15" | Full | 0.15oz Round | 0.0938 in |

|

|
| OL5030 | 3.375" x 2.3125" | No | 0.5oz | 0.5 in |

|

|
| OL2162 | 1.6875" x 2.125" | Tab | Slim Line | 0.2188 in |

|

|
| OL864 | 1.625" x 1.8125" | No | Slim Line | 0.1562 in |

|

|
4. Apply Your Lip Balm Labels
Creating personalized lip balm labels for parties, events, or to sell can be fun and a great business, but it can be frustrating if you can't seem to keep them labeled.
There are a bunch of reasons why you could be having trouble applying your lip balm labels or keeping them stuck on your tubes. Below, we've listed some of the most common ways to overcome those struggles so you can apply the perfect label every time.
A. Work Clean
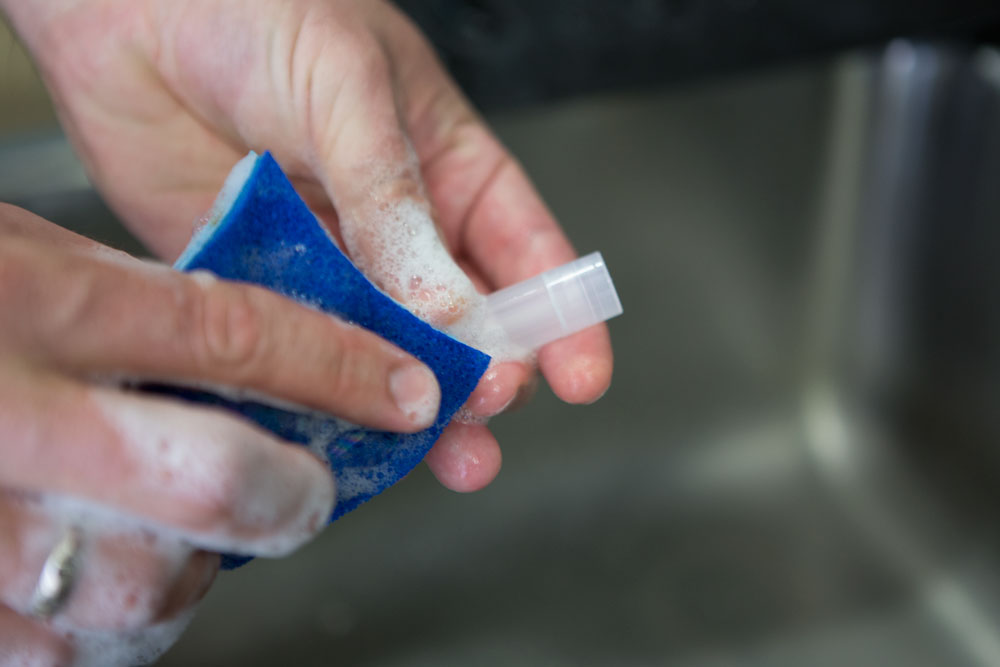
Clean hands, tools, and work spaces are essential for success. The first thing anyone labeling lip balm should do is wash their hands. Natural oils and dirt can degrade the adhesive, causing your labels to lose their stick.
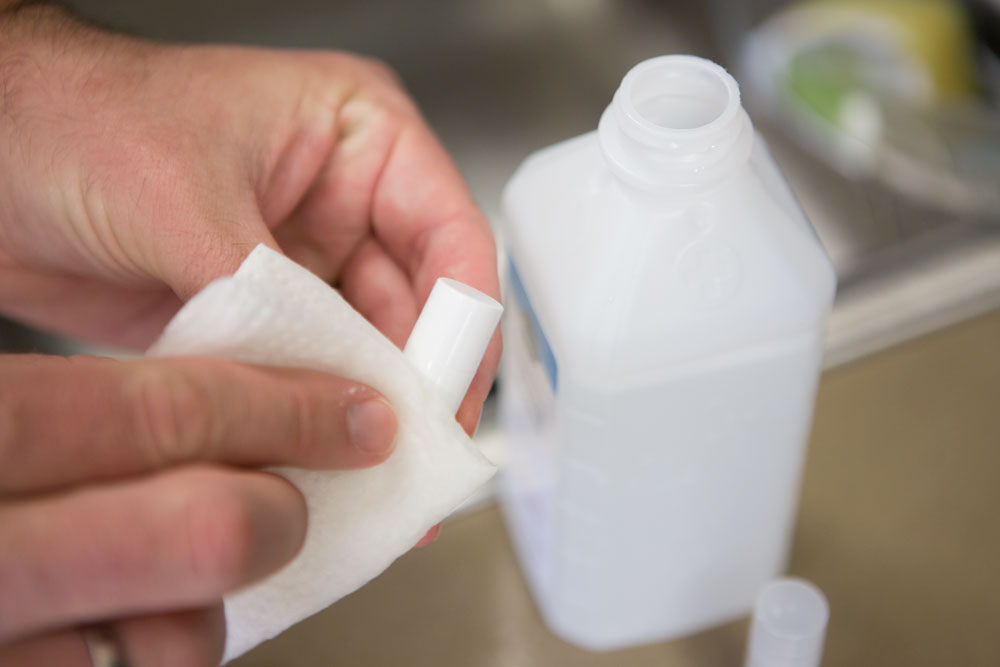
Clean tube containers are another big one. Try washing the surface of your lip balm tube with dish soap or rubbing alcohol. This will de-grease the surface to optimize adhesion. Just be sure the tubes are completely dry before labeling!
B. Create Surface Texture

Try priming the container surface if you're having trouble keeping your labels on. Use very fine sandpaper or emery cloth to lightly rub the tube. This adds texture to the container that helps the label have a better stick. Make sure to clean the tube again before applying the label, wiping off any debris and oils.
C. Don't Get Wax on Your Tubes
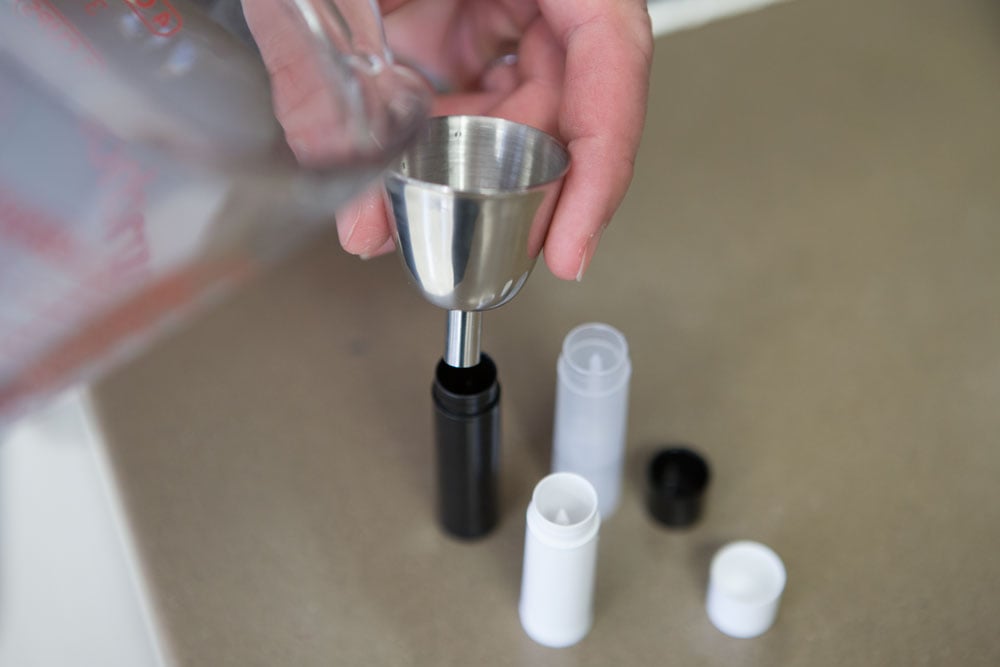
There are two main ways you can work around this — use a funnel or a pouring tray. The funnel method is depicted above.
- The funnel method: A funnel is an easy way to make sure all of the wax gets in your tubes while pouring. This is perfect if you're only labeling a few tubes at a time.
- The pouring tray method: If you're making lip balm at a higher quantity, a pouring tray is the perfect tool. It makes filling a batch easy and quick. Learn more about pouring trays from the Soap Queen blog.
D. Make Sure Your Lip Balm is Fully Completed
The process of making your own lip balm involves a lot of heat and cooling. Varying temperatures can make the tube expand and contract slightly, irritating the label and causing it to undo.
Heat from hot wax can also melt the adhesive of the label, making it more difficult to stick. Therefore, you should consider doing your labeling last – think of it as the icing on the cake.
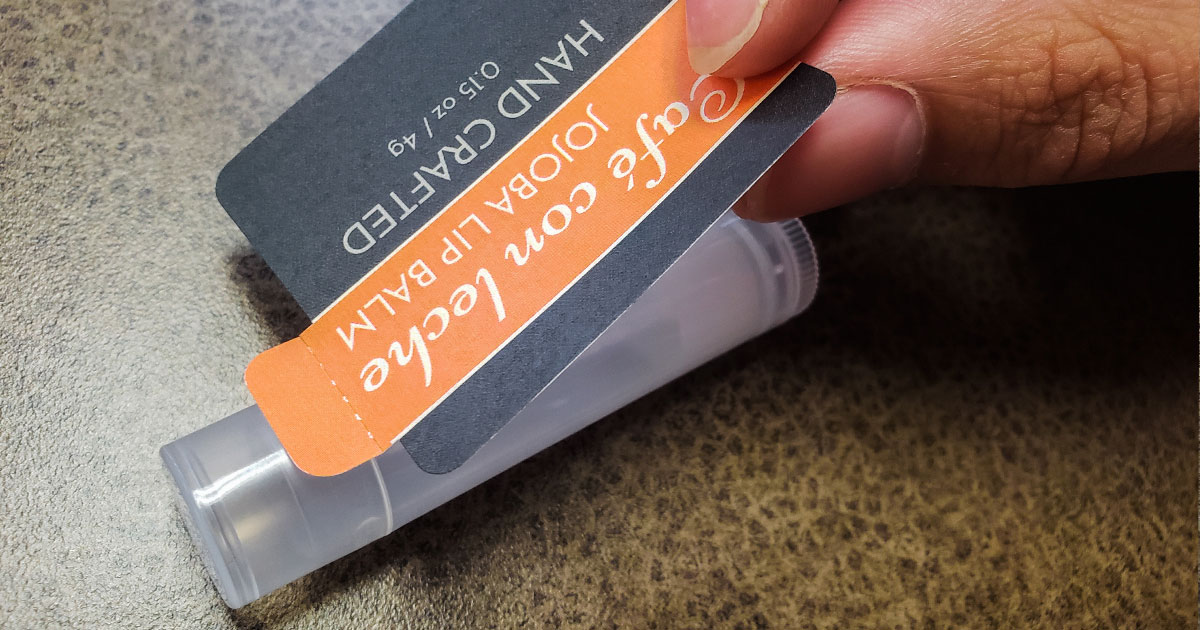
E. Start In The Middle & Line Up The Seams
When it comes to applying your label, it can be tempting to start from the sides – but there's another option that will give you the best results.
Line the label up with the bottom of the tube above the scroll, or if your label has a perforatation, use the lid as your guide. Try to get your safety tab close as possible to the separation point so the label isn't difficult to tear for the user.
Once you have your labels in the right position, apply the middle of the label first. Press down with your thumbs from the center out, creating a smooth bond between the label and the tube. Once it's applied, use moderate force to ensure the best stick.
Following these important steps will help make sure your labels look clean and professional. Shop lip balm labels to get started.
