How To Make Your Own Water Bottle Labels in 5 Easy Steps

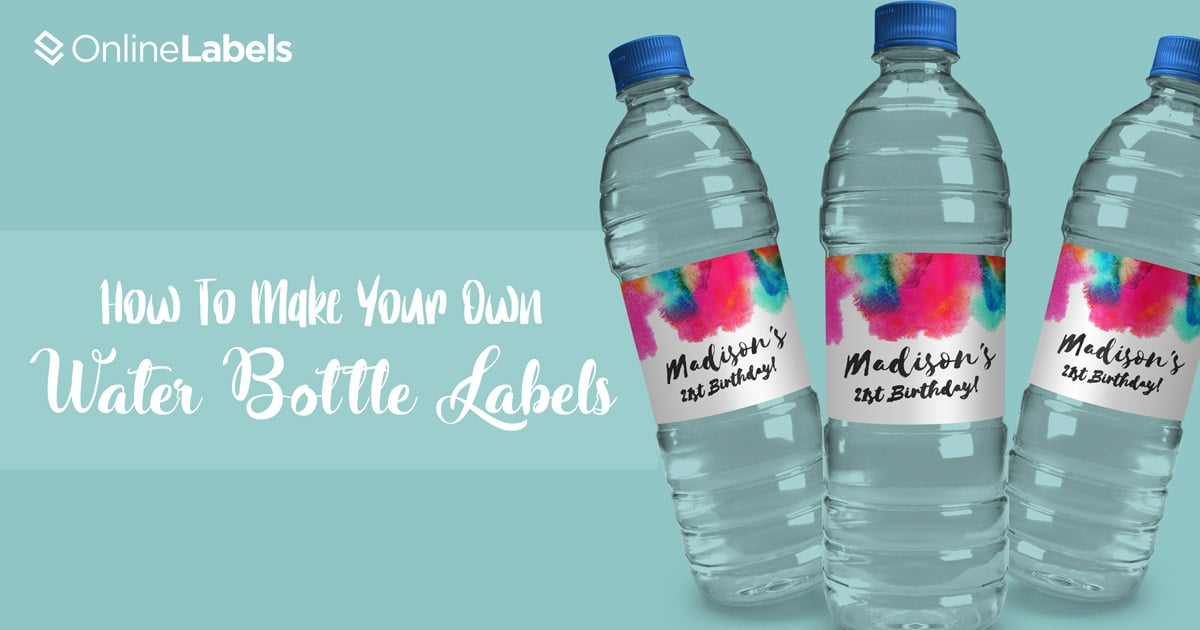
Personalized details go a long way when planning a grand celebration. Whether you’re looking to incorporate something unique for a birthday party, baby shower, or corporate event, personalized water bottle labels are budget-friendly, simple to make, and add a special touch to any celebration. Here’s how to create your own!
Jump Ahead
1. How To Design Water Bottle Labels
Start by envisioning what your water bottle label will look like – specifically its shape. You may want to go with the popular wrap-around style – similar to those you see wrapped around store-bought water bottles with the company’s logo – but absolutely feel free to get creative with any random shape. Choosing a unique shape could be eye-catching and make your design stand out more.
Got a label shape in mind? Now’s the fun part — time to start designing (before designing, you should know your label dimensions. Read onto the next section to find out more)!
While you can use design programs like Photoshop or Canva to create your label, our favorite is the Maestro Label Designer® which is the easiest, most efficient way to design labels and is free to use for our customers! The latter allows you to work off of pre-designed templates if you’re not a master graphic designer, or create a completely customized label if you feel up for the challenge. Just hit "Customize More" and the template will open in Maestro Label Designer where you can adjust fonts, change colors, add more text, rearrange elements, change the label size, and more!
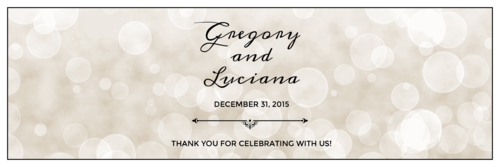
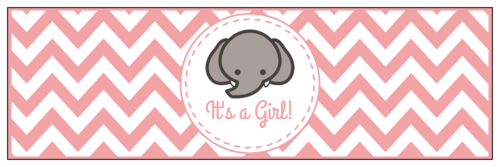
If you decide to start with a template, check out our full selection of pre-designed water bottle templates. Here are some of our favorites for different event types:


Designing from scratch? Follow these water bottle label design tips
- Match the colors and fonts on your water bottle labels to the other event decorations.
- Using a combination of text, a background pattern, and a fun graphic/icon is a good formula when designing water bottle labels! For example, if you’re making wedding water bottle labels, try finding a flower graphic that matches your wedding florals.
- Be mindful about the text. Don’t use too many different/clashing fonts, or too much text. A paragraph of text on your water bottles may scare guests away from reading them. Consider keeping it to the name of the event, and a couple other lines of text.
- Match the vibe of the event! If it’s a conference or corporate event, keep it sleek and professional. If it’s a baby shower, make it colorful and fun, if it’s a wedding, go for an elegant look.
2. Recommended Water Bottle Label Sizes
Since you’ve already thought about your label shape, choosing the size should come easy. Our Water Bottle Labels page includes the most popular sizes for standard water bottles, but make sure you choose a compatible size for your bottle type. Here are the best sizes for popular brands:
16.9 oz Dasani® Water Bottle
500 ml Kirkland Signature® Water Bottle
500 ml Aquafina® Water Bottle
500 ml Nestlé® Pure Life Water Bottle
For more brands, check out our Find Label Sizes for Water Bottles page. If you’d like a different wrap-around size, or a unique shape, try using our printable ruler to take measurements, or our size guide to avoid sizing mishaps.
For wrap-around water bottle labels, it’s best practice to make sure there is some overlap on the label around the back. Plastic can sometimes be a tricky surface to adhere to, so an extra quarter or half inch of overlap will ensure the label won’t peel up.
No matter which design program/option you choose, be sure to input the proper label dimensions for your water bottles before you begin designing. The water bottle label area can vary depending on the brand and type of bottle you’re selecting – where some are straight and others have more of an hourglass shape. Keep this in mind when choosing your label size, too!
Once you’ve determined the perfect dimensions, order pre-cut labels on blank sheets, or go with full-sheet labels and cut them yourself.
3. Recommended Label Materials for Water Bottles
This may seem self-explanatory, but we always recommend opting for the waterproof labels to ensure readability in moist, super cold environments. Whether you put your water bottles on ice, keep them in the fridge, or have a spill, the label material and ink will stay intact.
We have a few different waterproof options to choose from, depending on the look you’re going for. If you have an inkjet printer, you have the choice between Waterproof Gloss Inkjet for a high-quality, photo-finish look, or Weatherproof Matte Inkjet for a professional-looking matte finish.
If you have a laser printer, our Weatherproof Polyester Laser material is a highly durable, bright white material that will make any design pop. Or, go with a more unique option like Clear Gloss Laser for a "barely-there" feel, Clear Matte Laser for a frosted finish, or Weatherproof Silver Polyester for a metallic look.
If you are working with paper materials, we recommend watching our guide on how to turn your labels into waterproof. Although they won't make them 100% waterproof, these tips will improve their durability.
4. How To Remove Water Bottle Labels
Unless you’re starting with completely bare water bottles, you’ll first need to remove the labels the bottles come with. For this, we suggest using something like a letter opener (so that it won’t puncture the bottle) and gently sliding it behind and cutting it in a downward motion for easy removal.
If the label left sticky residue behind, it’s a good idea to get it all off before applying your labels. Just grab any adhesive remover (we love Goo Gone), pour some on a paper towel, and wipe away the residue. Clean and dry the bottles thoroughly after, making sure all the moisture and oil is gone before applying your labels.
Your bottles are now ready for your custom labels.
5. Print, Cut & Apply Your Water Bottle Labels
Your labels are designed – it’s time to print! Order blank labels to print your designs at home, or have our team print and ship them right to you.
If you took the full-sheet route, you now face one of the most time-consuming portions of the project – cutting!
If you’ve got a couple of friends willing to help out with this portion of the project, make it a cutting party. But if you want to ditch the scissors (and sore hands) and opt for a bougier option, an electronic cutting machine does the trick. These incredibly efficient machines work like a standard home printer. All you need to do is install some drivers/software onto your computer and connect the cutting machine either by a USB cord or a bluetooth signal. Using the cutting machine program, you can specify where to cut, how thick to make the cuts and more.
To apply your labels, simply lay your water bottle down, peel the label and wrap it around the bottle. Voila! Having trouble making it straight? Line up the top of the label with a line or ridge on the bottle, then start from the center and move out to the sides.
We hope this article was helpful for you as you create your own water bottle labels. Just remember to have fun throughout the process, and your guests will absolutely love them!
