How To Add & Edit Text In Your Label Design
Add text to your label to convey your brand or product's message. Change, design, move, align, and arrange it at any time using the steps below.
How to Add Text to Your Design
Launch Maestro Label Designer and sign in.
Open a new or existing label template.
-
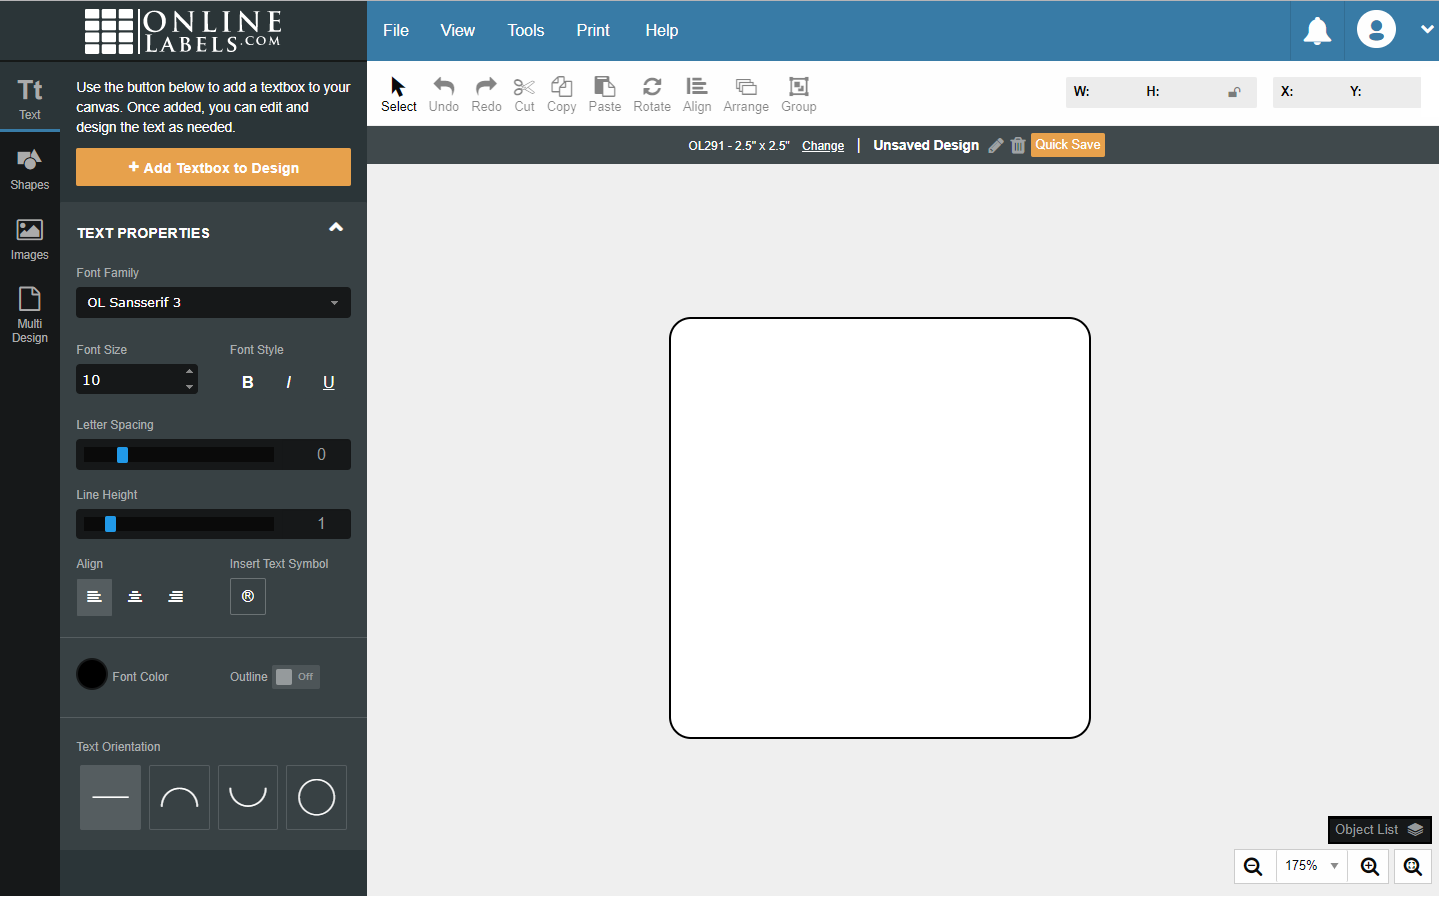
Click "Text" in the vertical toolbar to the left of your label.
-
Click "+ Add Textbox to Design" to add a new textbox to your canvas.
-
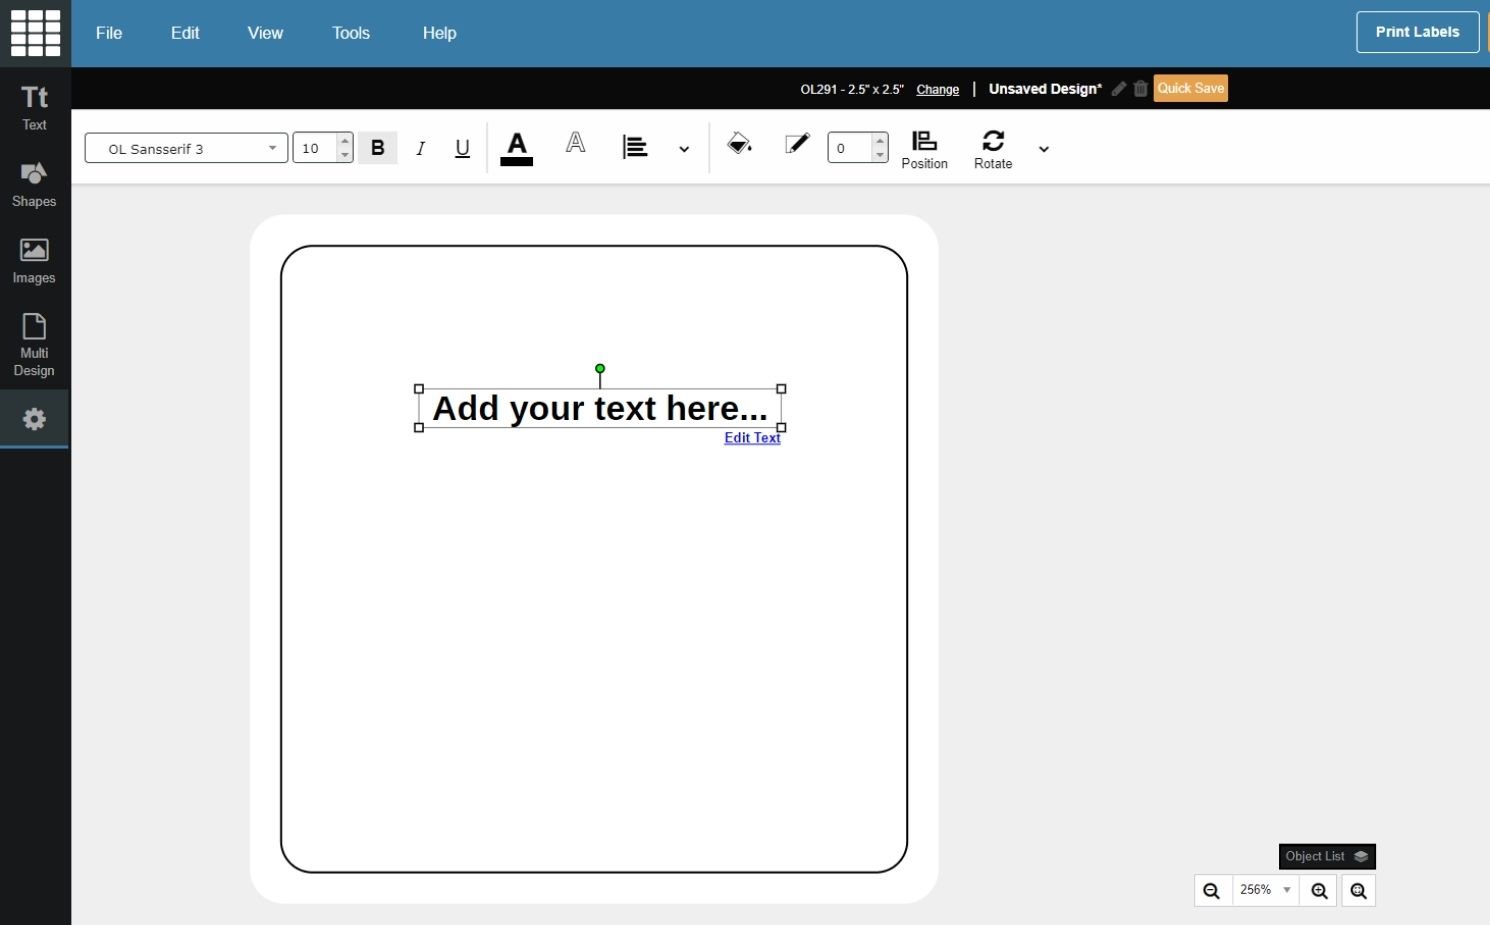
Begin typing your desired content (the placeholder "Add your text here..." copy should be highlighted and ready to overwrite).
-
Follow the steps below for instructions on editing and moving your text or learn how to arrange objects on your label.
How to Edit Text in Your Design
Launch Maestro Label Designer and sign in.
-
With your design open, click on the textbox you would like to edit.
-
To modify the content, double click and begin typing. To adjust the formatting, use the options in the "Object Properties" drop-down on the top menu bar.
How to Work With Text Orientation
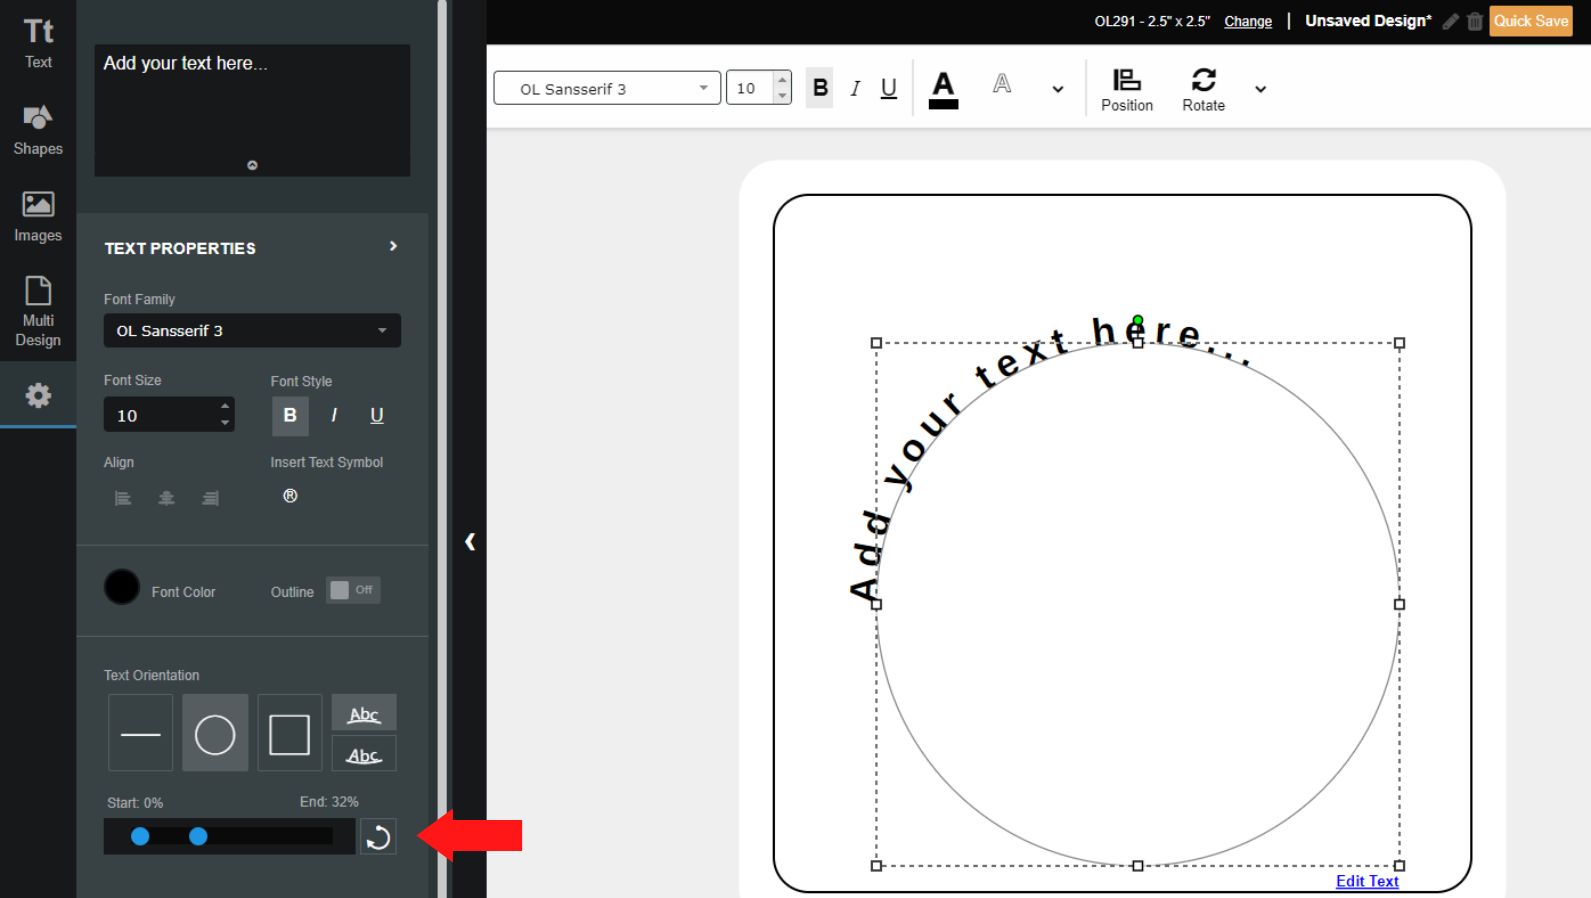
With the textbox you wish to edit selected, click "Text" in the vertical toolbar to the left of your label, or the "Text Properties" dropdown menu in the top menu bar.
Under the "Text Orientation" section, select the orientation you want.

Use the two points on the scroll bar to set the starting point and ending point of the text.
Have more questions? Call 1-888-575-2235 to speak with a member of our customer service team.
