How To Arrange Objects On Your Label

Need to rotate, layer, or align the objects on your label? Follow these steps and we'll walk you through it.
How to Rotate Objects
Launch Maestro Label Designer and sign in.
-
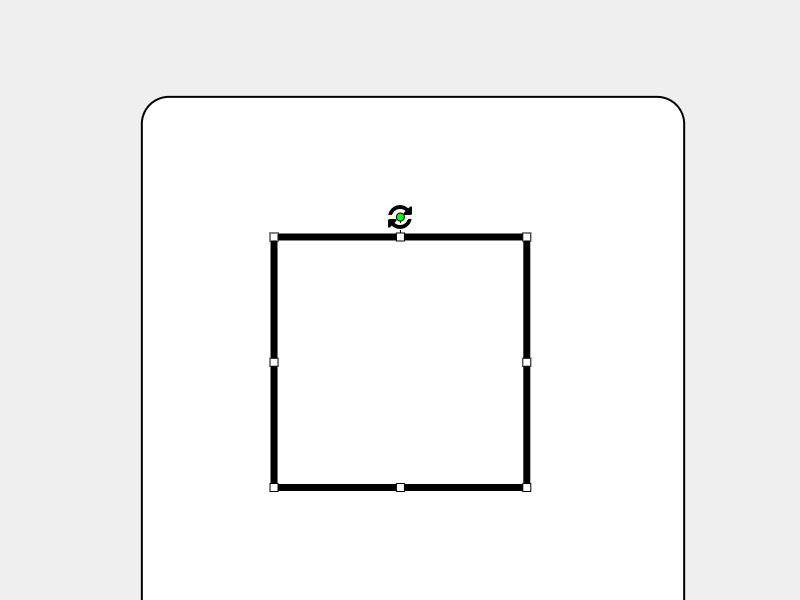
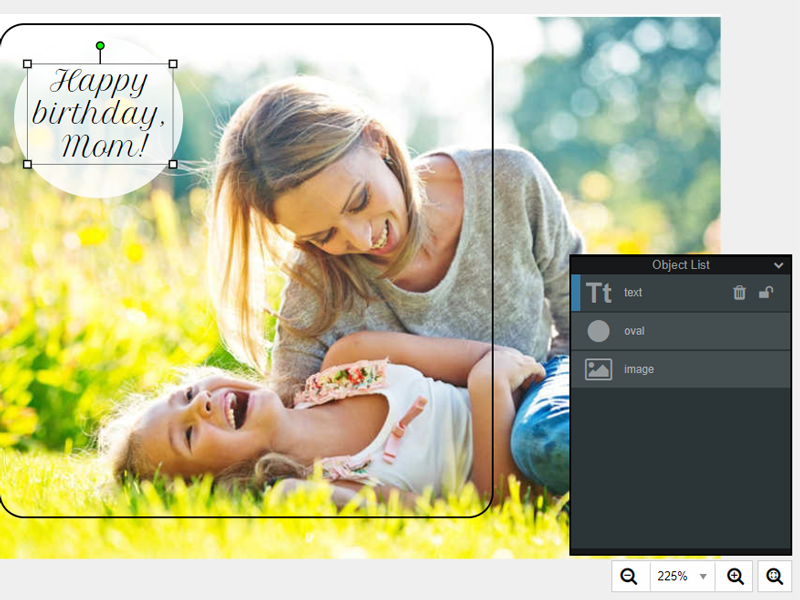
With your label template open, click on your desired object to select it.
-
Click and drag the green circle above your object to rotate it by hand or hover over the "Rotate" button in the white menu bar and select from the listed options.
How to Turn On Object Snapping
Launch Maestro Label Designer and sign in.
-
With your label template open, hover over "View" in the blue navigation bar then click the toggle for "Object Snapping."

-
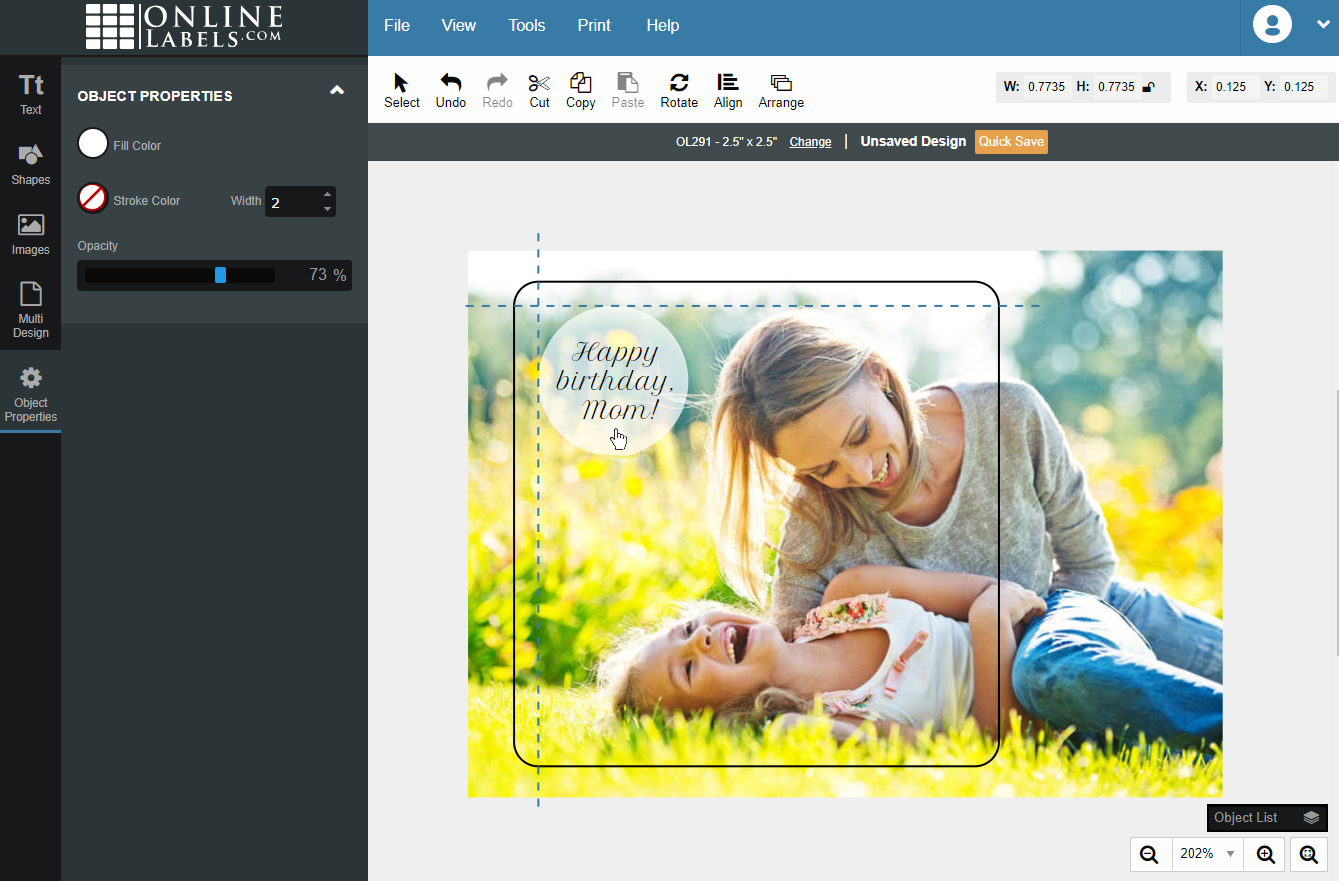
Click on your desired object to select it.
-
Move your object toward the bleed or safe zone lines and/or near other objects.
How to Layer Objects
There are multiple ways to layer objects on your label. Below, we cover the two most popular. To begin, first launch Maestro Label Designer and open your label design.
Option 1
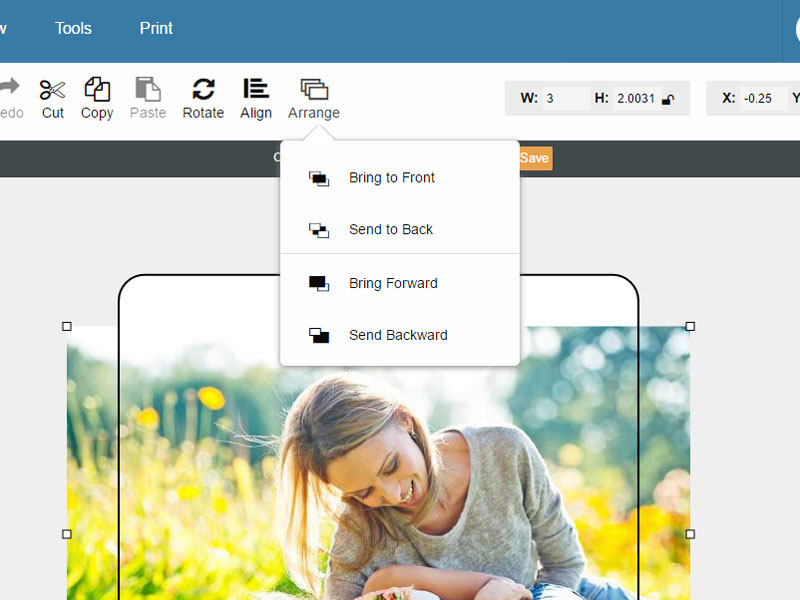
Hover over "Arrange" in the top white menu bar. Select your preference.
Note: "Bring to Front" and "Send to Back" send your object to the very top or bottom of your label. To send an object forward or backward one layer at a time, use the "Bring Forward" or "Send Backward" buttons.
Option 2
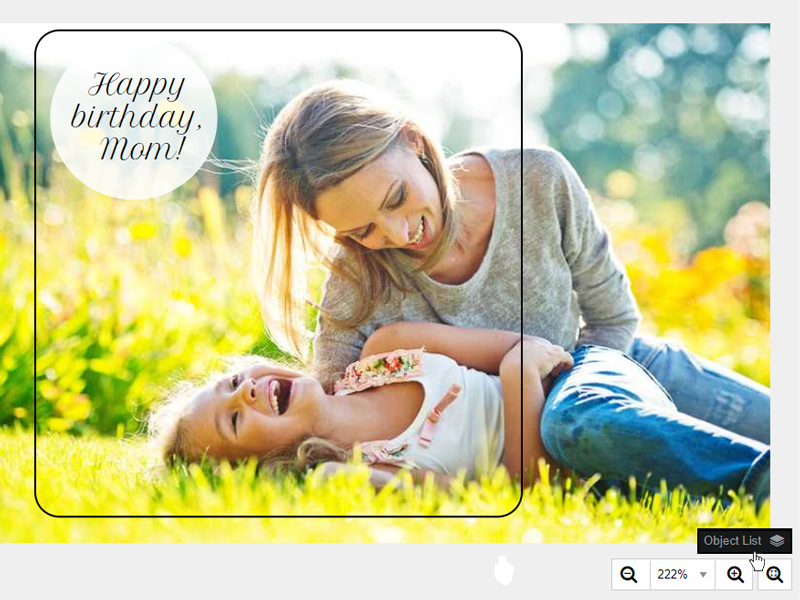
Expand the "Object List" panel in the bottom right-hand corner. From the list, click on your desired object and drag it up or down to adjust its layer position.

How to Lock Objects on Your Label
Follow these instructions if you want to lock an object in place. This will disable any editing or moving capabilities and make it unselectable on your canvas.
Launch Maestro Label Designer and sign in.
-
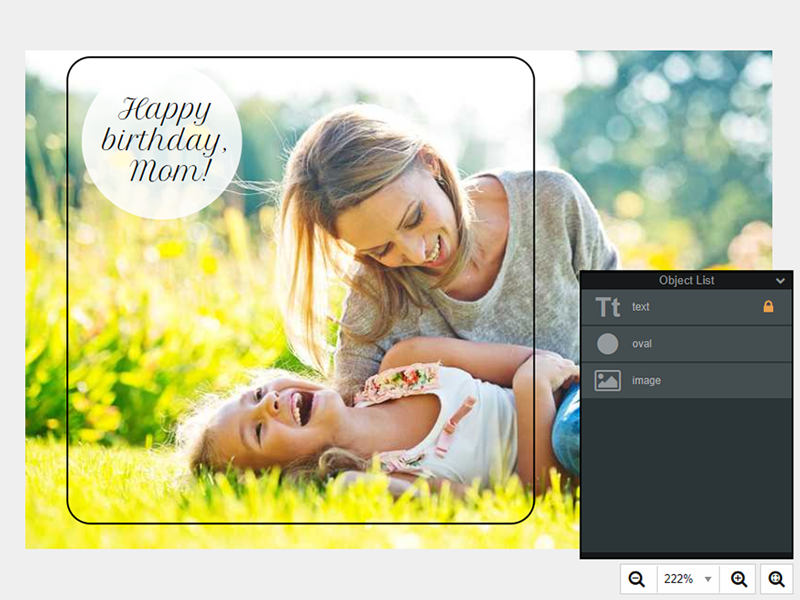
With your label design open, cxpand the "Object List" panel in the bottom right-hand corner.
-
Click on your desired object in the list.
-
Hit the lock icon to the right of your object's title.
Note: To unlock your object, click the lock icon again. This will open it for selection, editing, and movement.
How to Align Objects on Your Label
Follow these instructions if you would like to jump your object to a specific location on your label.
Note: If you select multiple objects, they will align to each other.
Launch Maestro Label Designer and sign in.
-
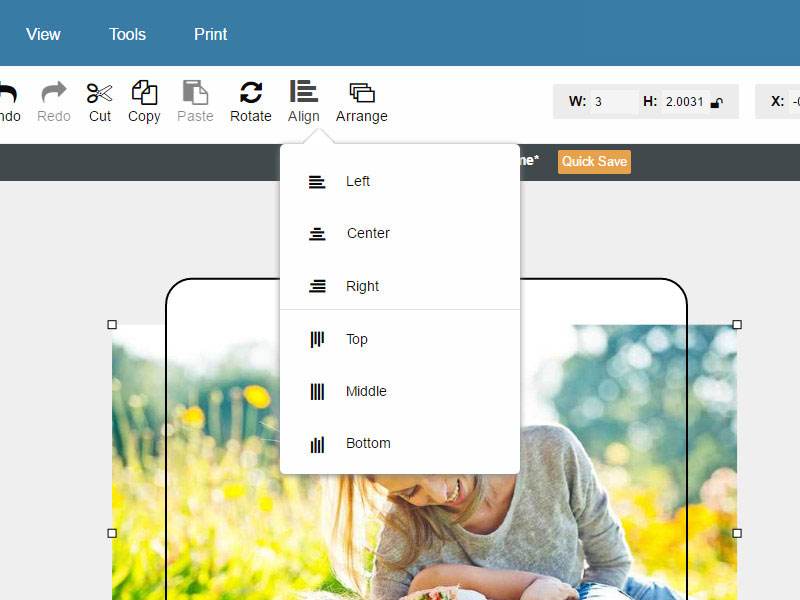
With your label design open, click on your desired object to select it.
-
Hover over "Align" in the white menu bar.
-
Select your preference.
Note: You can select one option from each category (e.g. Top and Left or Middle and Center).
Need additional help arranging objects and formatting your design? Call our customer service representatives at 1-888-575-2235.
