How to Print Your Adobe Illustrator Label Design

Printing a label design from scratch can be intimidating.
However, both Adobe Illustrator and Maestro Label Designer can be powerful tools for setting up your design. In order to bring your art to life, it's essential to understand their settings and file formats to avoid common mistakes, and this guide will walk you through every step you need to know to print your label design using these two platforms.
Option A: Open a Blank Label Template in Adobe Illustrator
We offer various Blank Label Templates in all sizes and product types. Follow the next steps to learn how to pass these templates to Adobe Illustrator.
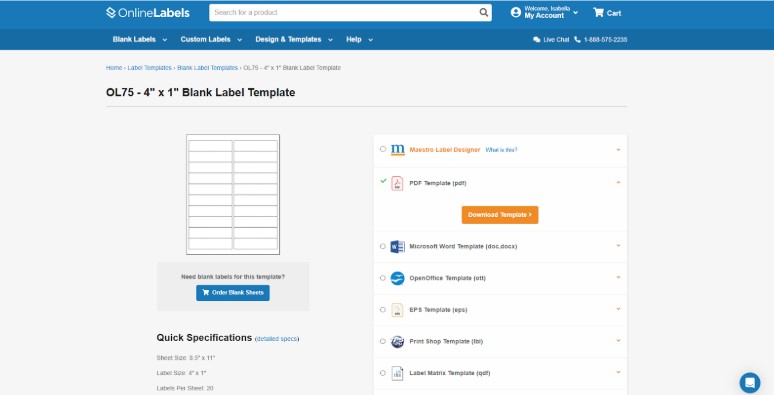
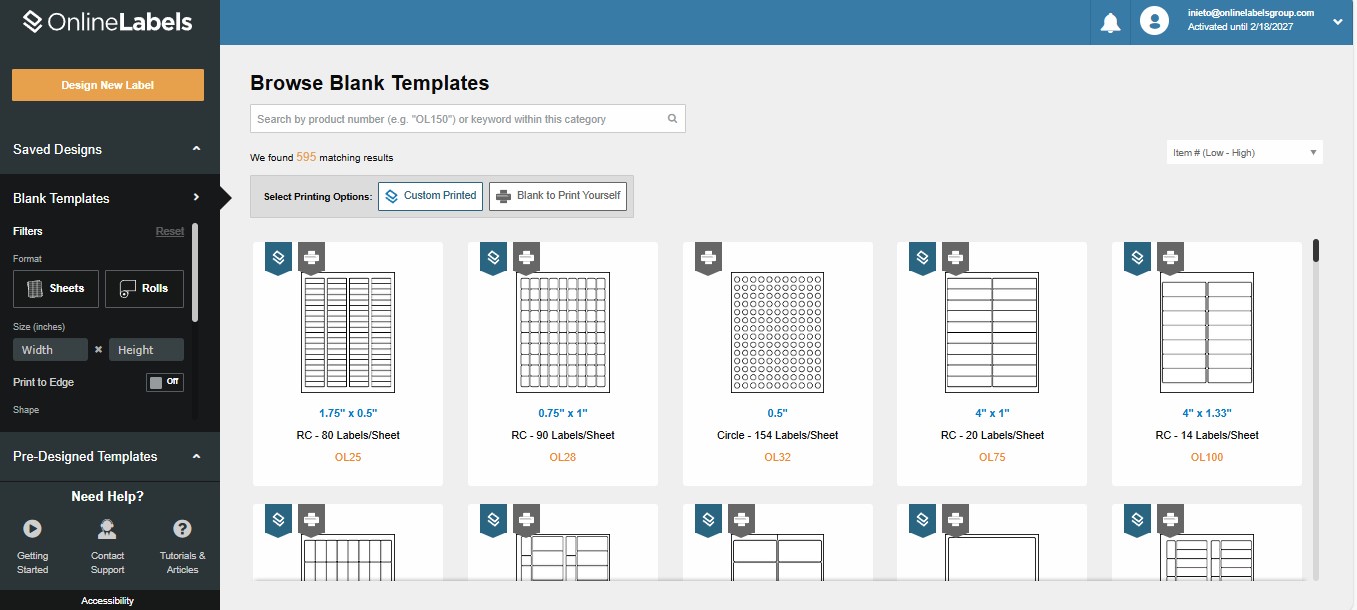
1. Go to our Blank Label Templates page and find your label size. In this step, we choose the OL75 - 4” x 1” Blank Label Template.
On this page, you can select from different file formats. Choose "PDF."
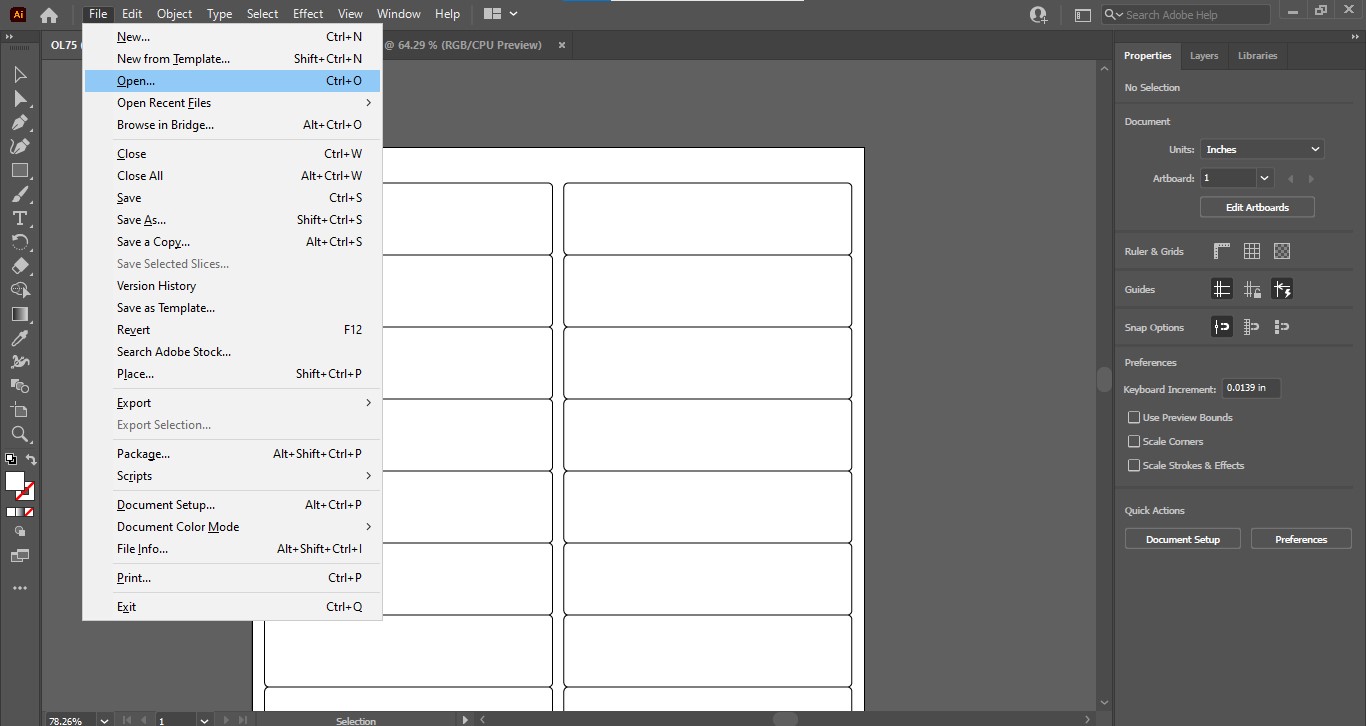
2. Open Adobe Illustrator and click the Create New icon in the top left corner of your screen.
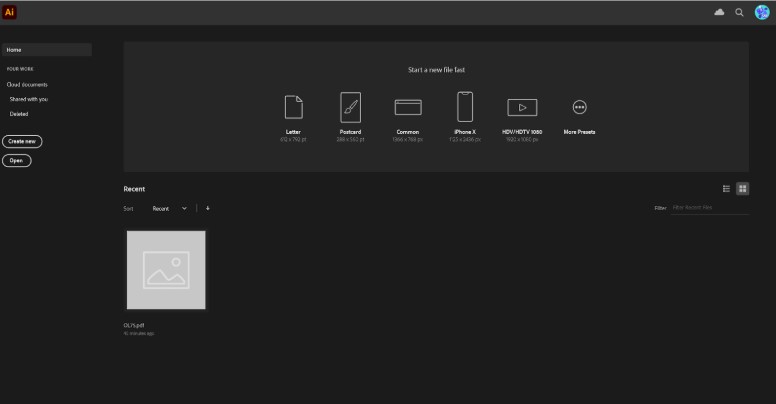
Then, click File, and open the PDF template file that you saved in Step 1.
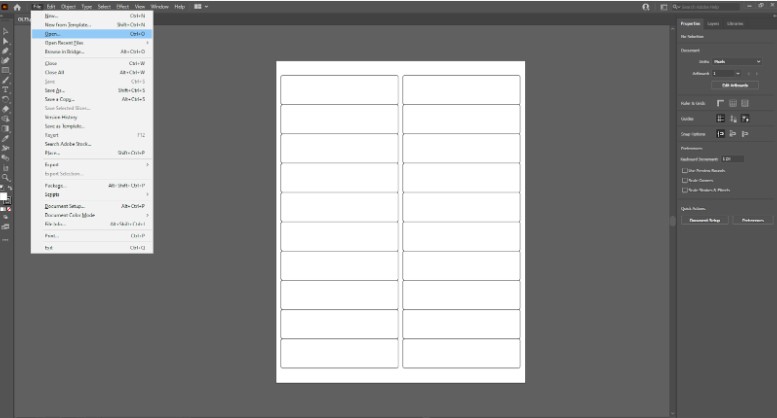
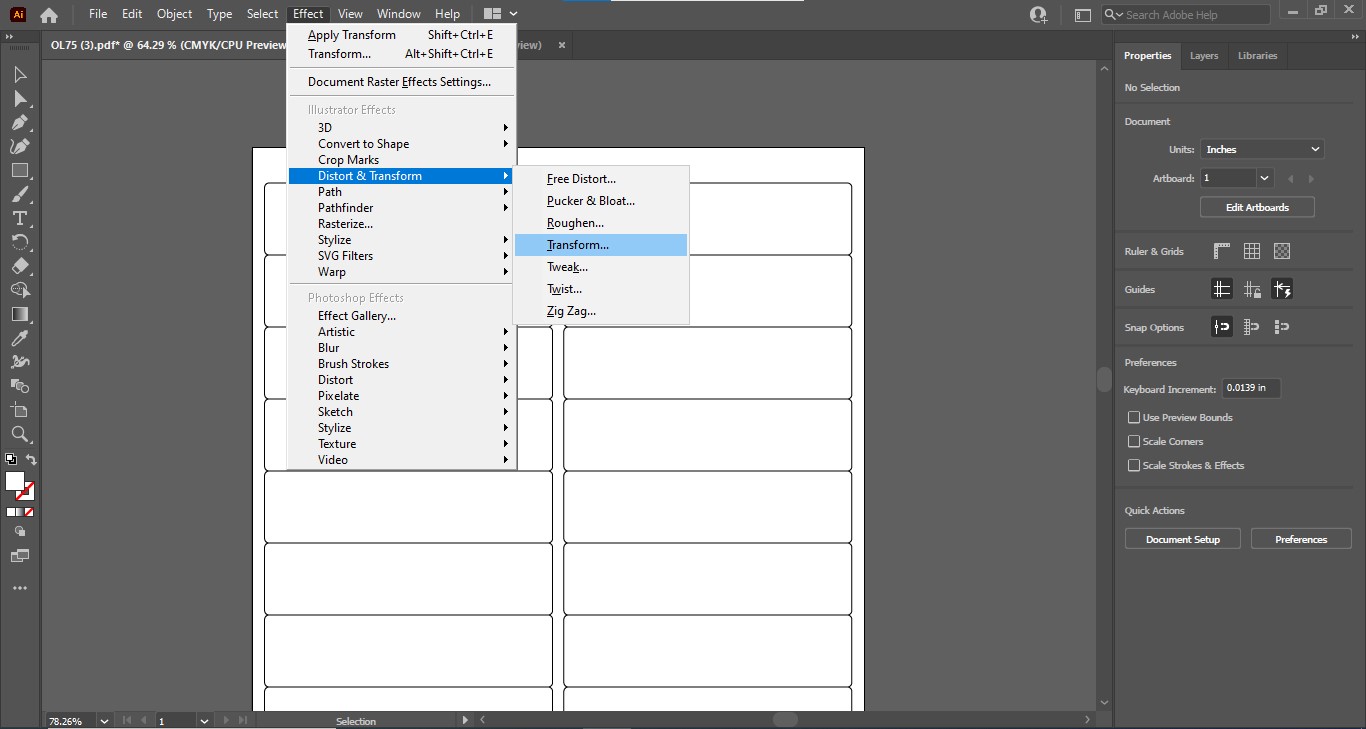
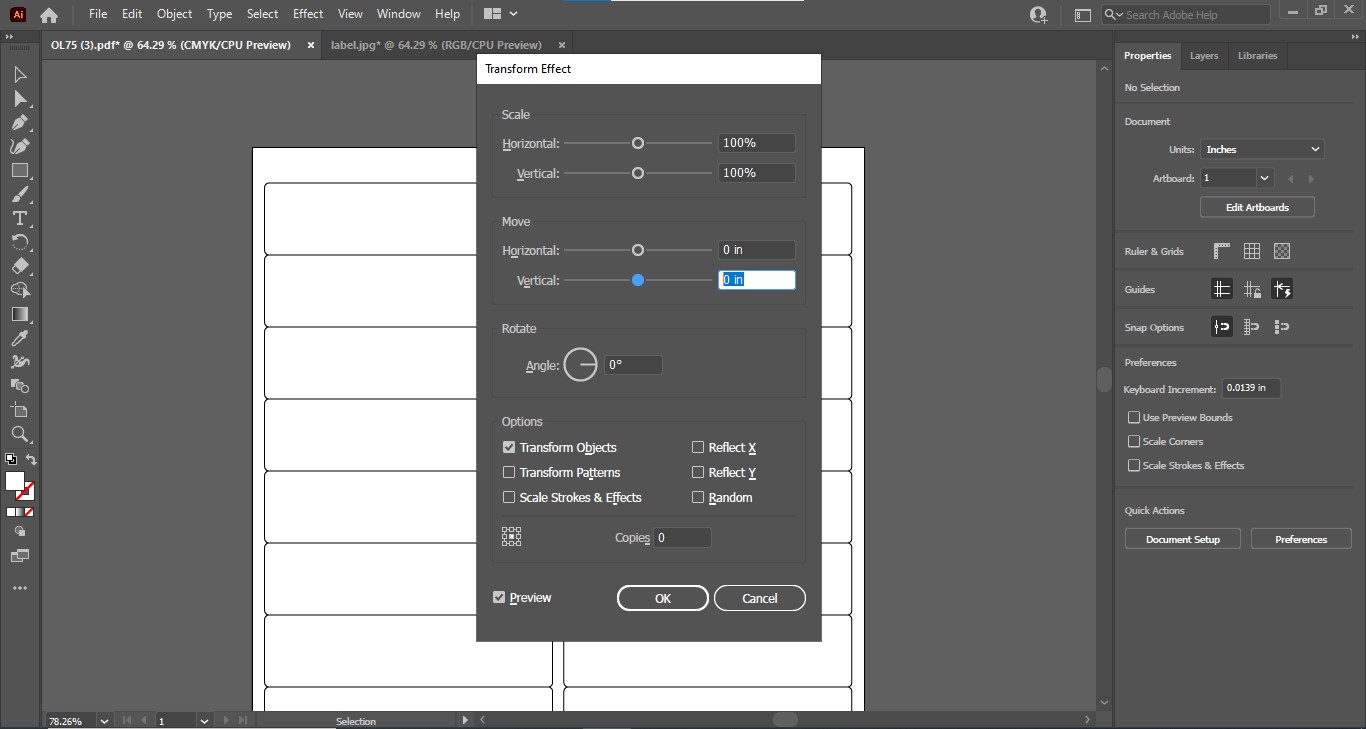
3. Align your label design to one of the blank label templates. Then, click Effect -> Distort, and then Transform.

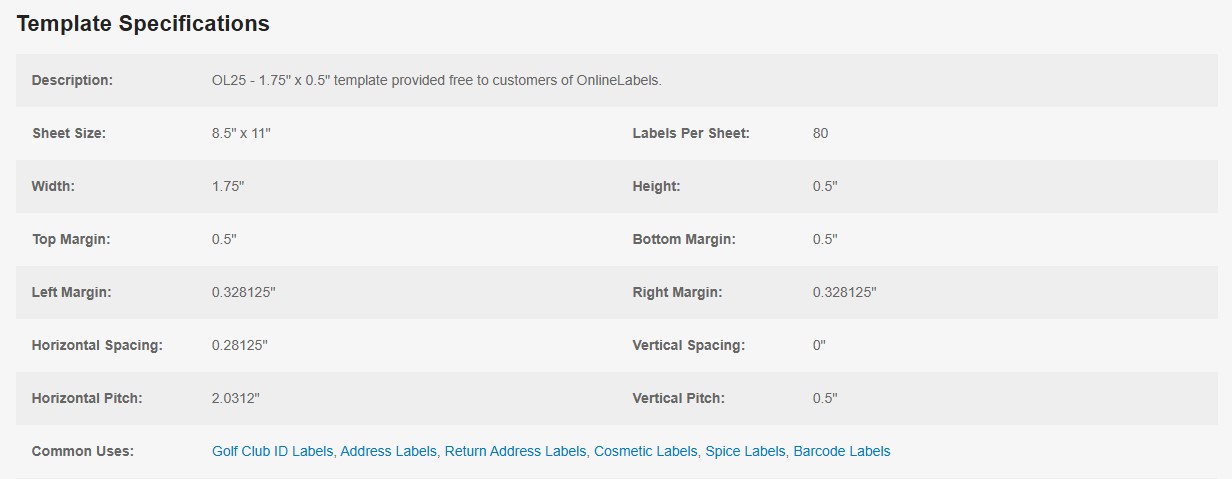
4. Go to the Template Specifications on the blank template page and find the horizontal spacing values. Place the value under Move.
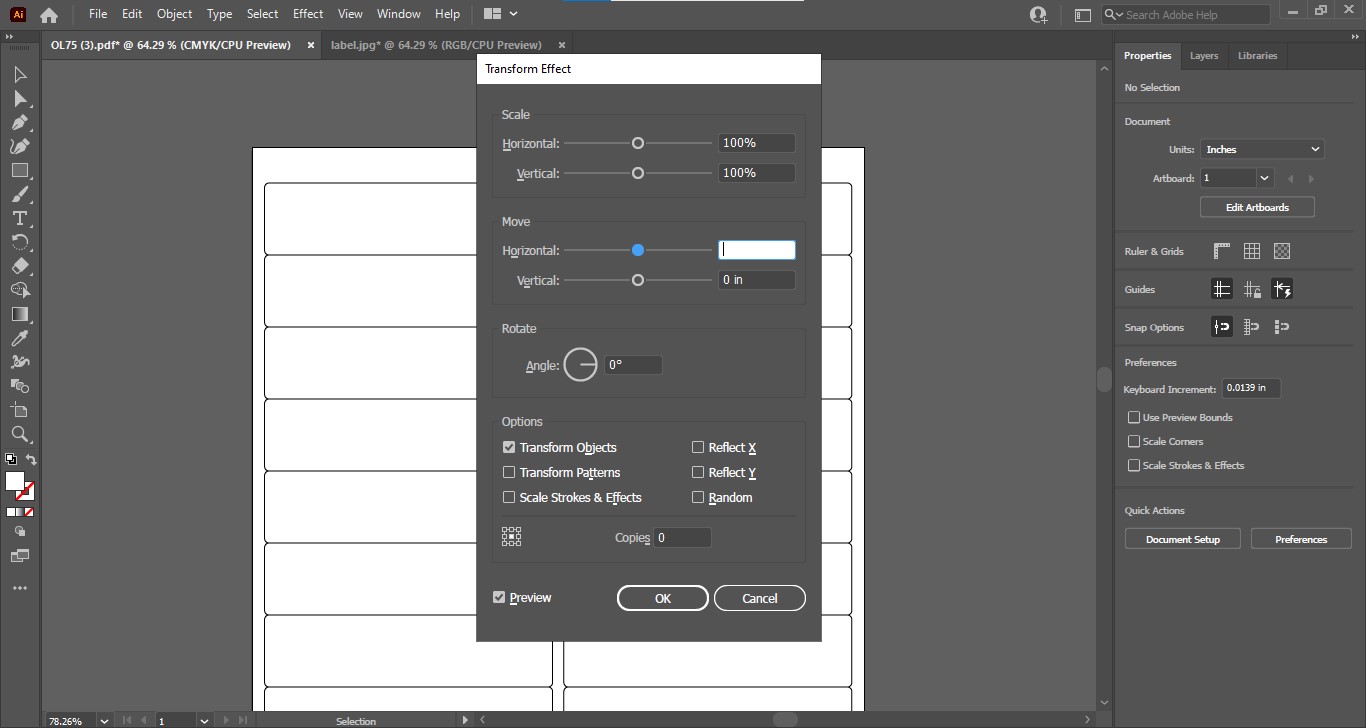
Then, repeat the process and enter the vertical spacing values under Vertical.

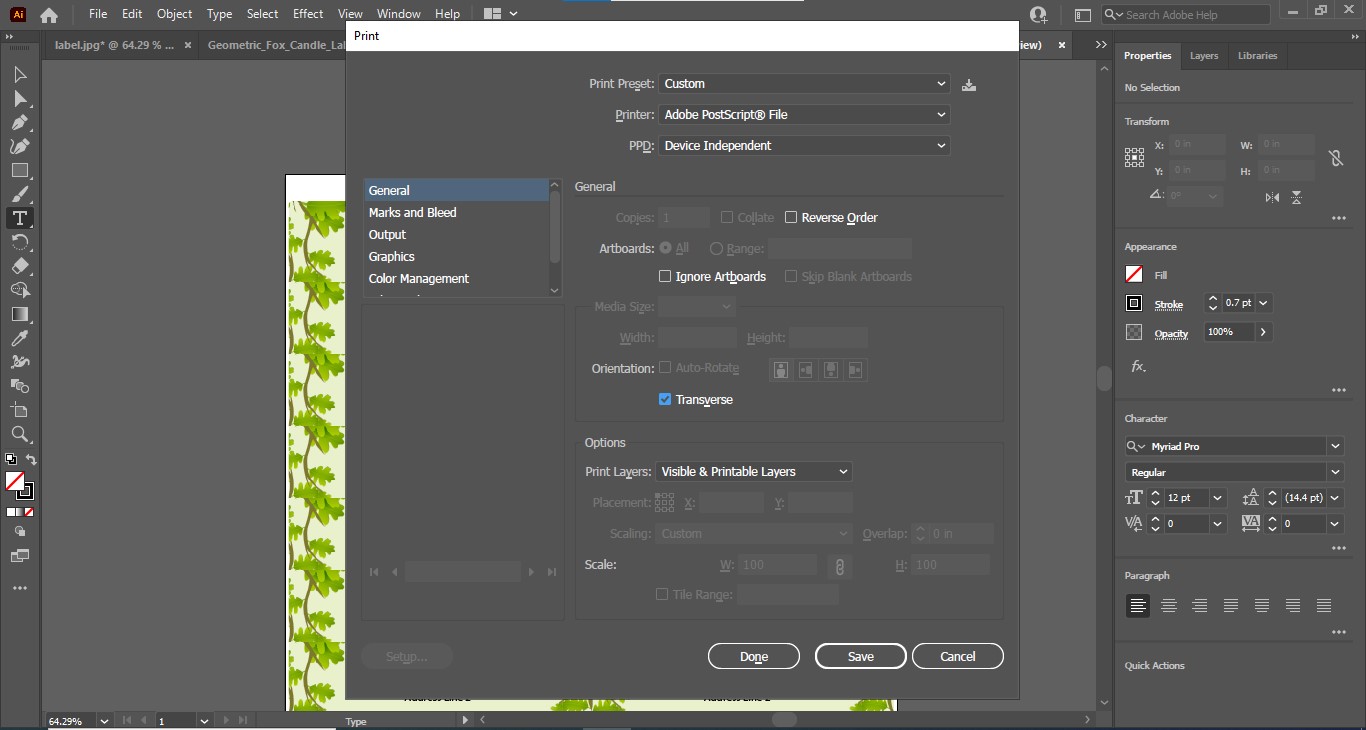
5. Go to the printing settings, click the Transverse option, and click Done. Your labels will be ready to print.
Option B: Import Your Adobe Illustrator Design into Maestro Label Designer
OnlineLabels also offers our design software, Maestro Label Designer, where you can upload your designs created through Adobe Illustrator. To transfer a template to this platform, follow the next steps:
1. First, outline the fonts on your labels using the Type option in Maestro Label Designer so they are visible.
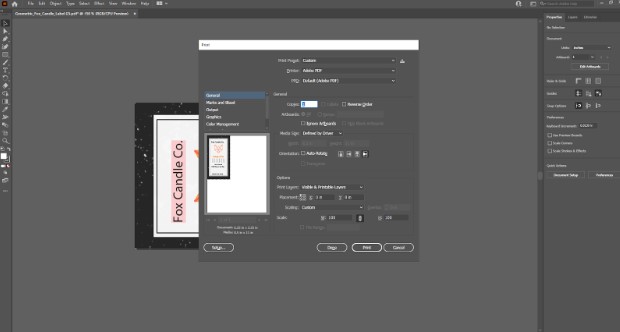
Once your file is ready in Adobe Illustrator, go to the Print option in the upper left corner or click Ctrl + P or Command (Cmd) + P.
Change the top corner to an Adobe PDF, ensure the orientation is vertical, and then click the Done option.
2. Open Maestro Label Designer on your desktop.
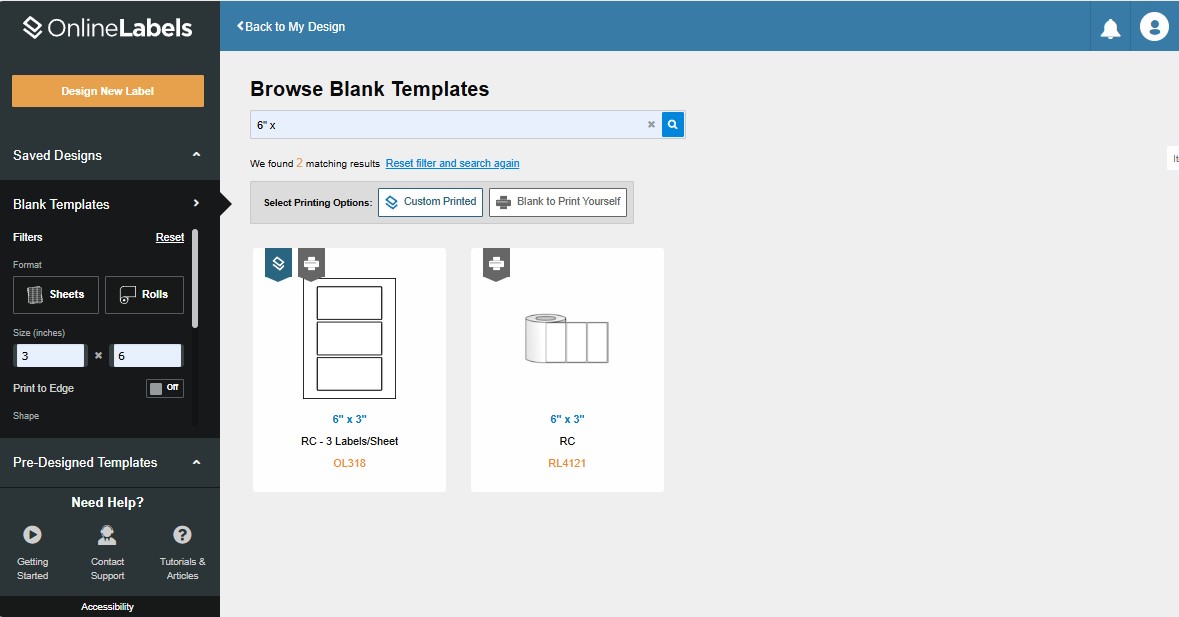
3. Go to the Blank Templates section on the left and specify the dimensions.
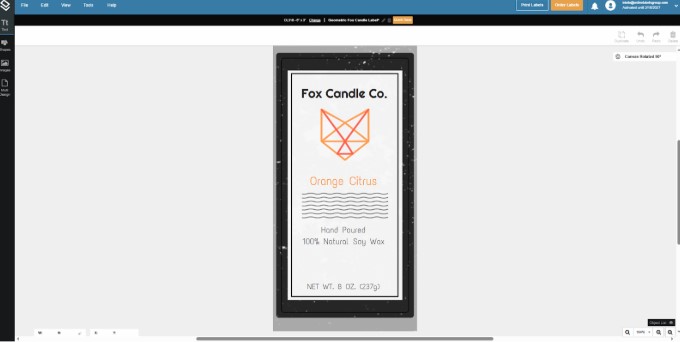
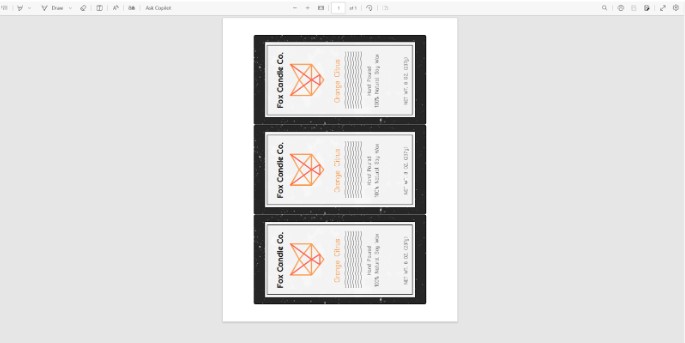
Upload your artwork and align it to the label canvas, taking into account the bleed and safe zone guidelines.
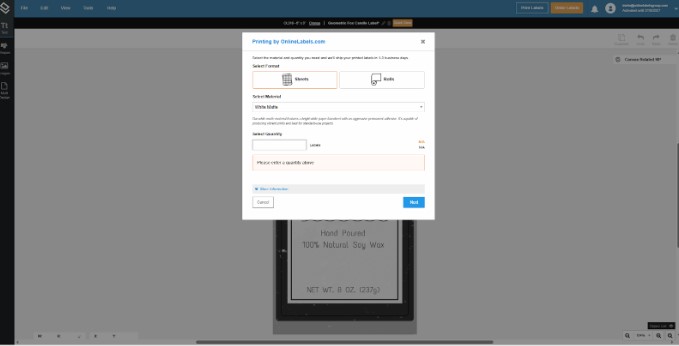
4. Finally, your label is ready to print. If you'd like to print labels yourself, select Print Labels and follow the onscreen prompts. If you'd like us to print labels for you, choose Order Labels.
Print Labels
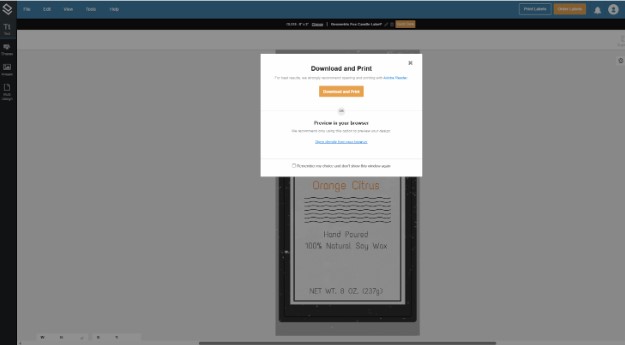
Order Labels
Learn to Print Labels Using Adobe Illustrator
By setting up your Adobe Illustrator file correctly and choosing the right platform, you can ensure your labels look as vibrant and professional on paper as they do on screen. If you want more information on Adobe Illustrator or to learn more label tricks, like preparing your design for white ink printing, check out our guide for Adobe Illustrator and Photoshop users.
