How To Create Your Own Cosmetic Product Labels

Whether you’re new to the cosmetics industry or are looking to give your business’ brand a makeover, the whole process of creating labels for your products can be an intimidating feat. Between different label shapes and sizes, materials, colors, and styles, there are endless possibilities, making it difficult to know where to start.
Our range of products are sure to help you label your line of products, including:
- Serums, Toners, Face Creams, Foundation
- Blush, Eyeshadows, Eyeliners
- Lip Balms, Lipsticks
- Lotions, Soaps, Essential Oils
Keep reading for a step-by-step guide walking you through the process of your own cosmetic labels.
Step 1: Determining Your Label Size and Shape
Your cosmetics are designed to make people look and feel their best, but is your packaging doing that for your product? Whether you're selling homemade cosmetics or commercial-grade products, adding a high-quality label will help elevate the appearance and value of your personal care products.
Take advantage of your container with labels designed to fit the lid, bottom, and sides. There are a few things you want to keep in mind when choosing your the best size and shape for your product labels:
- How much information do you want your label to convey?
- What is the shape and size of your product or container?
- Is the package, or the product more visually important to you?
- Are there any industry trends or standards?
Don’t be afraid to get creative here and experiment a little with different shapes and sizes. We recommend purchasing a few sheets of different sized blank label templates and trying each one on your product container to see which look you like the most.
Step 2: Choose a Label Material
The next thing you'll need to consider is which label material to use. Think about the contents of your product and what kind of environment it’ll be in. Are you selling an oily product or one that could potentially leak? Is it something typically kept in a shower or bathroom where it’ll be humid?
Weatherproof labels are an excellent choice for most cosmetic products because they offer great resistance against moisture and frequent handling. This material will protect your labels from tearing and ink bleeding.
Our clear gloss laser labels are a great option too if you want that ‘barely-there’ look. Our clear label materials for laser printers are also weatherproof, allowing you to achieve your desired look without sacrificing durability.
Our weatherproof labels are great for light-to-moderate water exposure, although you may want to consider putting an extra finish on your labels. Our clear gloss overcoat spray is a good choice for an extra boost of durability.
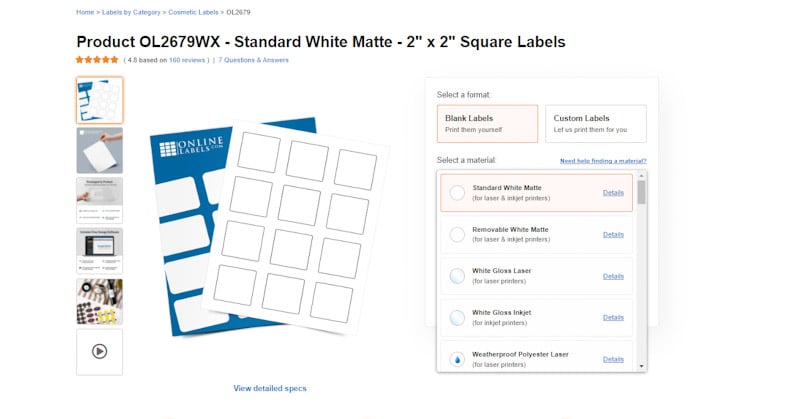
You'll see a list of materials available for your label size after selecting a product. You can read a description of each material as well.
You may also want to consider using shrink sleeve labels. They're a popular choice for cosmetic products, as they're highly durable, tamper-proof, and provide 360 degree coverage. If you don't want to go full-on shrink sleeve but still want a label that will fare well on a squeezable container, our custom squeezable film labels are a great option too!
Step 3: Creating Your Design
Once you have your size, shape, and material picked out, it’s time to design your label. Using one of our pre-designed cosmetic label templates is a good option if you don’t know where to start. Once you choose a template, you’ll be able to change and adjust the text, add shapes and images, and more using our user-friendly Maestro Label Designer.
Another option is to upload a design you already created to a blank label template. Once uploaded, you’ll be able to adjust your artwork to fit.
We recommend starting your design from scratch using Maestro Label Designer for ultimate creative freedom and endless possibilities. If that sounds overwhelming to you, here are some design tips to get you started:
- Incorporate your brand’s colors to maintain consistency
- Use various text sizes to show a hierarchy of importance, for example, making the product name the largest size
- Incorporate different fonts
- Use imagery and graphics that support your brand and sales message
Think about safe zones, bleed area, and overlap so parts of your design don’t get cut off, and so you don’t have blank edges in case the label sheet shifts during printing. Keep important aspects of your design 0.125 inches away from the label outline on the inside, and add 0.125 inches of design past the outline on the outside.
If you decide to go with a wrap-around label for your product, there’s usually a sliver of overlap at the end. Consider measuring how much overlap there would be and marking that on your canvas.
The FDA lays out cosmetic label regulations for products, so become familiar with those to ensure you’re within the legal guidelines. Some essentials you’ll have to include on your label are net weight, contact information, instructions for use, ingredients, and product warnings.
Don't want your labels looking overcrowded with the necessary FDA information? Don't worry! Our multi-layer labels are the perfect solution for this. With these, the top layer easily peels back to reveal additional copy underneath on a base label layer.
Step 4: Applying Your Label
Before applying your label, always thoroughly clean and dry the surface to ensure no dust, dirt or oil are getting trapped under the label.
For containers that are curved like bottles and jars, it’s tempting to start from the sides -- but this makes it difficult to make it straight. You’ll actually achieve the best results by starting from the middle and working your way out to the sides.
Some surfaces are more difficult for the label adhesive to cling to. If you find that your label just won’t stick, try priming the area by taking fine sandpaper or emery cloth and gently rubbing the surface.
It’s easier than you think to have inconsistencies in your label placement across different items. To maintain consistency between products, use one product as your reference as you apply labels to the rest, or depending on the type of container, it may be easier to use an obvious reference point on the container.
Get Started
Following these steps will help you create quality labels for your product that will look clean and professional. Creating your own labels is a very involved process that’ll require trial and error, but in the end it’s more rewarding when you’ve created something that’s fully yours. Use this guide and you’ll be creating beautiful cosmetic product labels in no time!
Ready to get the ball rolling? Find the perfect label for your cosmetic product by shopping for our selection of cosmetic labels.
