How To Add Bleed To Your Label Design

Maestro Label Designer offers the ability to add bleed to your label design so you don't end up with unprinted edges. Below, we explain bleed in more detail and walk you through the two ways to add it to your design.
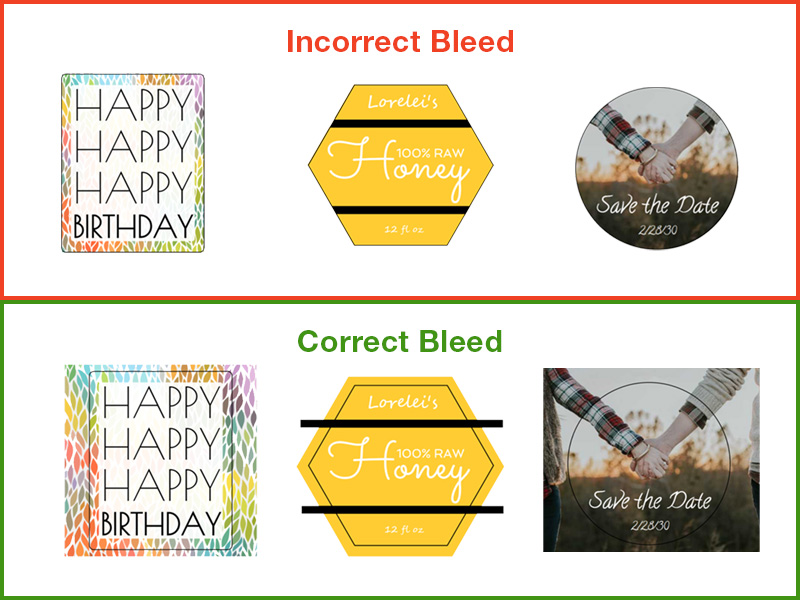
What is bleed?
"Bleed" is a printing term that refers to the process of extending your design beyond the dimensions of your label. This ensures that you don't have any unprinted edges when you peel your label from the liner should anything shift during printing.
Designing for Bleed
Maestro Label Designer automatically prints everything within 0.125" of the label outline as bleed, if your label configuration allows for it. (Not all configurations have bleed; shop our print-to-edge labels.)
Thus, if you arrange your design as normal but have it extend beyond the label outline onto the canvas, you're already doing it!
Want to check your work? Toggle the switch for "Show bleed and safe zone lines" under "View" in the blue navigation bar. Learn more about the bleed and safe zone lines in Maestro Label Designer.
Note: If you've added a background color to your canvas using the background color tool (learn how to do this), Maestro Label Designer will automatically bleed the background color during printing.
Adjusting Bleed Parameters
If you want to increase or decrease the size of the bleed zone, use the following instructions.
Launch Maestro Label Designer and sign in.
-
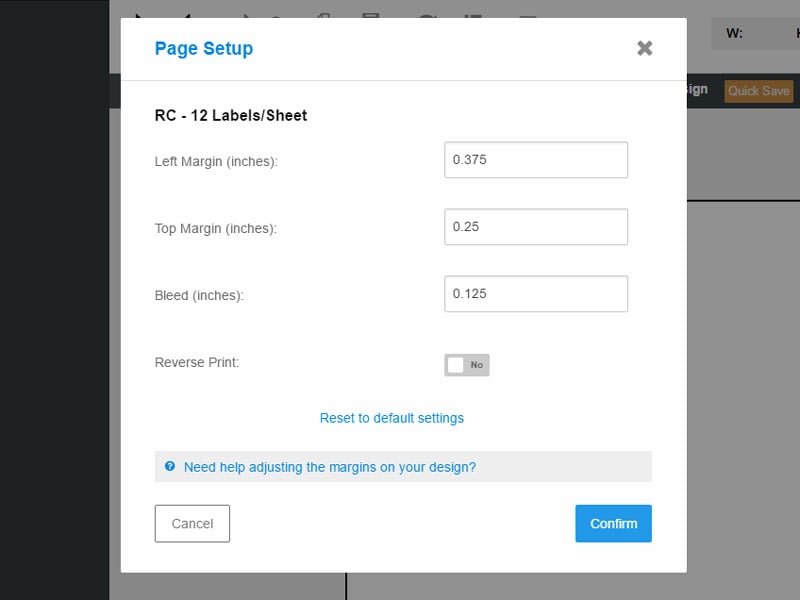
With your label open, hover over "Print" in the blue navigation bar and select "Page Setup."

-
Enter your desired size in the blank for "Bleed" and hit "Confirm."
If you need additional support adding bleed to your design, our customer service team is happy to help. Please call 1-888-575-2235.
