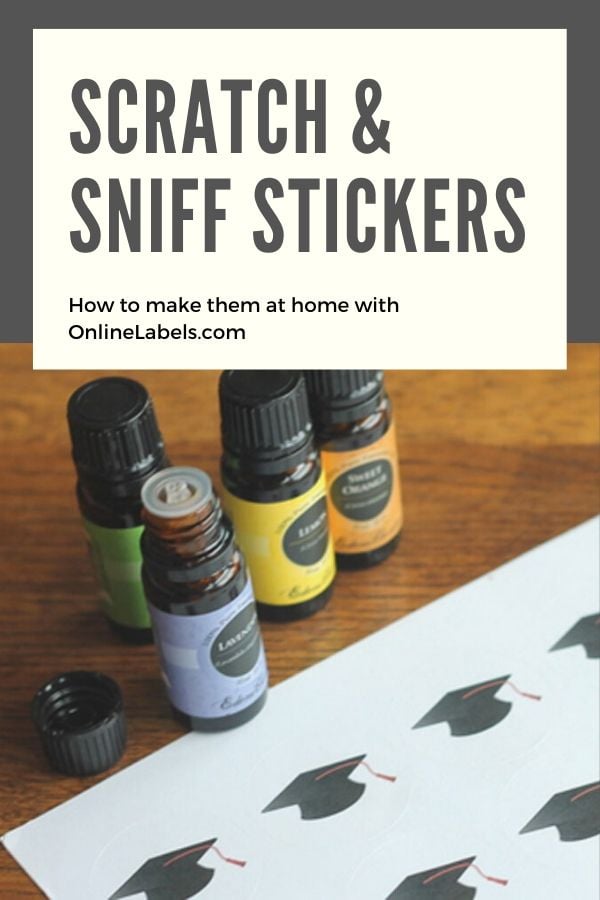
DIY Scratch-And-Sniff Stickers

Anyone can make their own scratch and sniff stickers, it's that easy. I'm using a graduation-themed design to illustrate the process.
Keep reading for details on how to get started.
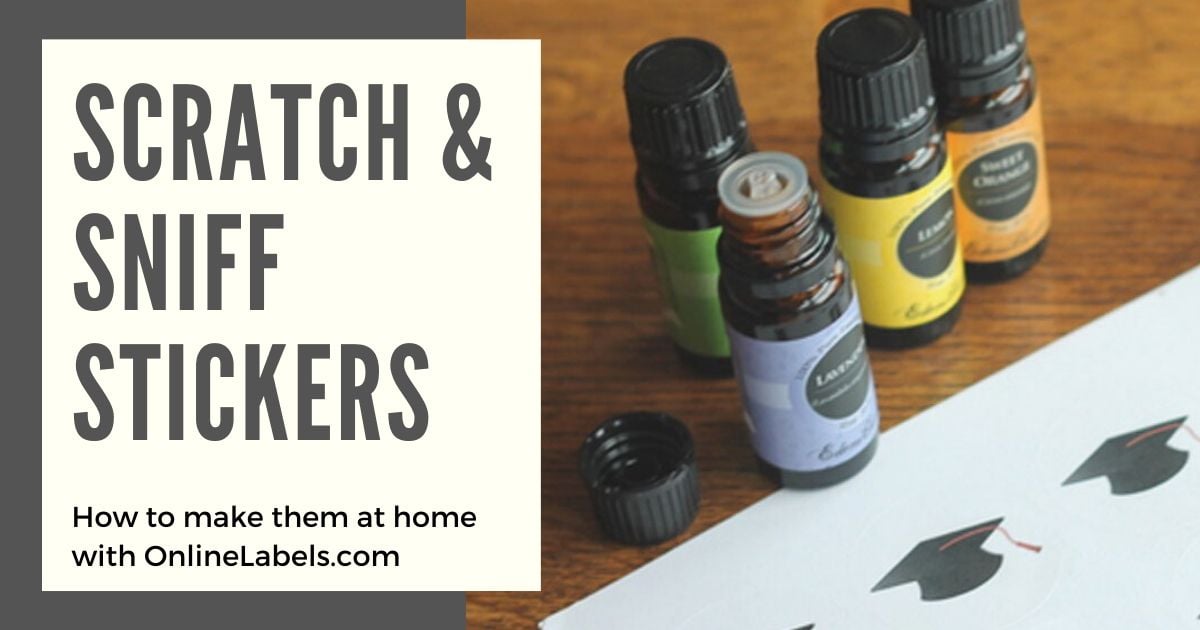
Supplies
Grab your sheet of labels and some essential oils in your favorite scents.
Be sure your essential oils don't have any coloring in them. My orange one tinted the stickers – see the orange ones in the middle row below.
Instructions
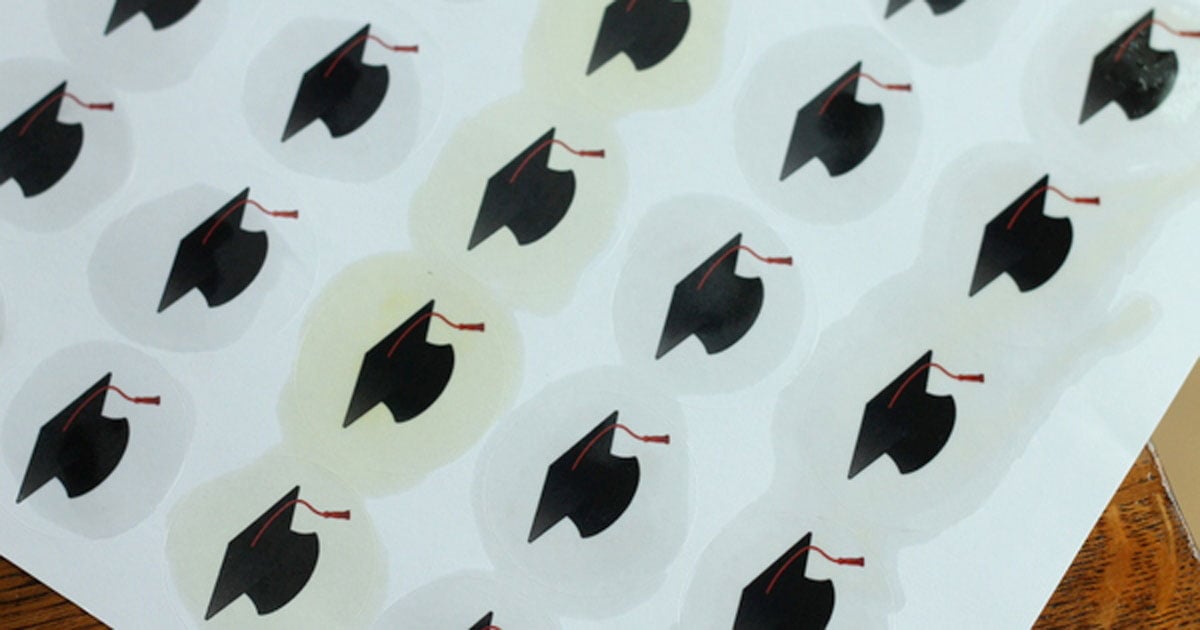
Step 1

Apply one drop of oil to each label.
Step 2
Rub the oil over the entire label with your finger. The ink will not bleed as long as you do not rub too long.
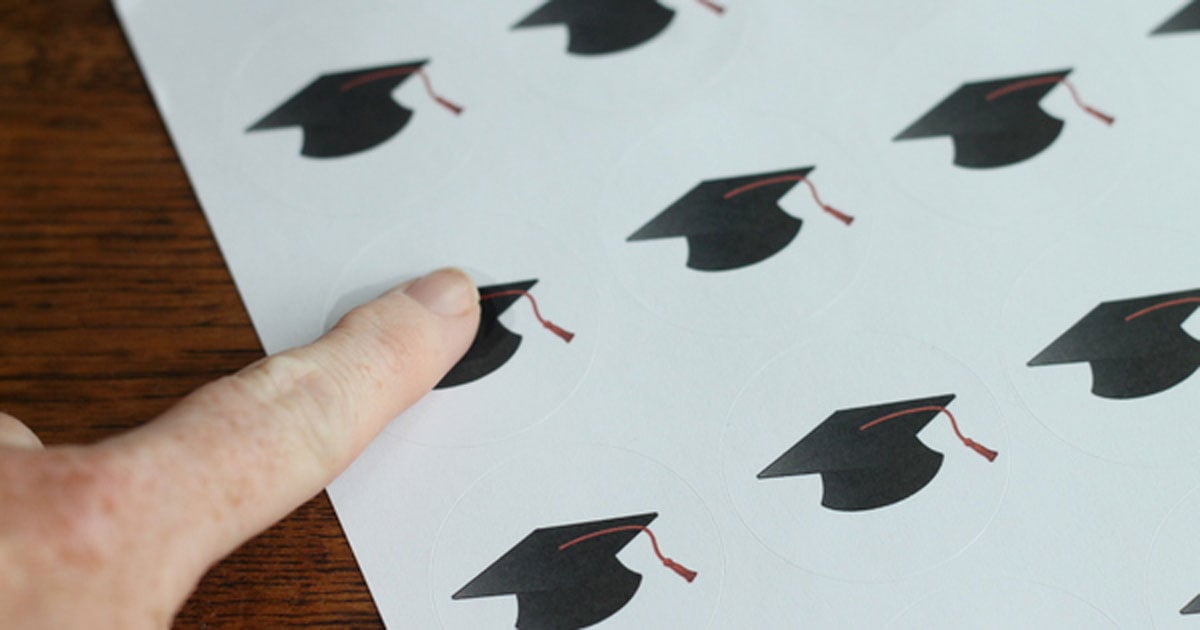
Step 3
Set your labels aside to dry completely.
You can turn any label into a scratch and sniff sticker with ease. Friends, family, and customers will love the nice touch!
Want to make scratch-and-sniff stickers you can sell individually or give away to friends? Get custom die-cut stickers , printed and cut by us!