Adobe Reader: Guide for Installation & Use

We want you to get the most of your Maestro Label Designer creations. Depending on what program you're using to open and print your design, you may experience some issues aligning your design with your label sheet. Many browsers and PDF readers today have removed the functionality to print a PDF at actual size.
Instead, they stretch or shrink your design to fill the page. When your PDF scales like this, it can warp your design and change the way it lines up with the labels on your sheet.
To avoid inadvertently scaling your design, we recommend downloading and installing Adobe Acrobat Reader DC. Adobe Reader is a free program you can install on your computer with minimal effort.
Download & Installation
Step 1
Visit the Adobe Acrobat Reader DC download page to begin.
Once on the page, make sure the left-hand column correctly identifies your system. If it isn't correct, you can manually select your operating system by clicking the "Do you have a different language or operating system?" link. When you're ready, click "Download Now."
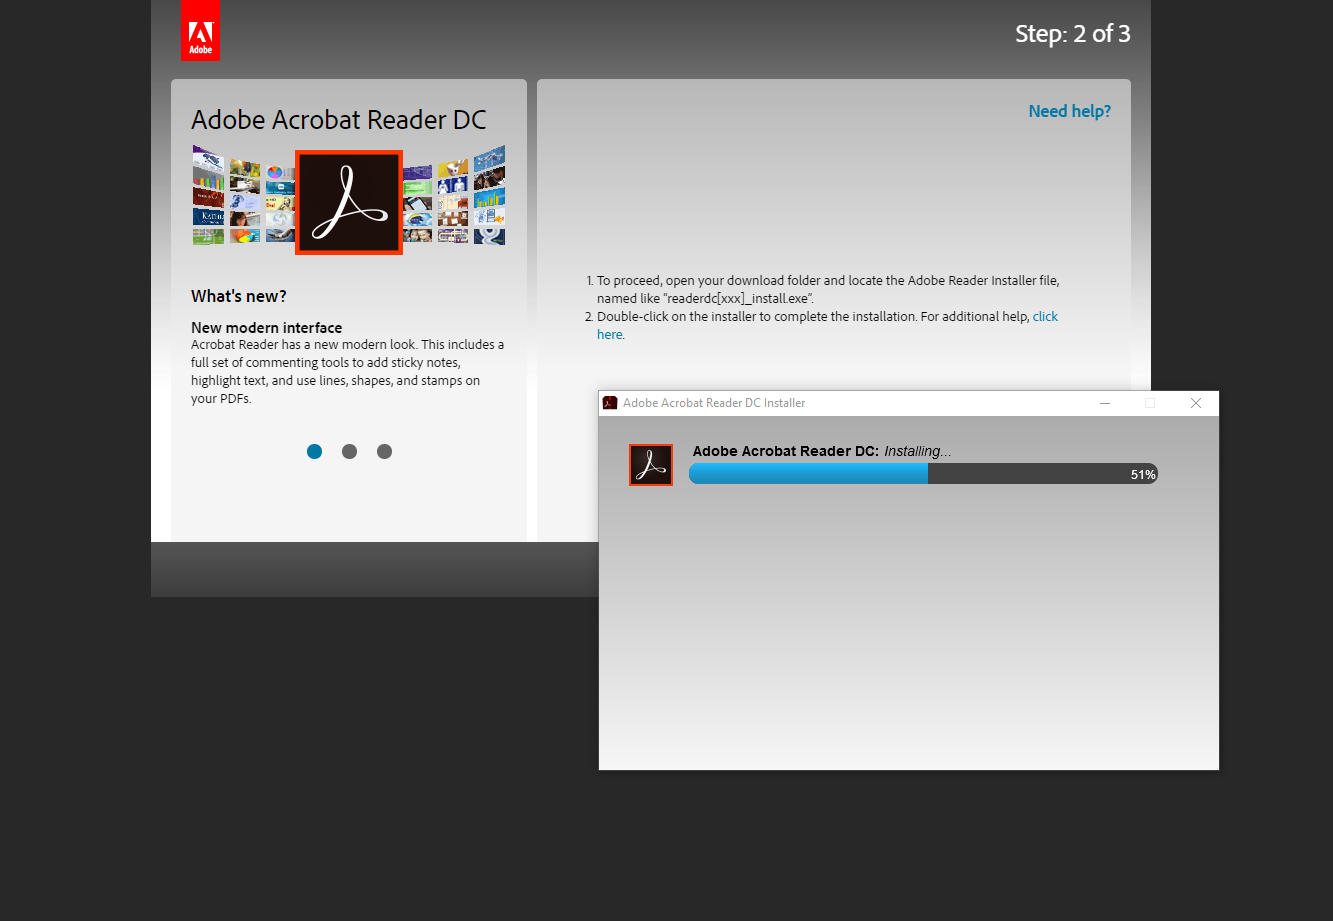
Step 2
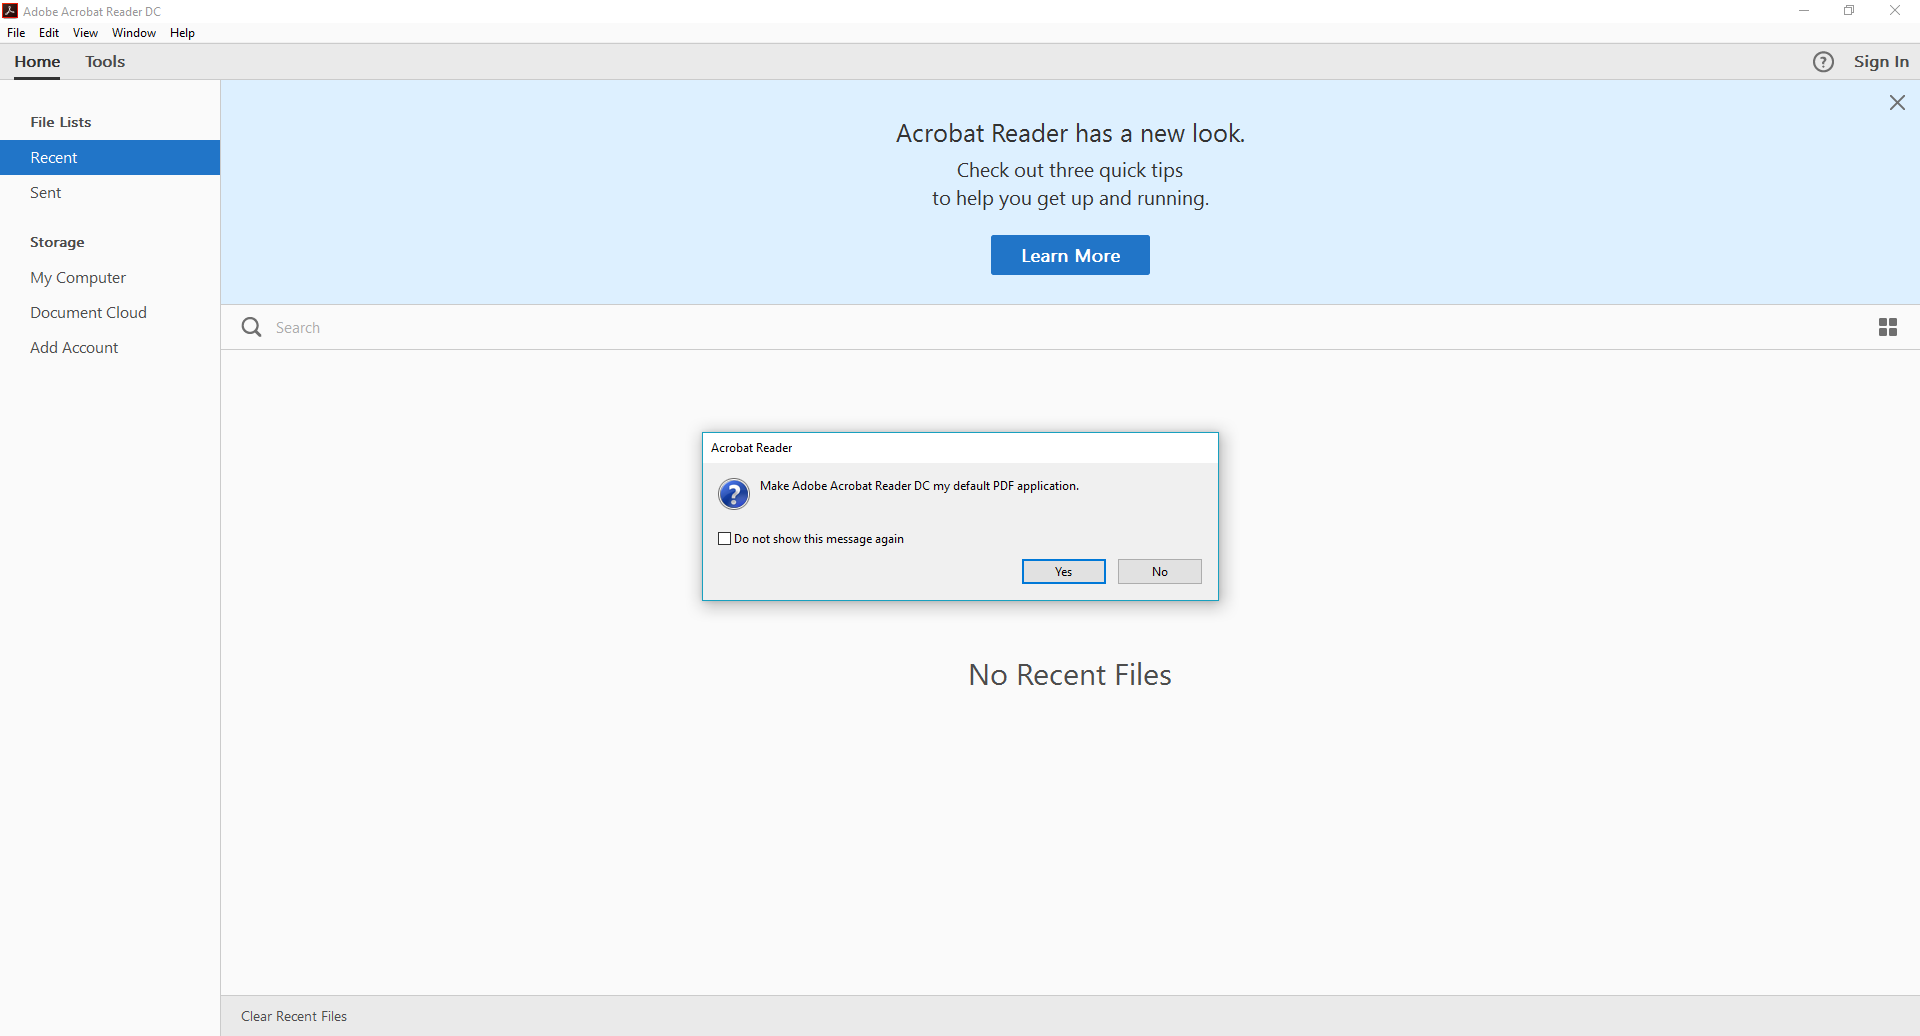
Set Adobe Reader as the default application.
Once the installation is complete, you may be prompted to open the program. If a popup dialog box opens on your screen, click "Yes." This will complete the process and allow you to skip the steps below. If you did not receive this dialog box, proceed to step 3.
Step 3
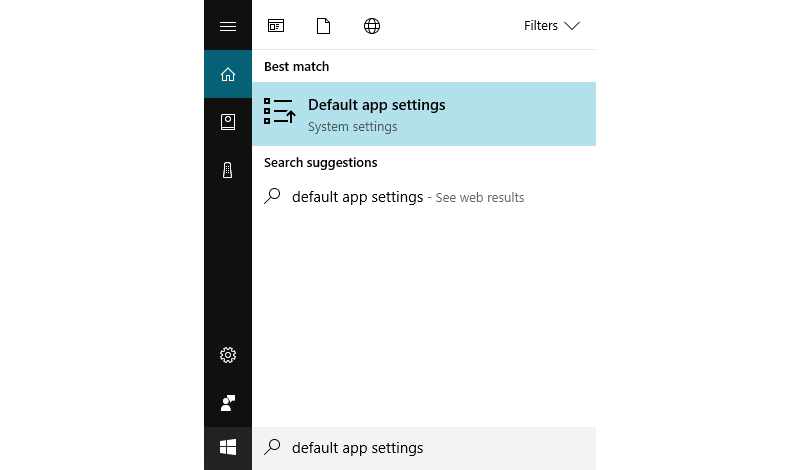
Open settings.
Click on the Windows start icon in the bottom left-hand corner of your screen, type in "Default app settings," and hit enter.
Step 4
Select "Choose default apps by app."
Scroll to the bottom of the page. Under the "Reset" button is a list of links, choose the last one.
Step 5
Find Adobe.
Locate "Adobe Acrobat Reader DC," and click "Manage." For the ".pdf" option, select Adobe Reader from the list.
Recommended Print Settings
- Go to "File" > "Print"
- Find the section titled "Page Sizing & Handling"
- Select the option for "Actual Size"
- Click "Print"
Firefox Default Settings
Step 1
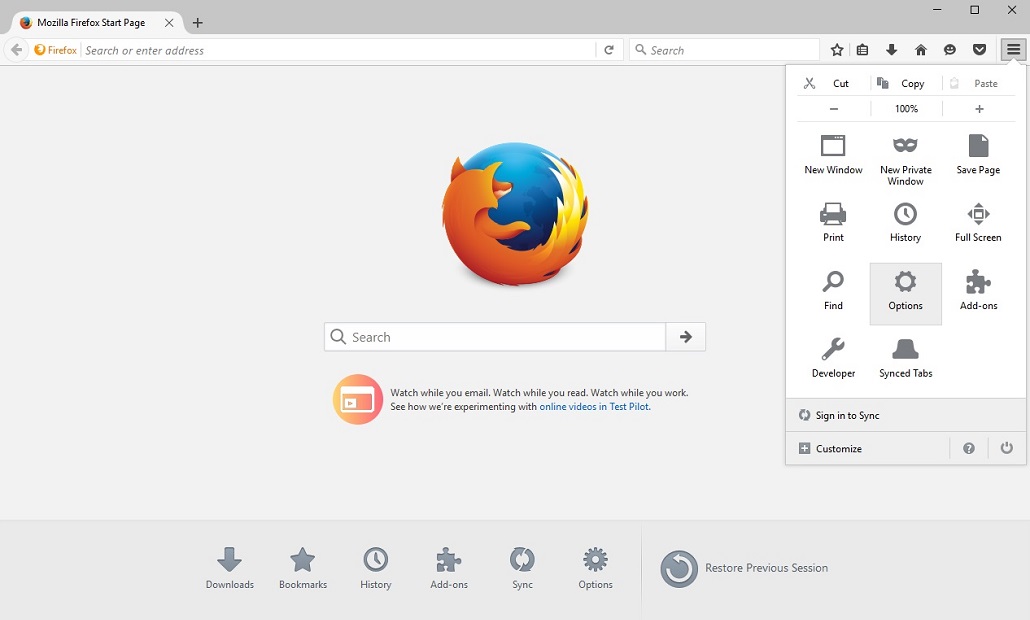
Open the menu in the top right corner. Choose Options.
Step 2

Scroll to the middle of the page. Find the section titled Applications.
Step 3
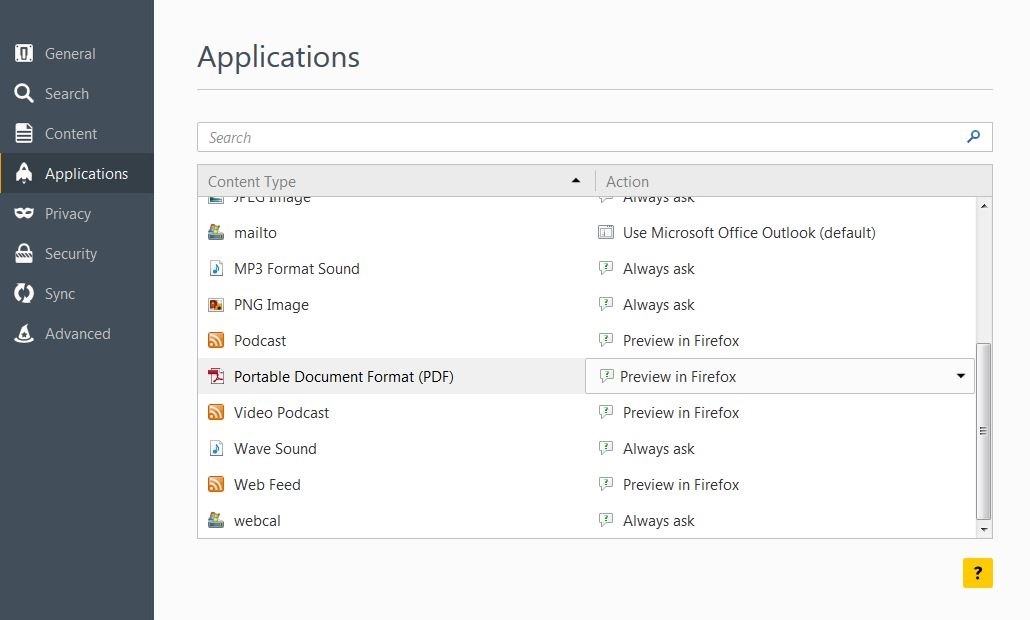
Select Portable Document Format (PDF) from the list.
Step 4
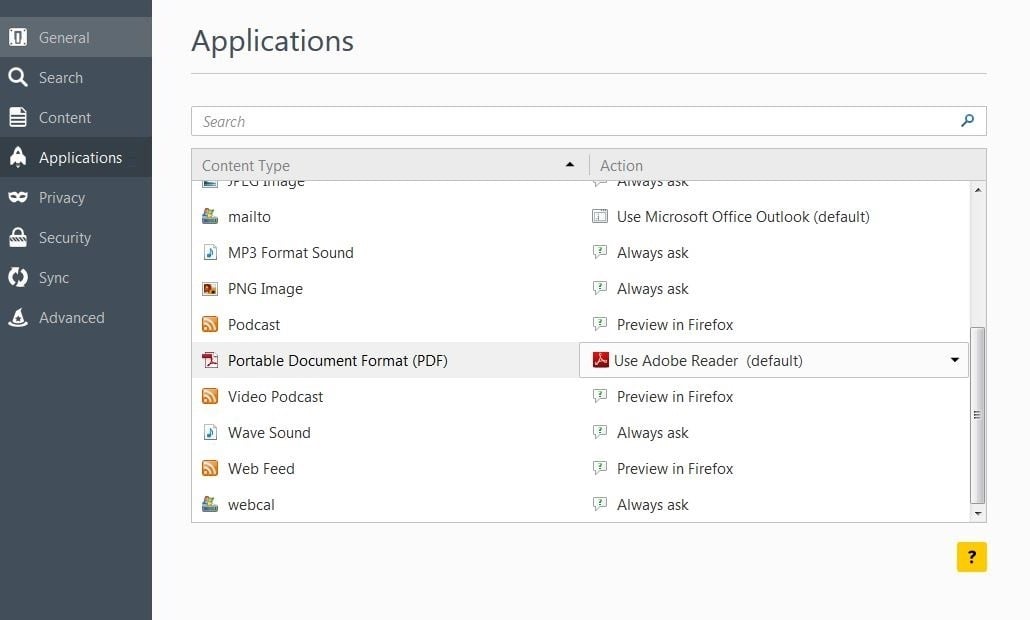
In the drop-down menu to the right, select Use Adobe Acrobat Reader DC. Your changes will be made when you close the dialogue box.
Safari Default Settings
Step 1
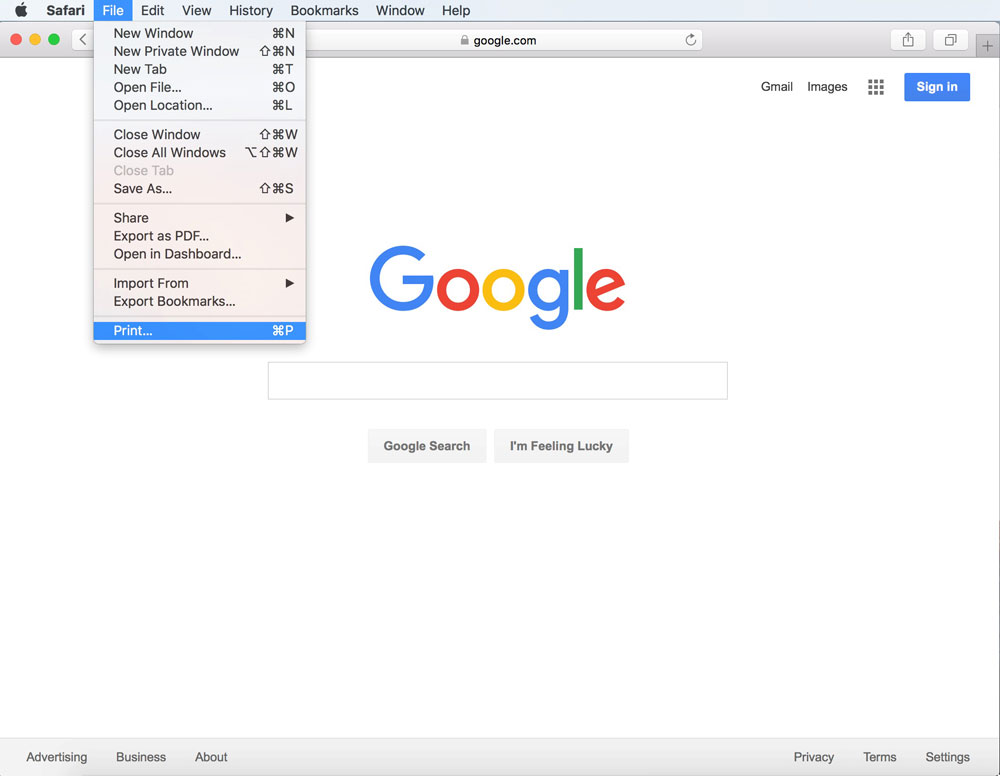
Click File, Print.
Step 2
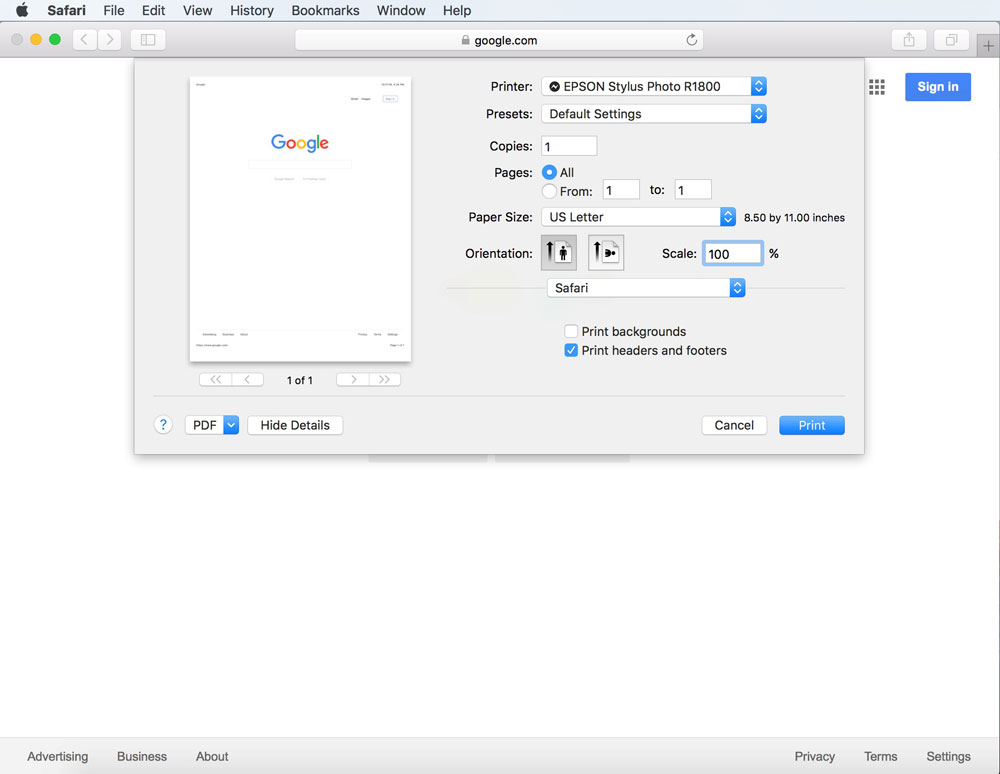
Set Scale to 100%.
You have successfully made Adobe Acrobat Reader the default PDF viewer and should now be able to print without scaling. If you have any additional alignment or printing questions, feel free to contact our customer service team at 1-888-575-2235 for personalized assistance. You can also take our alignment questionnaire for troubleshooting help or visit our Printer Alignment Guide.
