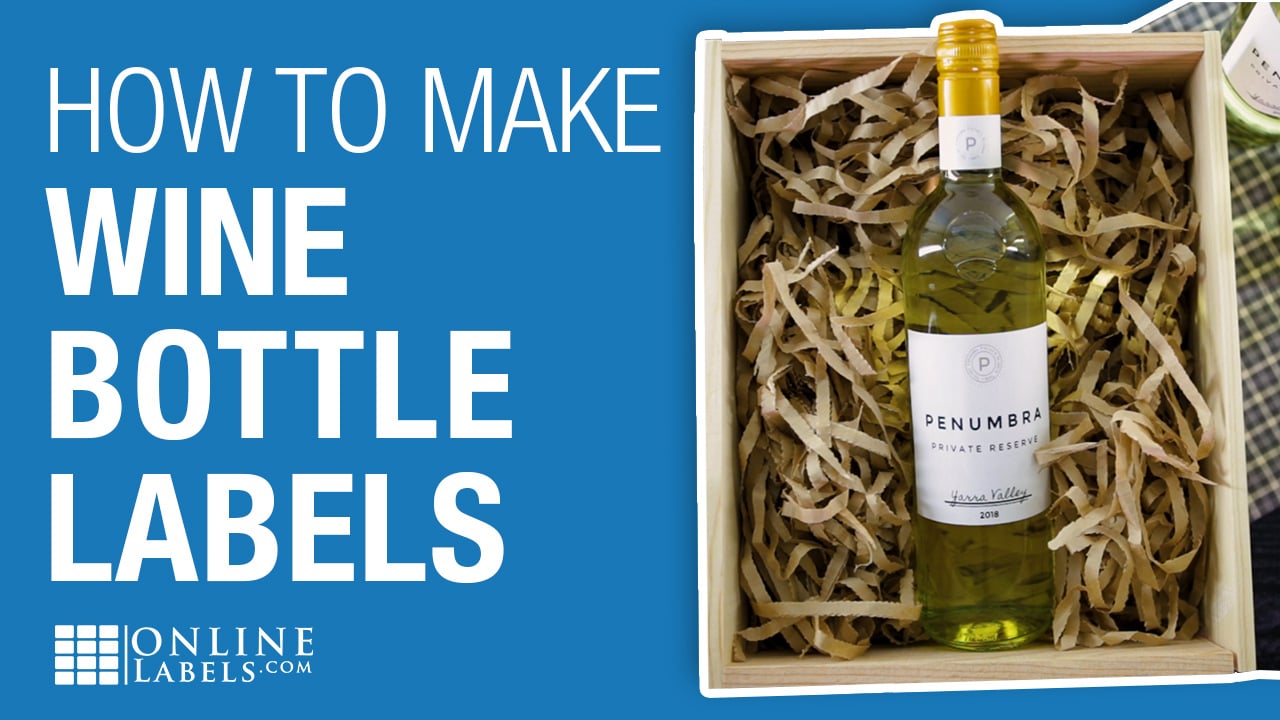
How to Make Wine Bottle Labels
Sure, the most important thing about wine is the taste, but don’t forget about the label. It’s so crucial for setting the stage for the main act: the fruity deliciousness of the wine inside! And it’s not as difficult or intimidating as it may seem to create labels that you love.
Whether you need wine labels for your homemade creations, or custom labels for a gift or an event, look no further! We’re here to walk you through all the steps.
Jump Ahead
1. How To Remove Wine Bottle Labels
You don’t need to pay attention to this step if you’re making your own wine and starting with new bottles.
For those who need to replace an old wine label with your own unique creation, follow these steps:
- Fill your sink with warm water. As your sink is filling up, add a generous squeeze of dish soap or glug of dish detergent.
- Place your wine bottle(s) in the warm water mixture and let it sit for 15-30 minutes.
- Peel the label off. It should come off fairly easily.
- If there’s adhesive residue still on the bottle, pour some Goo Gone or your choice of residue remover on a paper towel or rag, scrub off the remaining residue, and watch it melt away!
- Thoroughly wash and dry the outside of the bottle.
Note: Don’t skip step #4! You want all of that old residue gone so your new label can adhere well.
2. Recommended Wine Bottle Label Sizes
There’s no correct wine bottle label size, so use your best judgment in this area and get creative!
With that being said, we want to help you as much as possible, so here are popular label sizes for common wine bottle shapes.
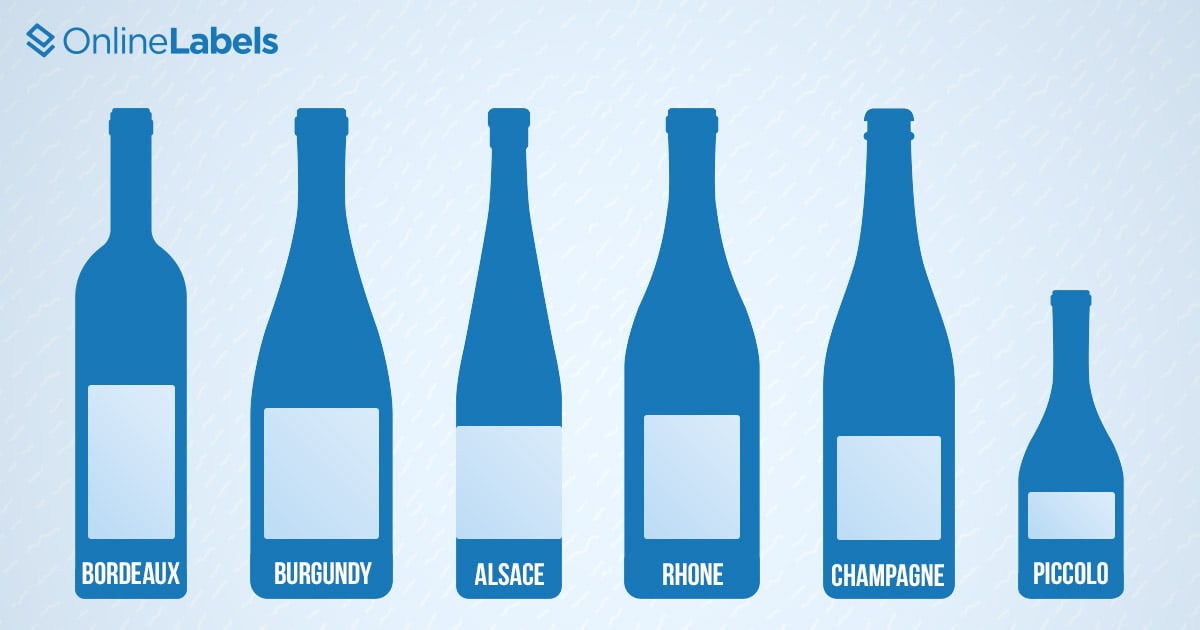
Bordeaux (750 ml)
The most popular wine bottle type. It typically houses Cabernet Sauvignon and Merlot.
Burgundy (750 ml)
Another common bottle shape, typically storing Chardonnay, Pinot Noir, Nebbiolo, Gamay, and Etna Rosso.
Alsace or Morsel (750 ml)
Originally created for storing Riesling, this is now also a popular bottle for Muscat, Gewurztraminer, and Pinot Blanc.
Rhone (750 ml)
Common bottle type for storing Grenache, Mourvèdre, and Syrah.
Champagne or Sparkling wine (750 ml)
The name says it all!
Piccolo or Mini (187 ml)
These are typically used as party favors for all different types of wine.
You can also download our printable ruler and measure your wine bottle vertically and horizontally to gather the dimensions. Make sure when measuring the vertical surface of the bottle, you don’t go beyond the shoulder.
Type your dimensions into our Shop By Label Size page or search for similar sizes among our list of popular wine bottle label sizes.
Don’t feel like you need to be tied down to just a simple rectangular shape! Get creative with unique shapes like rectangles with scalloped corners, arched labels, ovals, emerald labels, and more.
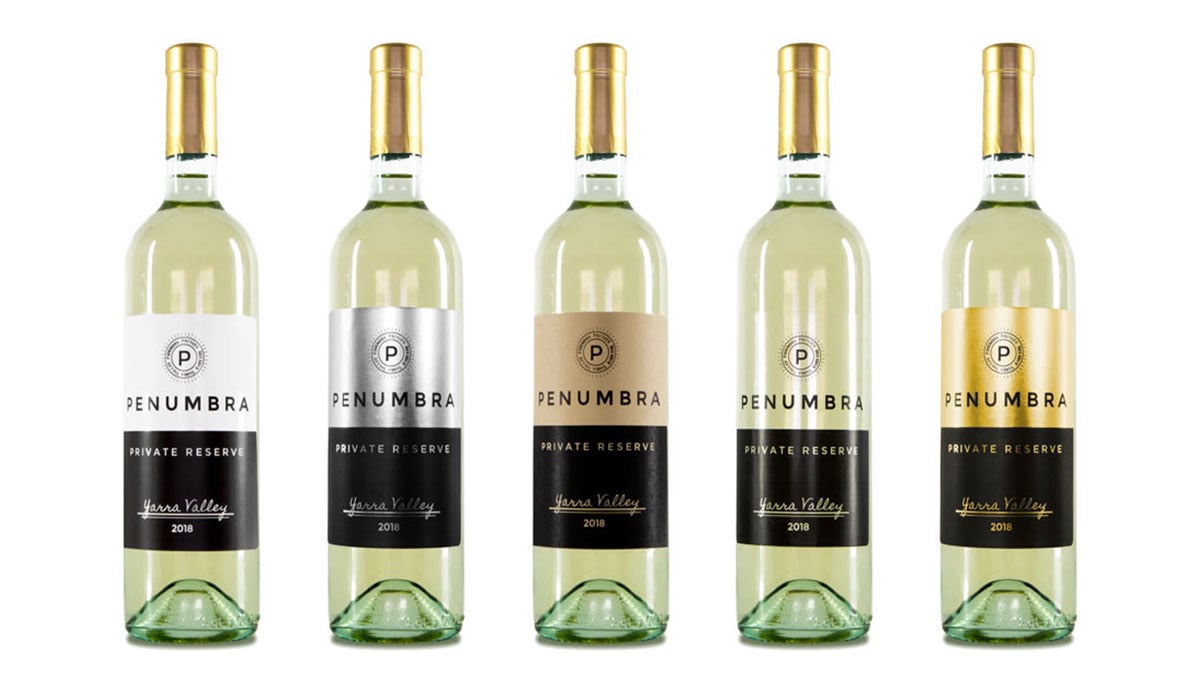
3. Recommended Label Materials for Wine Bottles
If you're labeling white wine, you may want to consider any of our weatherproof label materials. Since white wine is typically placed in a refrigerator, cooler, or ice bucket, your label will need to stand up to cold and wet conditions. Our white matte and white gloss materials are perfect for whatever look you’re going for with your wine labels, whether elegant or playful. Both feature a bright white facesheet that will make any color pop and give your label a classic look.
Other weatherproof materials include clear matte for a frosted look, clear gloss for a barely-there look, and metallic silver for a shiny and elegant look. Any of these materials will give your wine bottles a unique touch. Note: keep in mind that you may need a white underprint for these materials since ink prints transparent. You can get a white underprint when you get your wine labels custom printed by us.
If you're labeling red wine, you don't necessarily need to limit your options since it's typically enjoyed at room temperature or slightly cool. Get as creative as you want!
Like previously mentioned, going with a white material will give you a classic look. And if you’re an inexperienced designer creating custom labels for party favors or to gift to a friend, this is the most forgivable option.
Not needing to use weatherproof also opens the door to a whole host of options like brown kraft, pastel colors, gold foil, true colors, and more!
Just think about the purpose of the label when choosing a material. Do you need a blank canvas to design on, or do you want the material to shine through?
4. How To Design Wine Bottle Labels
Once you have your size and material picked out, it’s time to start designing! If you don’t know where to start, look on Pinterest for inspiration or start with one of our pre-designed wine label templates.
In our template library, you’ll find everything from product labels, to wedding favor labels, to holiday labels… and more! Once you choose one, simply change the text, or open the template in Maestro Label Designer to customize it more.
For creative freedom, we recommend designing from scratch in our design software, Maestro Label Designer! If that sounds intimidating, here are a few design tips:
- Leave plenty of white space in your design
- Use different size fonts to create a visual hierarchy that will guide the viewer’s eyes through the label
- Incorporate different fonts, and see what looks good together. Don’t use too many different fonts
- Use imagery and graphics to add visual interest
- Play around with different combinations of colors
- Only design in the safe zone, and don’t extend past the bleed area
If you already have your label designed, you can upload it to a blank label template where you’ll be able to adjust the artwork to fit.
If you’re designing labels for wine bottles that you’ll sell, make sure you include mandatory information before selling, required by the FDA (Food and Drug Administration) and TTB (The Alcohol and Tobacco Tax and Trade Bureau).
5. Print and Apply Your Wine Labels
Once you have your labels printed, set the wine bottle label in your lap and peel your label off the sheet. Begin by applying the center of the label and work your way out toward the edges. This will help ensure that it’s applied straight.
Tip: Before applying your label, see if there are any horizontal lines on the bottle that you can line the label up with. Or, line it up with the bottom of the bottle.
We hope this article was helpful for you as you start creating your own wine bottle labels!
