Maestro Label Designer Printing Guide
We want to make sure what you've created on-screen matches what comes out of your printer. Read up on our pre-printing tips, printing instructions, and troubleshooting advice (if needed) below.
Check out this label printing guide for general advice not tied to Maestro Label Designer.
Pre-Printing Tips
-
Download and open your Maestro Label Designer files in Adobe Reader whenever possible. Built-in PDF readers (especially Safari's or Preview) may scale your design to fit the specifications of the "normal template." This can cause your labels to be misaligned.
-
Print a test sheet on plain printer paper before loading your labels. Take your draft print and position it behind a label sheet. Hold them both up to the light and check for any alignment issues.
How to Print Your Design
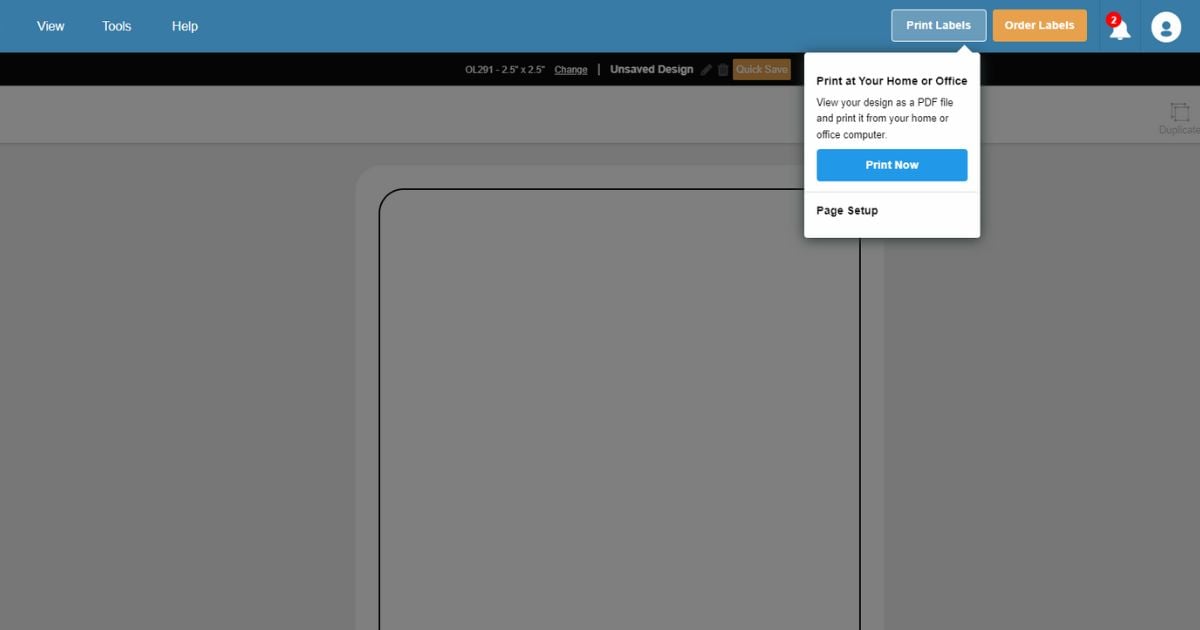
Launch Maestro Label Designer and sign in.
-
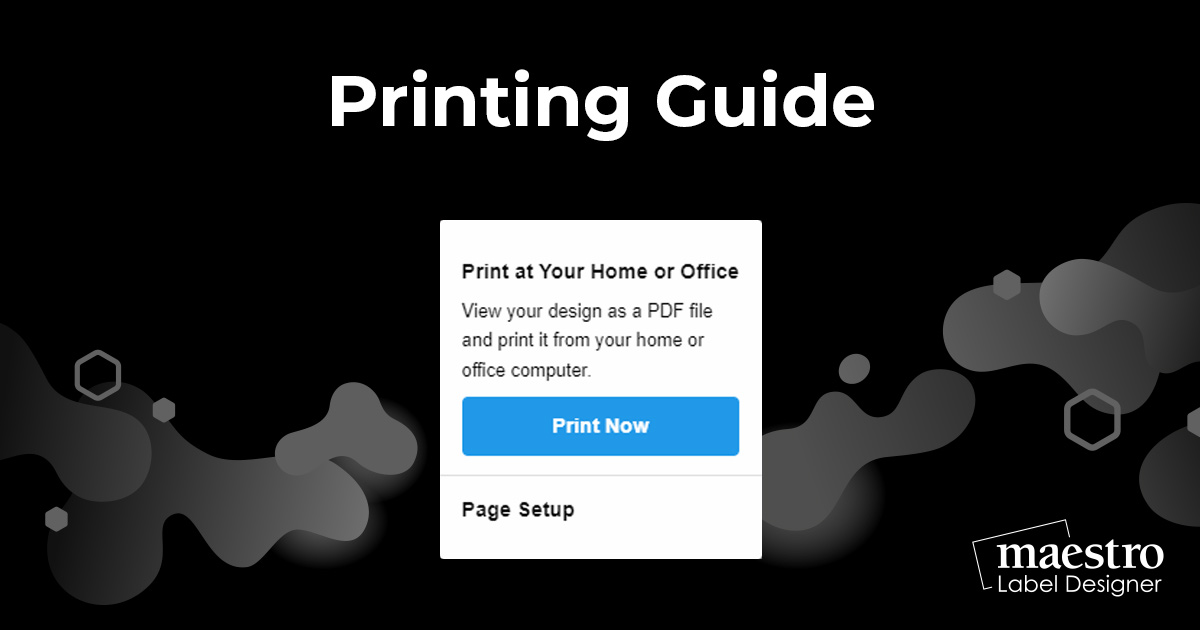
With your label design open, click the orange "Print" button in the blue navigation bar.
-
Click "Print Now" to print the file on your personal work or home printer or select "Start Order" to have your labels printed on our professional-grade printers and shipped to you.
If you decide to print yourself, we recommend downloading and opening it in a dedicated PDF viewer like Adobe Reader. If you're interested in our printed option, check out our custom printed labels.
Common Problems & Fixes
Alignment Issues
If your design isn't properly aligning with the margins of your label, try the following fixes:
-
Open your downloaded label file in your PDF viewer and hit print. Before printing, check that the "Actual Size" option is selected and that page scaling is set to "none." You can also set the "Custom Scale" option to 100%. If you changed one of these settings, load your label paper into the printer and reprint.
-
Run our Alignment Wizard. Hover over "File" in the blue navigation bar, move over "Print" and click "Alignment Wizard." In the following pop-up, hit the blue "Create Alignment Page" button. Load a blank sheet of printer paper and print the document that opens. Return to Maestro Label Designer to complete a short series of questions in the Alignment Wizard. Load your label paper into the printer and reprint.
-
Manually calculate your misalignment measurements and adjust the margins of your document. Measure how far off your design is from the side and top border of your label on your printed sheet. Open the "File" menu, hover over "Print" and then choose "Page Setup." For designs shifted up or to the left, subtract your measurement from the appropriate row. For designs offset to the right or down, add your measurement. Reprint.
Text & Image Outlines
If you see lines running through your image or squares around parts of your design, your PDF reader is recognizing your design elements as an image. By changing the text, fonts, and/or images in your design to an image, the program can skip processing the image and instead print your design as you intended. Here's how:
Open your downloaded label file in your PDF viewer and hit print. Click on the advanced print settings option. Look for the "Print as Image" button – you want this box to be checked. Save your changes, load your label paper into the printer, and reprint.
We want to make label printing as easy as possible. If you continue to experience difficulties, please call our customer service team at 1-888-575-2235. Our award-winning team can offer personalized assistance to ensure high-quality results.
