How to Customize Pre-Designed Templates to Create Unique Labels

Creative block – that dreaded feeling of a blank document staring back at you. Whether you're pressed for time or simply don't have the muse to create something from scratch, a little push can be all you need to get the ball rolling.
With hundreds of pre-designed, fully customizable templates to choose from – and with new ones added constantly – we can help throw your creative block out the window.
Here's how to get started making pre-designed templates your own.
1. Start Your Template Search
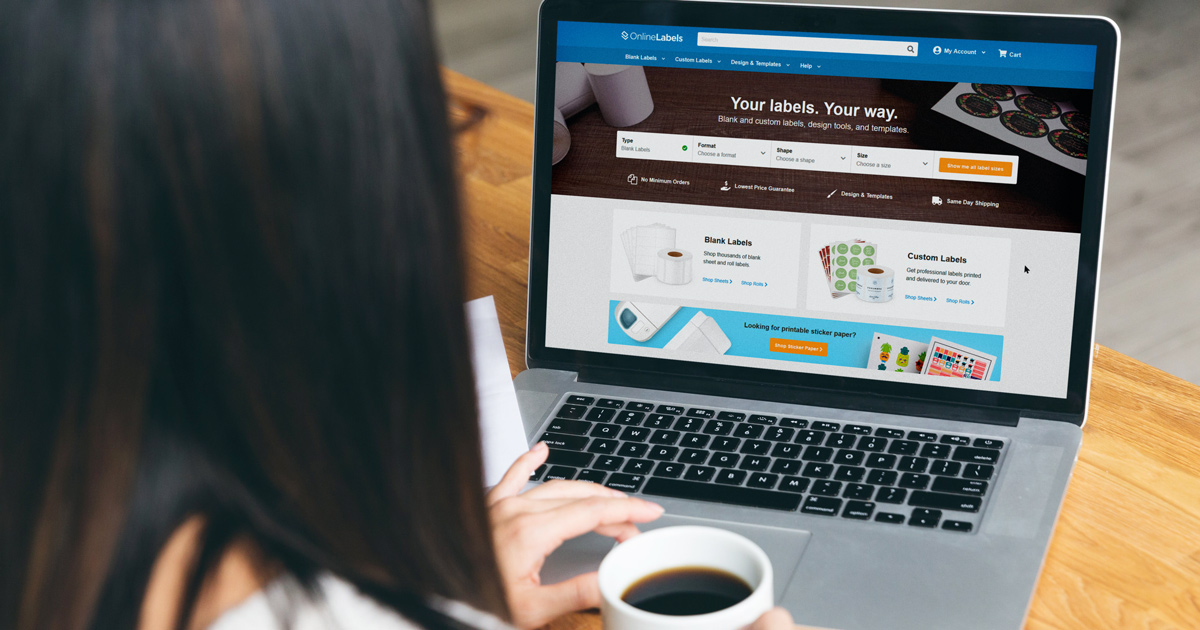
We have a pre-designed label template for just about any occasion. To begin your search, visit the Pre-Designed Templates page of our website. You can access it through the link above or by clicking on "Pre-Designed Templates" from the "Design & Templates" menu in the header.
Once you're on the page, here's how to narrow your results and find what you're looking for.
You can also browse templates within Maestro Label Designer. Follow along with our label template tutorial in Maestro Label Designer.
View All Printable Label Templates
The main pre-designed label templates page shows all of our different label designs. You can adjust the sort order and number of items per page to make the most of your time.
Sort By Product Number
If you know your product number, you can enter it into the search bar at the top of the page or select it from the "Products" category in the left-hand column. If there are no results or you don't see your product from the list, don't worry. Any of our templates can be changed to fit your product number. Learn how to change a label size.
Narrow By Shape
Look for the "Shapes" category in the left-hand column of the templates page. Choose from circle, oval, round-corner rectangle, square-corner rectangle, CD/DVD, and custom shaped templates.
Search By Category, Occasion, Or Use
Use the "Categories" section in the left-hand column to sort through common groupings. Browse everything from personal to professional-use label designs. Popular categories include:
- Wedding Label Templates
- Address Label Templates
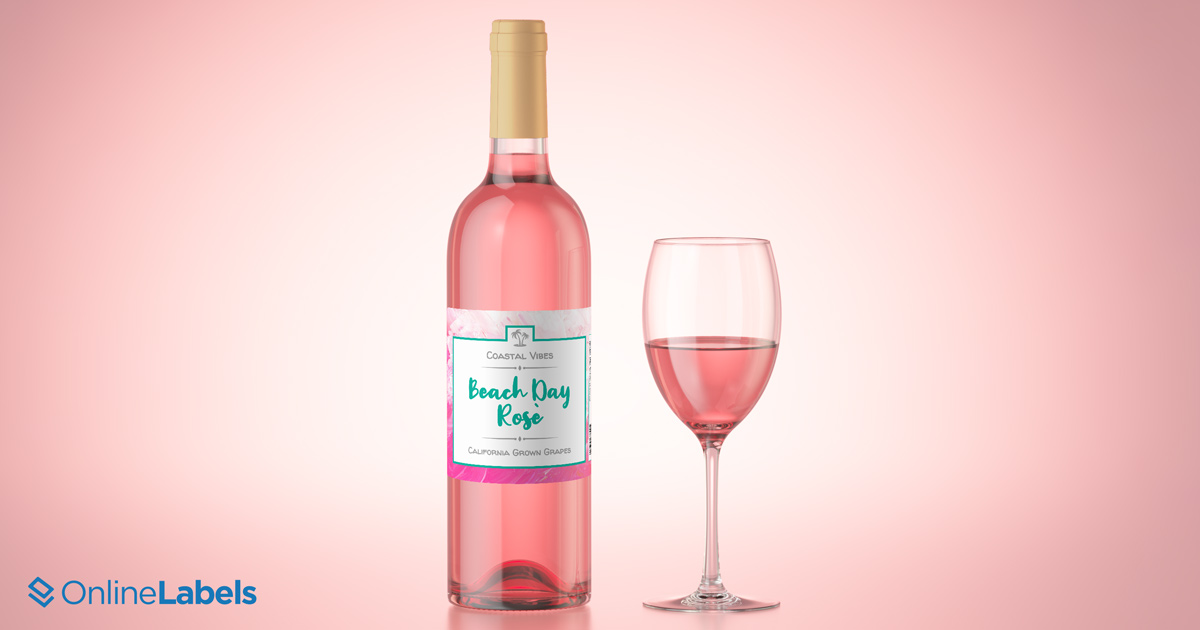
- Wine Bottle Label Templates
- Holiday Label Templates
- Birthday Label Templates
- Bottle Label Templates
- Gift Label Templates
- Shipping Label Templates
2. Choose The Perfect Label Template
Once you identify a template you like, click on it to select it. If your design is available in different colors, a dialog box will open with your options. Click on the different options to preview them, then click "Select This Template" to finalize your choice. You may also be presented with multiple label sizes, you need to select an option to continue. The label size can always be changed later if need be (change label size tutorial).
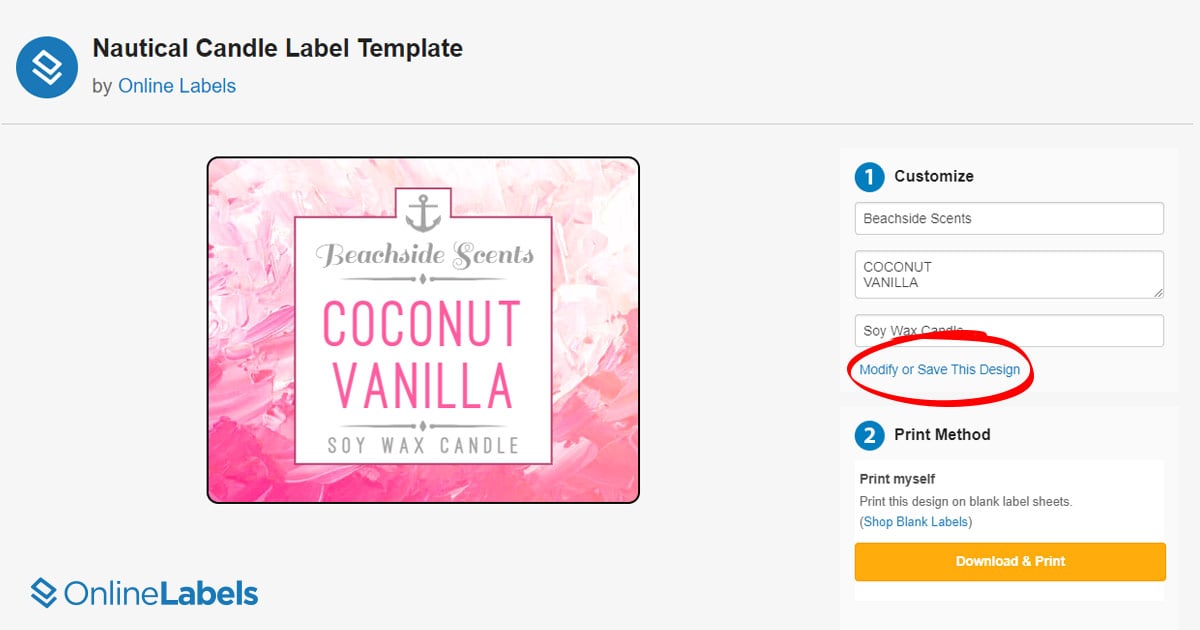
On the next screen, you'll see editable text fields where you can personalize some of the basic label content.
If you're satisfied with the template and do not require additional editing, you can choose to download your label template for free and print it yourself or order it printed. Use the options under Step #2 to make your selection.
If you'd like to customize your label further, select "Customize More or Save This Design" and continue to Step #3 below.
3. Open Your Design In Maestro Label Designer
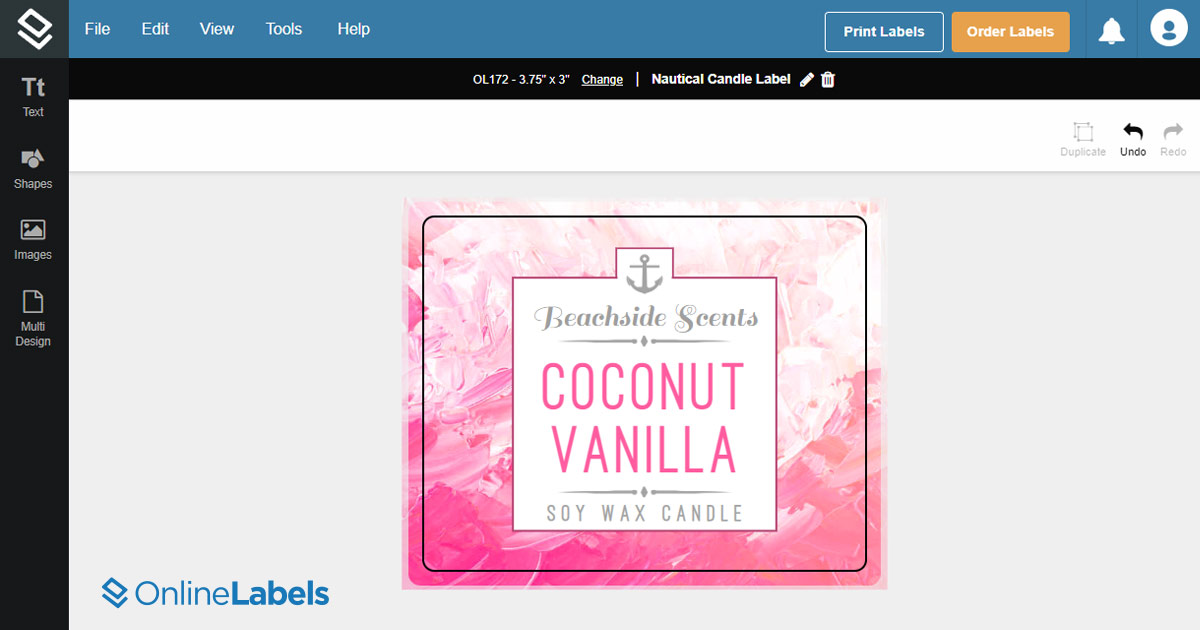
Once clicking the link in the previous step, your template will open in Maestro Label Designer. Here, you'll have the ability to change nearly every detail plus add photos, additional text, and more.
What Is Maestro Label Designer?
When it comes to designing a label, Maestro Label Designer is your go-to tool. Maestro Label Designer is online design software created exclusively for OnlineLabels.com customers. It's one of the easiest and most efficient ways to design and print your labels online. It includes templates for every label size and configuration we offer, so you don’t have to manually setup margins, align your sheets, or search for the right template.
4. Get Creative With The Text
You don't have to settle with the font, color, or size used in the pre-designed template. Make it your own by inserting additional text boxes, playing around with fonts, experimenting with text orientations, adjusting colors, and more. Here are a few ideas on how you can customize the text to make your label truly unique.
Play With Fonts
The style of font you choose helps determine the feel and purpose of your label. If you're looking to create a warning label, for example, you may want to stick with simple, easy-to-read fonts. But if you're designing a label for a beauty product, you may opt to go for something a little more fancy.
Of course, there are always exceptions to these "rules." Think of them more as guidelines than anything else and just have fun with it.
When you click the dropdown under "Font Family" in Maestro Label Designer, you'll notice a second dropdown labeled, "All Font Types." That's where you can filter through different font styles – like serif, sans serif, etc. – to best embody the look you're going for.
Here are some designer font basics to know:
- Serif: This is a style of font where each letter has little strokes at the end (or feet, as they're called in the industry). Take a look at the OnlineLabels logo for example, notice how most of the letters have little lines on the tips. Commonly known serif fonts include Times Roman and Palatino.
- Sans Serif: Most commonly used in modern designs, sans serif fonts don't have the strokes (or feet) attached to the ends of each letter. They are simpler and cleaner looking. Popular sans serif fonts include Helvetica and Arial.
- Script: Also known as handwriting fonts, scripts are fancier fonts that typically resemble organic handwriting, like cursive or calligraphy. Some familiar examples include Playball and Sacramento.
- Decorative: Maestro Label Designer also offers a decorative category which includes fonts with distinct stylistic characteristics. Creepster, for example, arguably resembles Halloween while Metal Mania may give you a 1980's rock-band feel.
Once you've chosen the ideal font(s) for your label, play around with sizing, alignment, and spacing. You can even choose to alter the orientation of your font to give your design a little more spunk.
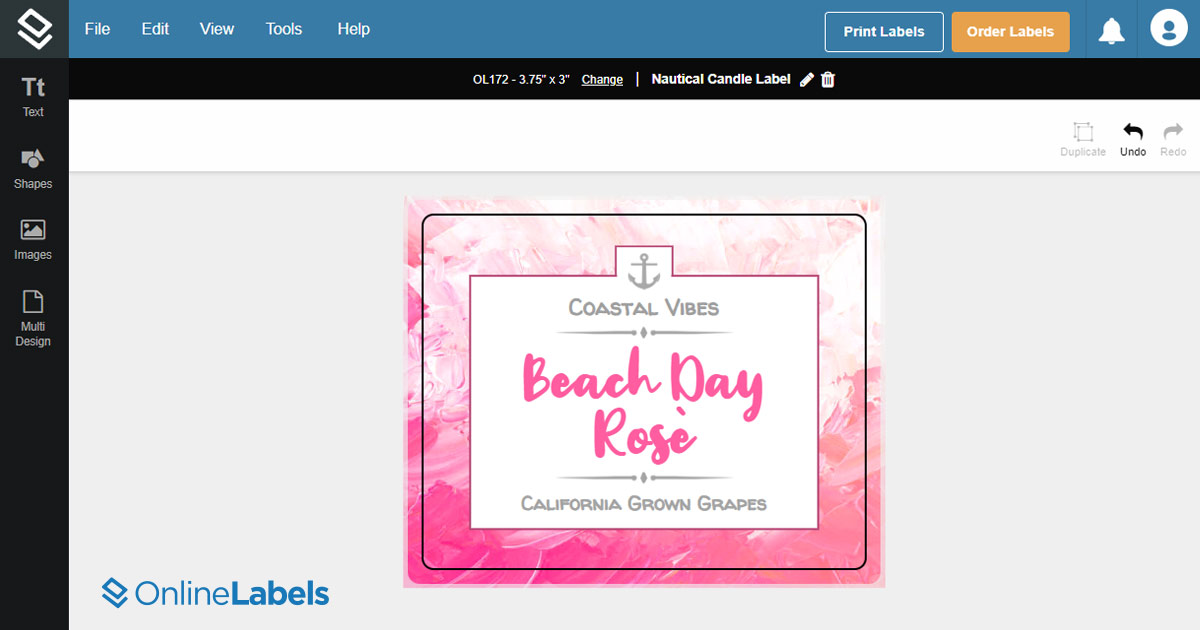
Test Color And Transparency Combinations
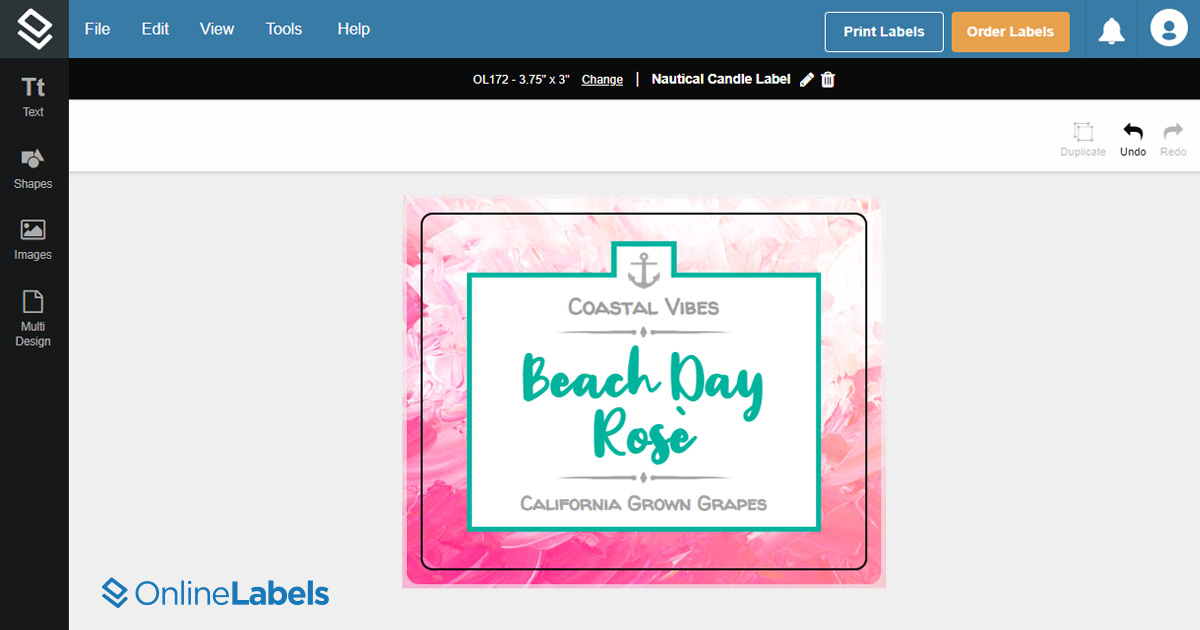
One of the easiest ways to create consistency among products is to experiment with font colors. Try changing colors to match the theme of your product. Have a peppermint-scented candle? Using red in your text can help reinforce the scent to customers.
You can also play around with the opacity to see what you like. You may surprise yourself by creating a unique design.
5. Include Images And Art
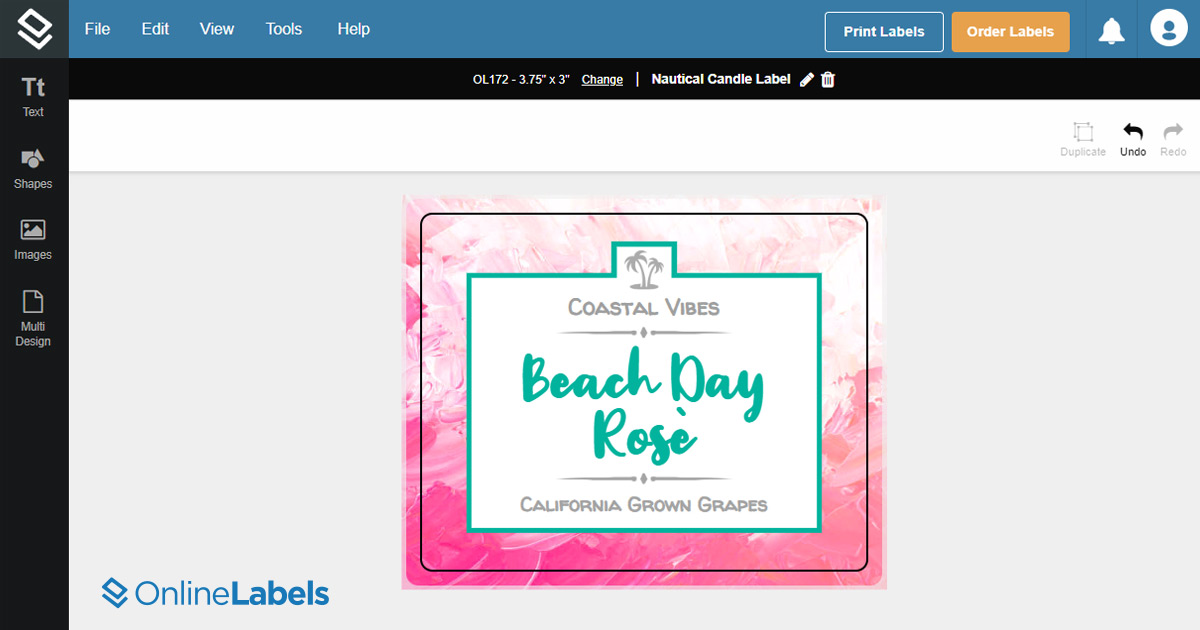
Consider adding shapes, graphics, and other visual elements – especially if you're working off of a very simple template. Use them to create a separation of information in a more stylistic and distinct way, or to add more excitement to your design.
Upload your own graphics, logos, and photos, or pick from thousands of free clipart images included in Maestro Label Designer. They can help your design better reflect the story you're looking to tell – whether it's for a product, business, or birthday celebration.
6. Add Big-Business Elements
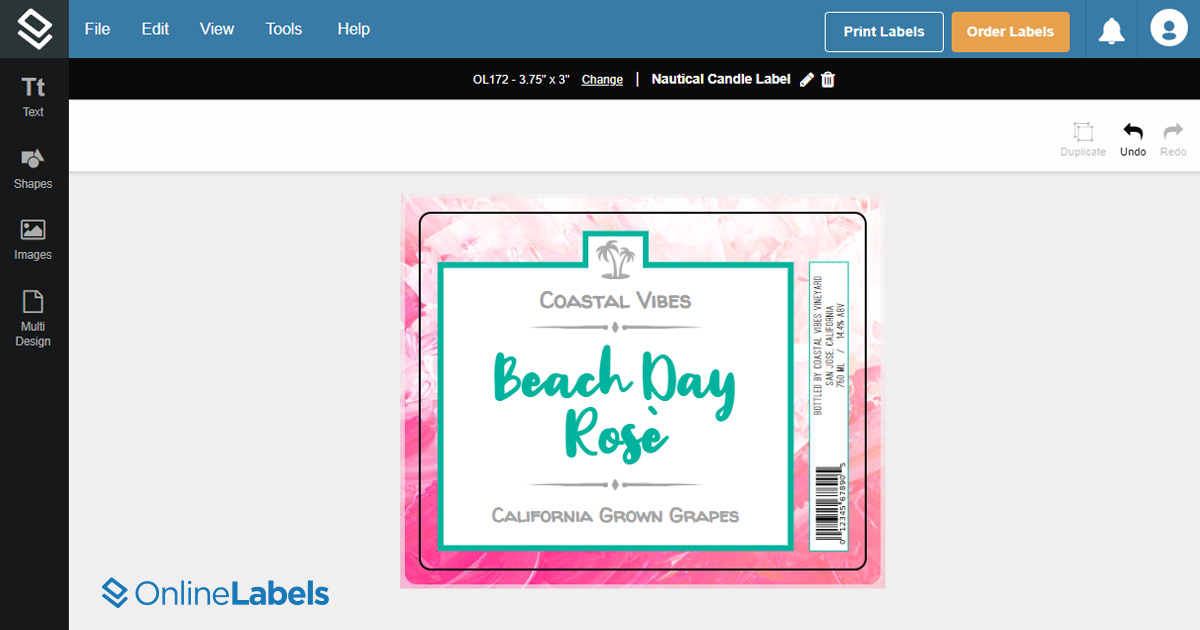
If you're designing a label for a product to sell, Maestro Label Designer's built-in generators make it easier than ever to include barcodes and nutrition labels within your customized creation. All you need to do is input the info and drag it where you need it to go within your design.
7. Finish The Process
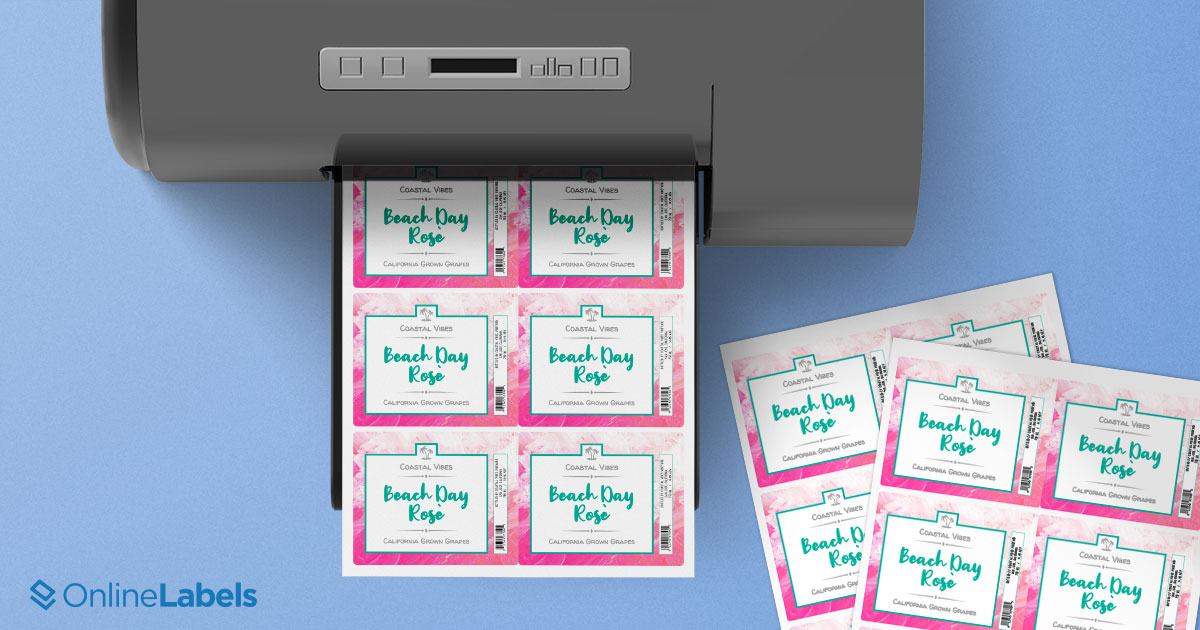
Once you've customized a pre-designed label template and made it your own, you can print on blank label sheets from your home/office computer or let us print your labels for you with custom printed labels. Here are the benefits and steps for both:
Print Labels Yourself
Every template can be printed from your standard desktop printer. You should choose this method if you already have your labels or are planning to buy them. This way, you'll have your finished labels in-hand seconds after you hit print.
You can also use whatever label material you'd like and control the quantity and timeline. If you need to print 2 sheets today and 2 tomorrow, you can do that.
- Select "Print myself using blank labels."
- Hit "Print."
- Click the "Download" icon in the top right-hand corner of your label sheet.
- Name and save your document.
- Open your document if it doesn't automatically. We recommend using Adobe Reader.
- Click "Print."
- Make sure "Page Scaling" or "Fit" is unchecked in the print dialog box.
- Load your blank labels in your printer tray and print.
If you come across any issues while printing, turn to our printing support category for help.
Order Printed Labels
Let us print your labels for you. With custom printed labels, you don't have to buy labels, they're factored into the printing cost.
We pull the blank labels from our inventory and print your design using our professional-grade printers. This way, you only have to order once and you won't have to worry about alignment issues, ink smearing, scaling problems, or other common printing issues.
Production is quick with 1-3 business day turnarounds, so you'll get it in no-time. Here's how to purchase your design printed.
- Select "Let OnlineLabels.com print for me."
- Hit "Select Material and Quantity."
- Choose your desired material.
- Pick your desired quantity.
- Click "Add to Cart."
- Approve proofs of your artwork, add any comments, and hit "Looks good!"
- Complete the checkout process as normal.
- Wait for your printed labels to arrive.
Apply Your Labels
Check out these tips on preparing your object for labeling.
Then when you're ready, make sure to stabilize your container. For bottles, we recommend placing them in your lap. Boxes and more steady products may not need to much additional assistance.
Once your application station is ready, remove the label from the liner. It's best to peel the label from the sheet versus pulling the sheet our from under the label. This will help prevent any curling.
Next, stick the center of the label against your container and softly smooth it down until you get to the ends. Don't grab a credit card or other hard object like you do for phone screen protectors – you want to protect the integrity of the print. You'll also find that the longer the label sits on your surface, the stronger the adhesive will bond.
After that, you're done! Repeat as needed until you've used your supply of labels.
No matter which template, style, color scheme, or orientation you choose, getting creative with these designs is sure to give your label some unique flavor.
Needless to say, Maestro Label Designer is your light at the end of the tunnel. See for yourself how you can create professional-quality designs without having to hire a designer.
Not completely comfortable using Maestro Label Designer on your own yet? Call 1-888-575-2235 for one-on-one support or hire a professional label designer. If you're going that route, be sure to read through these tips on hiring and working with a graphic designer.
Or if you're feeling up to the challenge, use a blank label template to create a design from scratch. Explore all of your label template options.
