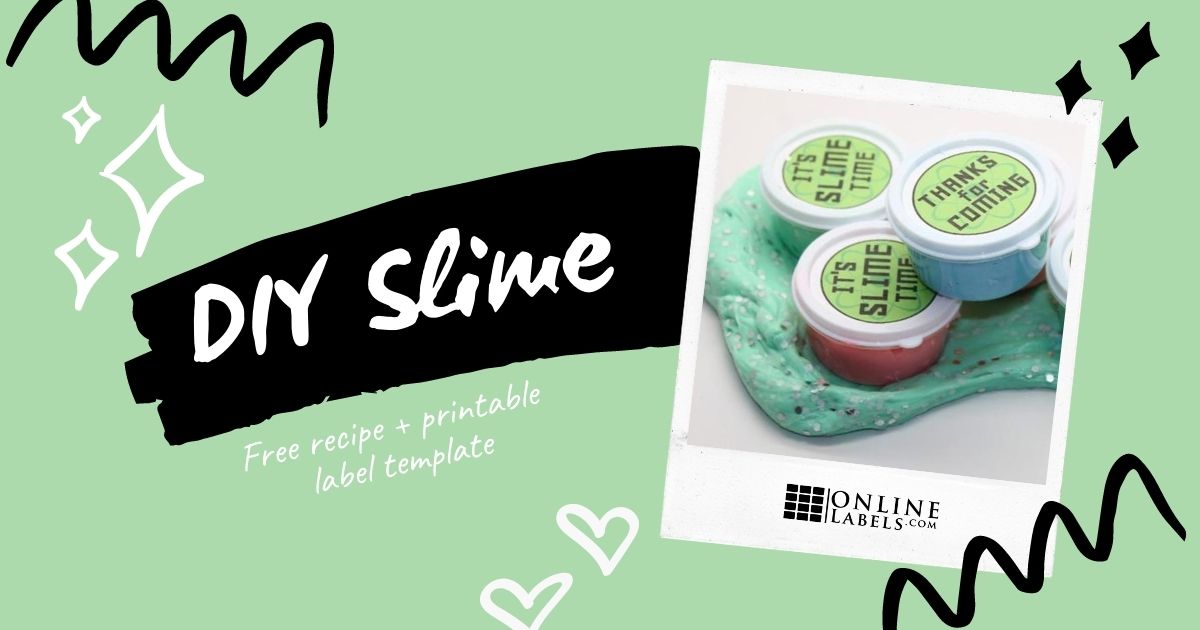
DIY Slime Recipe + Party Favor Printables

Want to make your kid's next birthday party a hit? Give slime away as the party favor! Slime is so trendy right now. The kids will go home happy and you won't have to buy all of that cheap plastic stuff that breaks the first time you play with it.
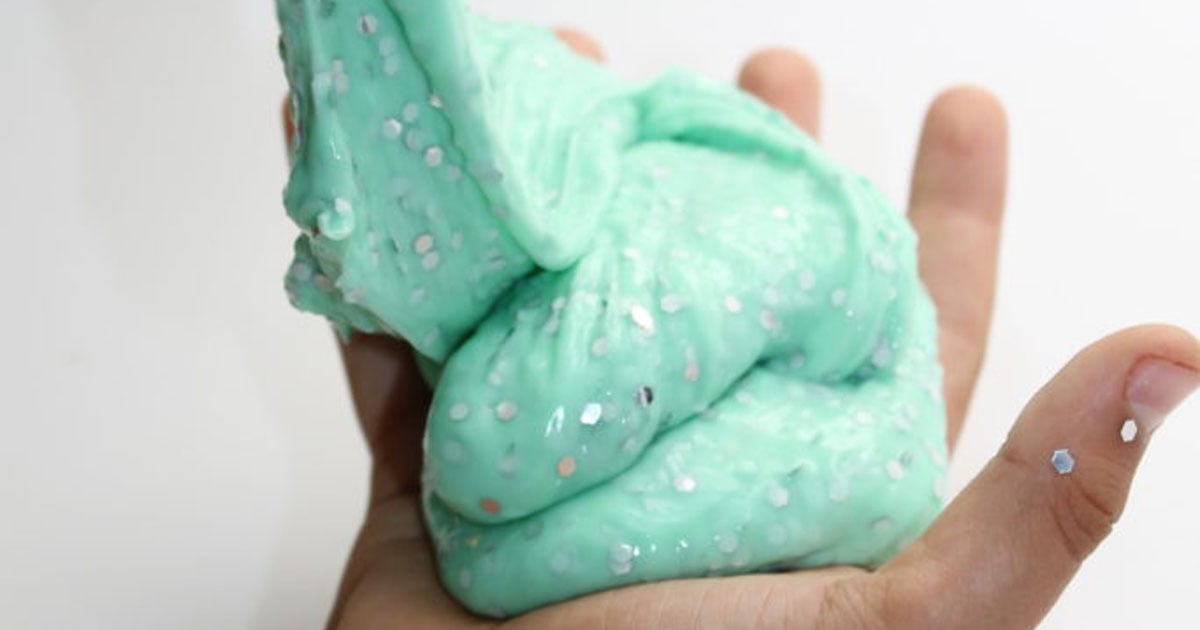
The best part? It's really easy to make and your kids will have a blast doing it. There is something magical and relaxing as you stretch and pull the slime in your hands. In a way, it's like a fidget spinner, without the spinning. It's a great way to do something with your hands while you're watching TV or hanging out with your friends.
Supplies
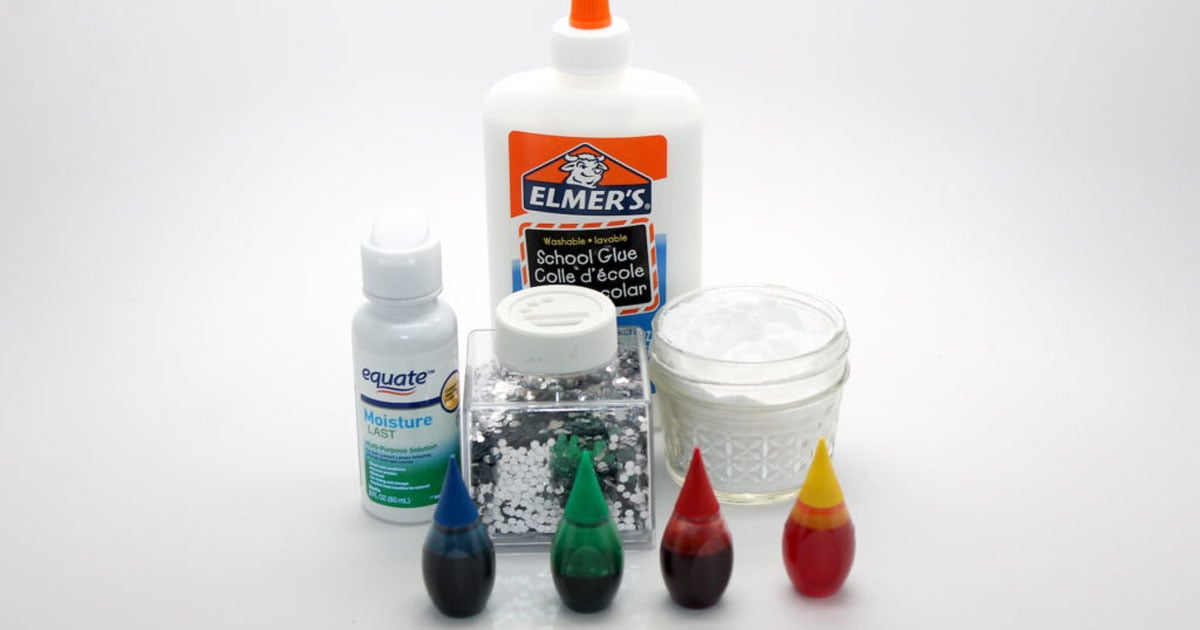
- 625 oz of white school glue
- 1 tbsp of baking soda
- 2 tbsp of contact solution (make sure the contact solution has sodium borate and/or boric acid in the ingredients)
- Food coloring
- Glitter or sequins (optional)
- Small plastic containers with lids (I bought mine at the dollar store)
- OL5375 – 2" Circle Labels
- Free slime favor label printable
Instructions
Step 1
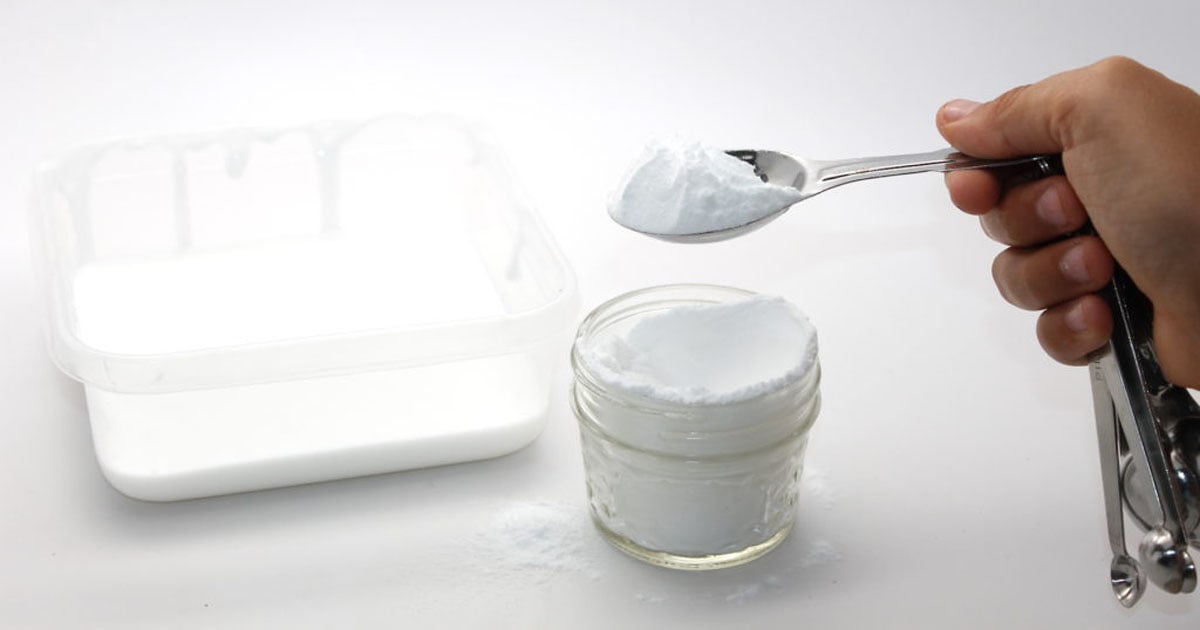
Pour out the entire bottle of glue into a bowl with 1 tbsp of baking soda and a few drops of food coloring. Stir together.
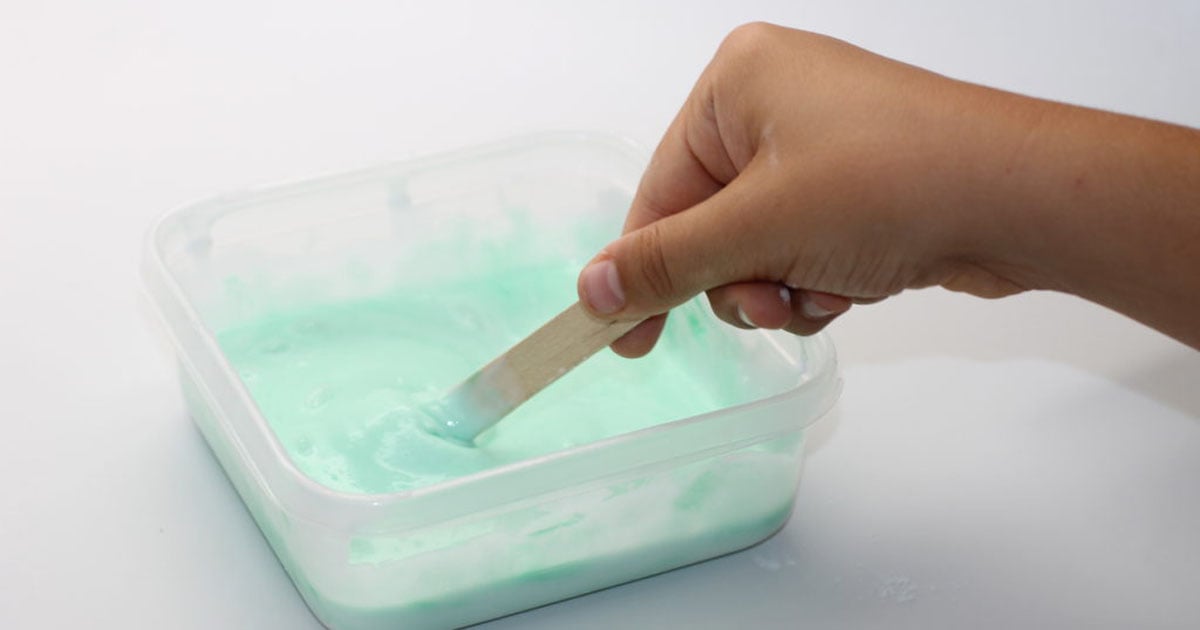
Step 2
Stir in 2 tbsp of contact solution and your mixture will start to harden. When it gets too hard to stir, pick up the slime and knead it with your hands.
Knead in glitter or sequins (optional).
Step 3

Separate the slime into your individual containers and print out the labels, stick them onto the plastic containers.
My son Kai has been begging to make slime for months so finally, he has gotten his chance. Normally, he steers clear of my different DIY posts but this time, he was in on the action and couldn’t get enough.
I hope your kids enjoy making this fun party favor and handing it out at their next party!
