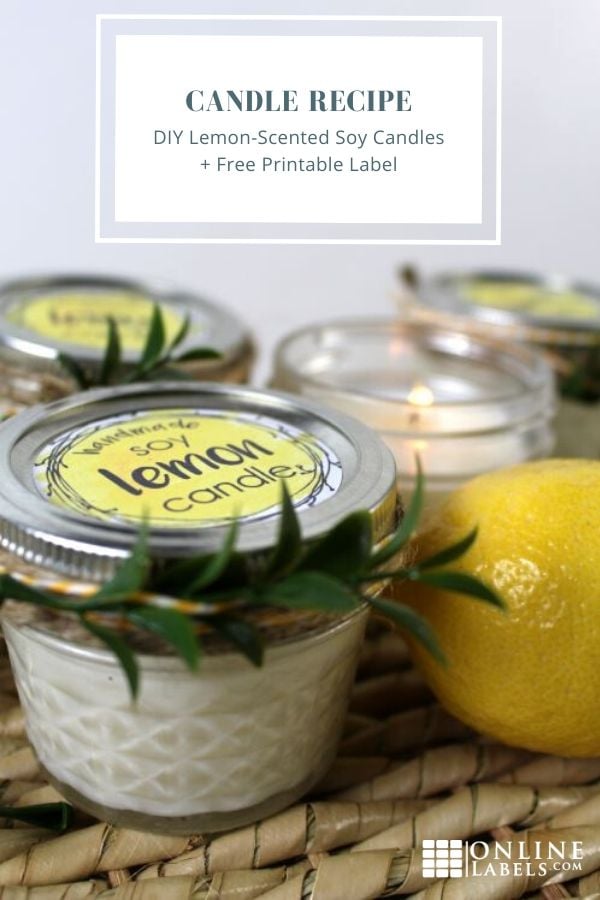
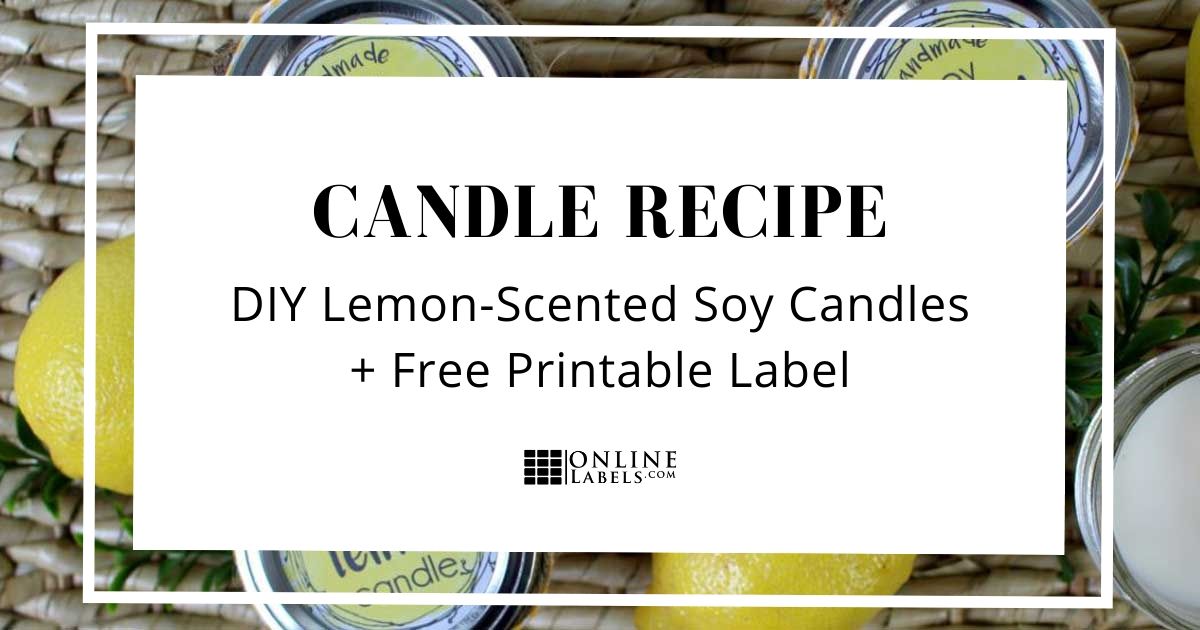
DIY Lemon Scented Soy Candle with Free Printable

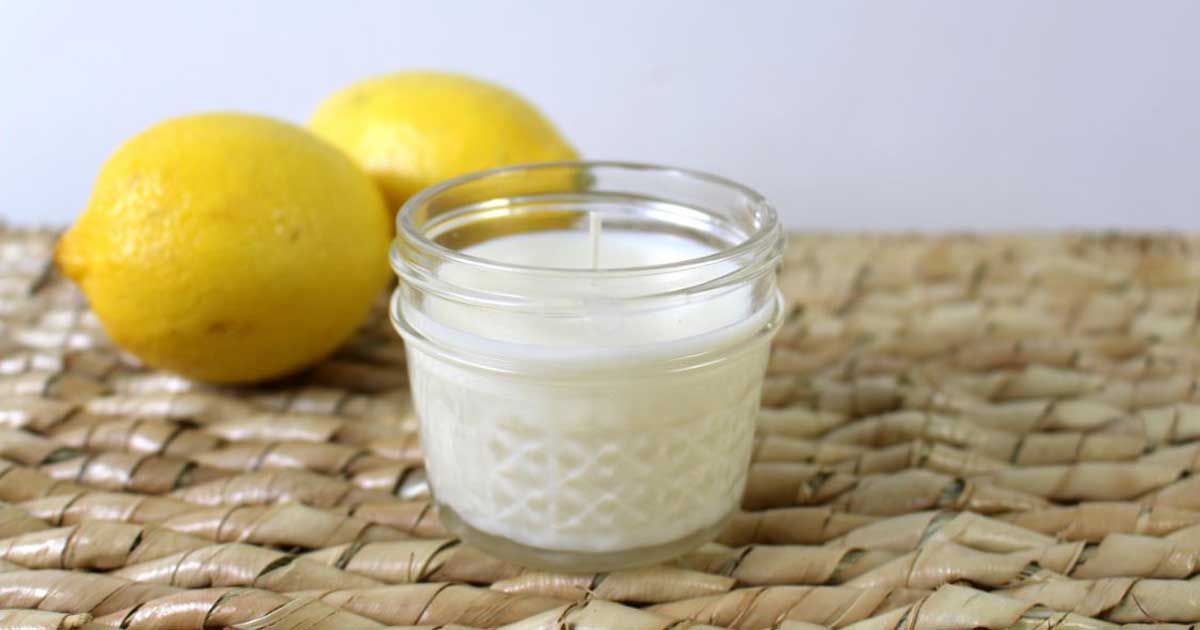
I love to spread holiday cheer by giving my neighbors a homemade baked good, but this year I decided to do something different. I created handmade soy lemon candles that can be enjoyed well past the holidays, or any other time of year!
Supplies
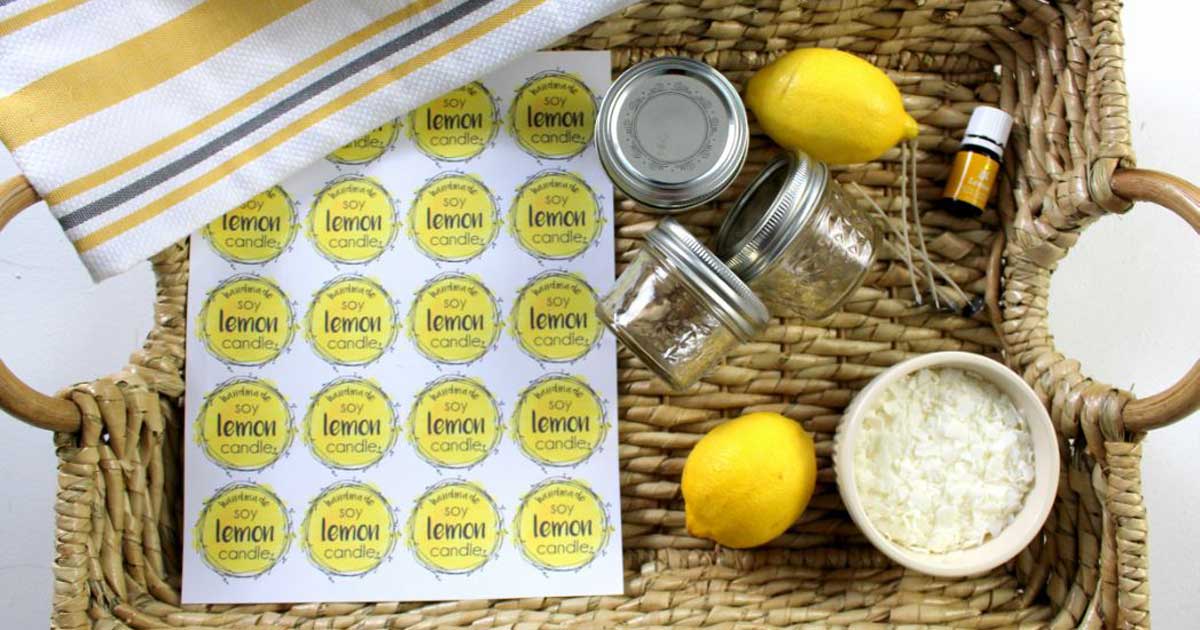
I found all the items needed for this craft at OnlineLabels.com and Hobby Lobby.
- 2" Circle Labels
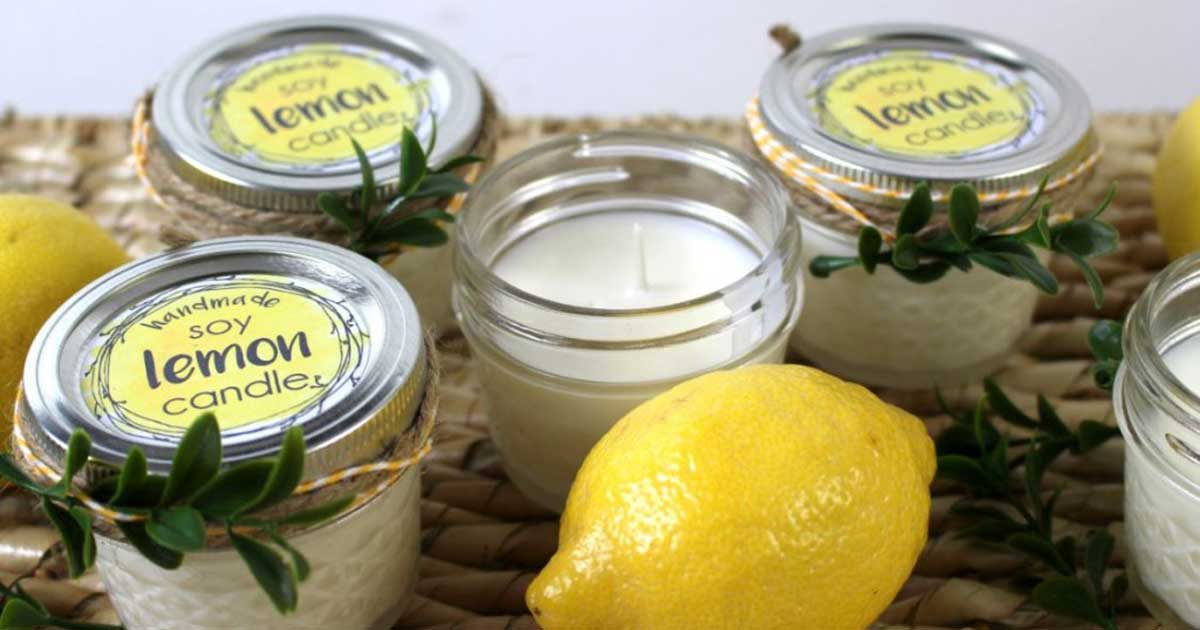
- Soy Lemon Candle Printable
- Soy Wax Flakes
- Candle Wicks
- Heat Safe Containers (I used 4 oz. mason jars)
- Candle Fragrance/Essential Oils
- Microwave-safe container to melt wax in (a glass measuring cup)
Instructions
Step 1
Download and print the free candle label printable for this tutorial on your 2" circle labels. These will be applied on the lid of each container. There are enough labels on each sheet to use on 20 lids.
Step 2
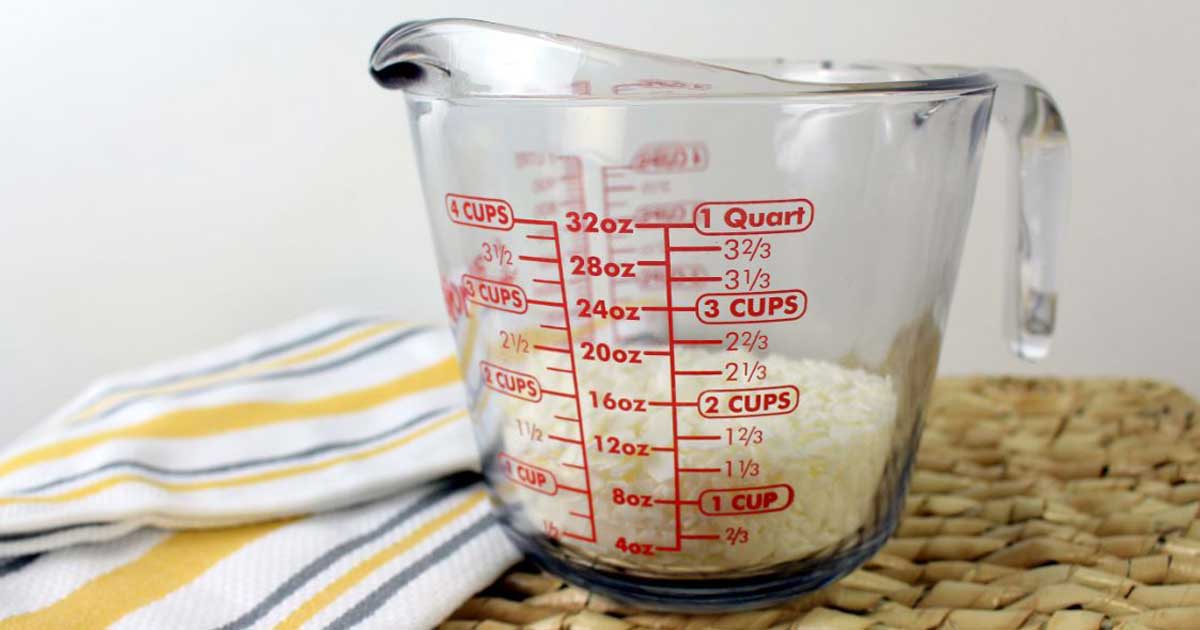
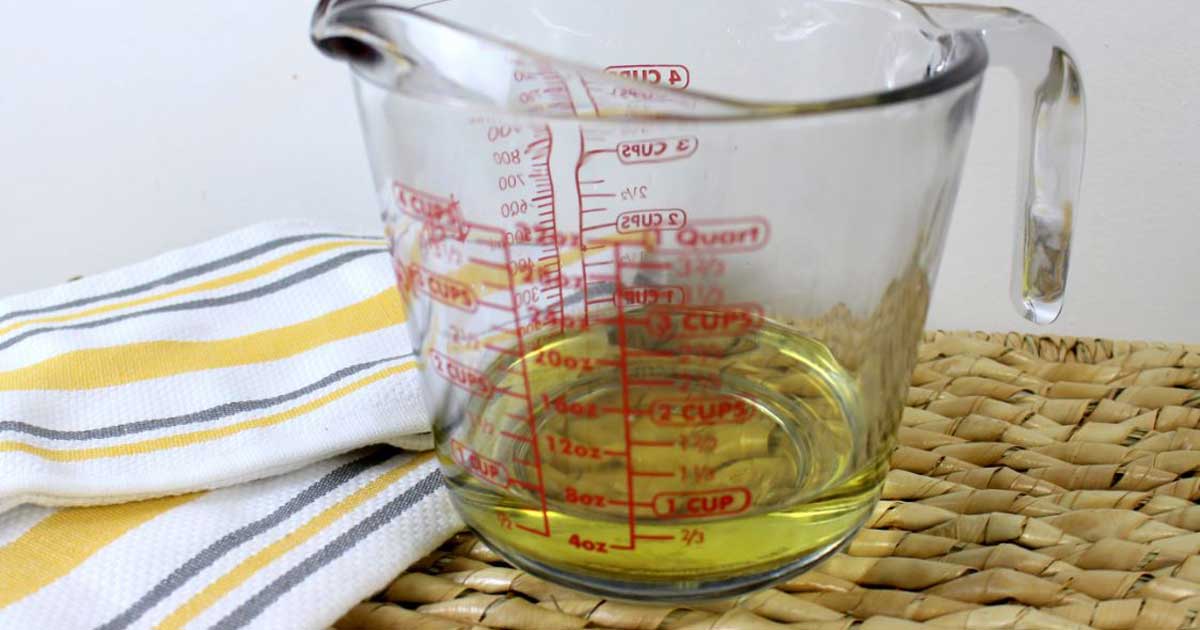
Using the measuring cup, add 1 cup of the soy wax flakes. Heat in the microwave until fully melted. I melted mine on high for 3 minutes. Just keep your eye out!
Step 3
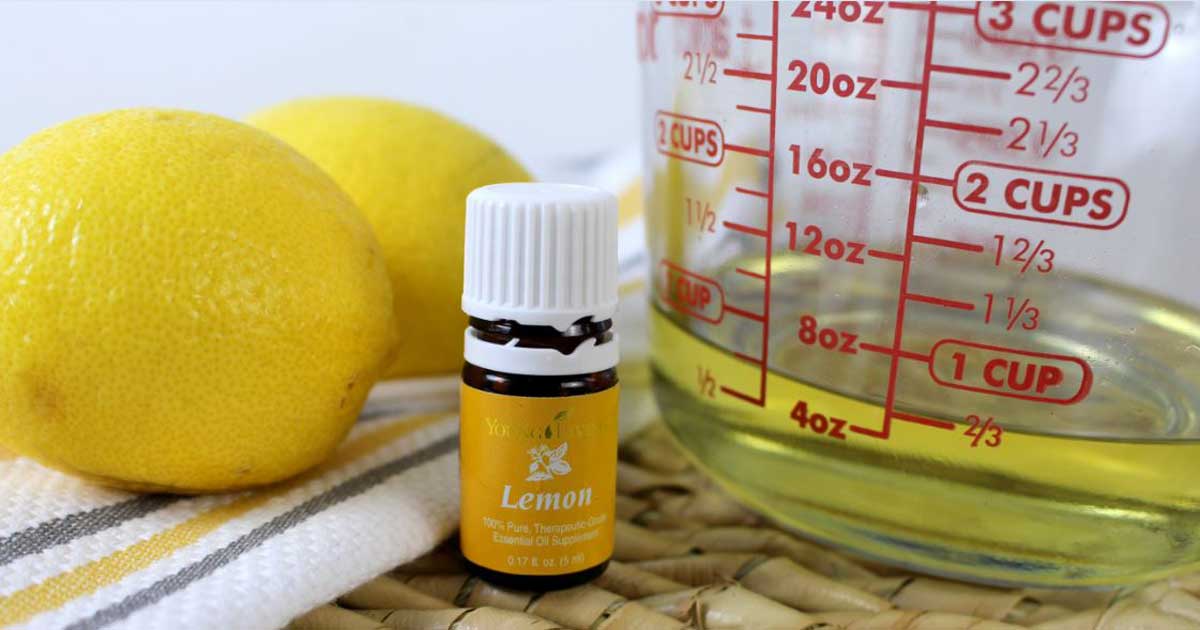
Once fully melted, add 15-20 drops of the lemon candle fragrance oil (or your choice of fragrance) to the melted wax. The more drops you add, the stronger the fragrance will be.
If you use a different fragrance, design your own labels using Maestro Label Designer, label design software exclusively for OnlineLabels.com customers.
Step 4
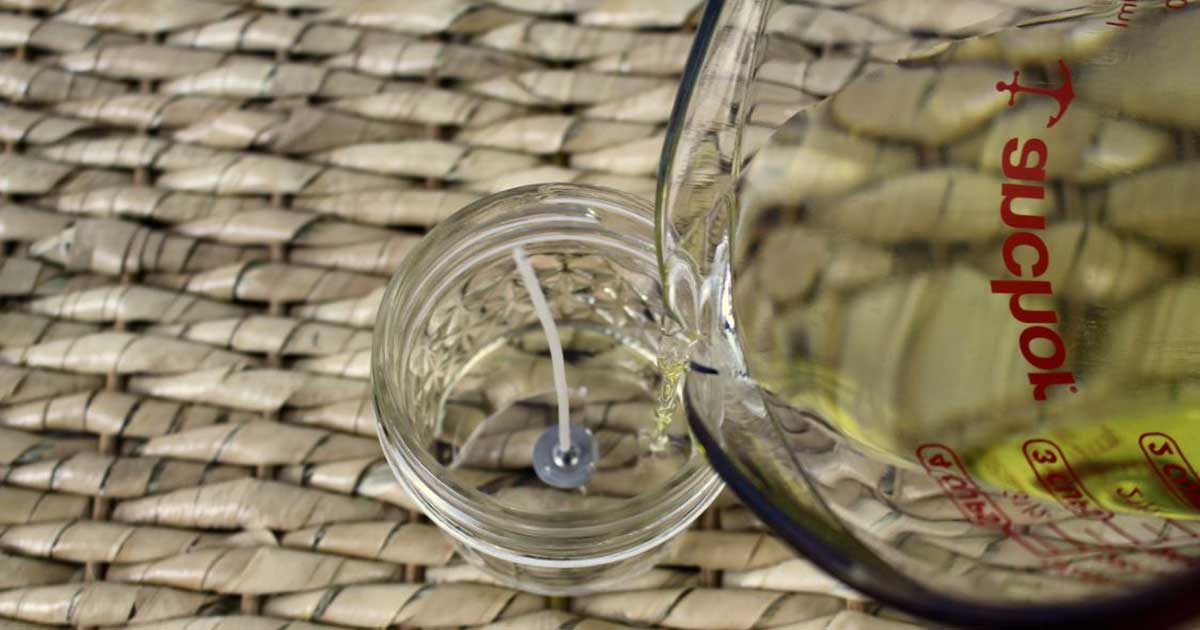
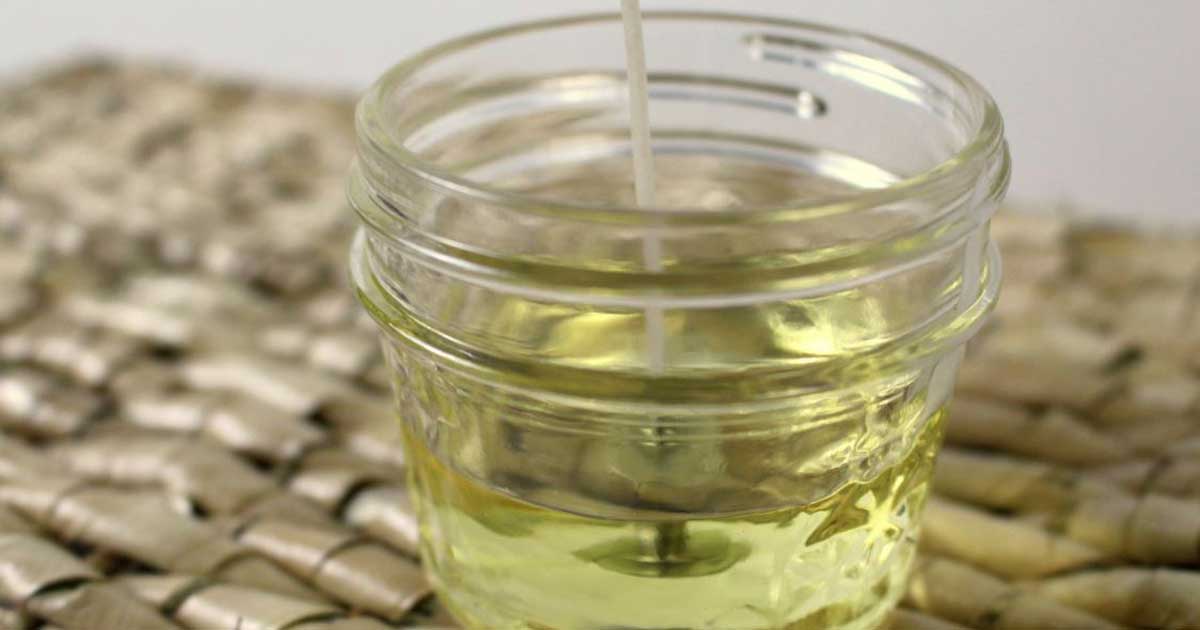
Place a wick in the middle of your candle container. Pour just enough melted soy wax to cover the silver circle at the bottom of the wick.
Step 5
Allow the wax to set (about 10 minutes) before filling the container the rest of the way. This will help keep the wick at the bottom of the container.
Step 6
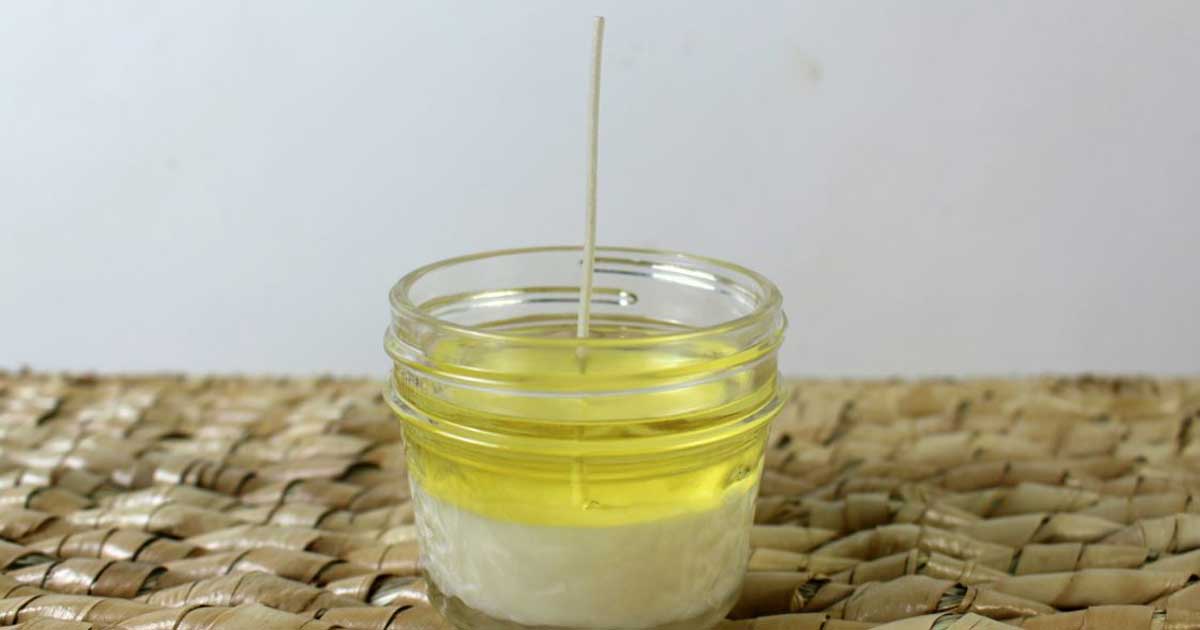
Fill the container the rest of the way. Be careful to leave enough room at the top of the container for the wick once it's trimmed and to be able to put the lid on.
Allow the candle to fully cool and set (2-3 hours depending on the size of the container). Once set, trim the wick.
Step 7
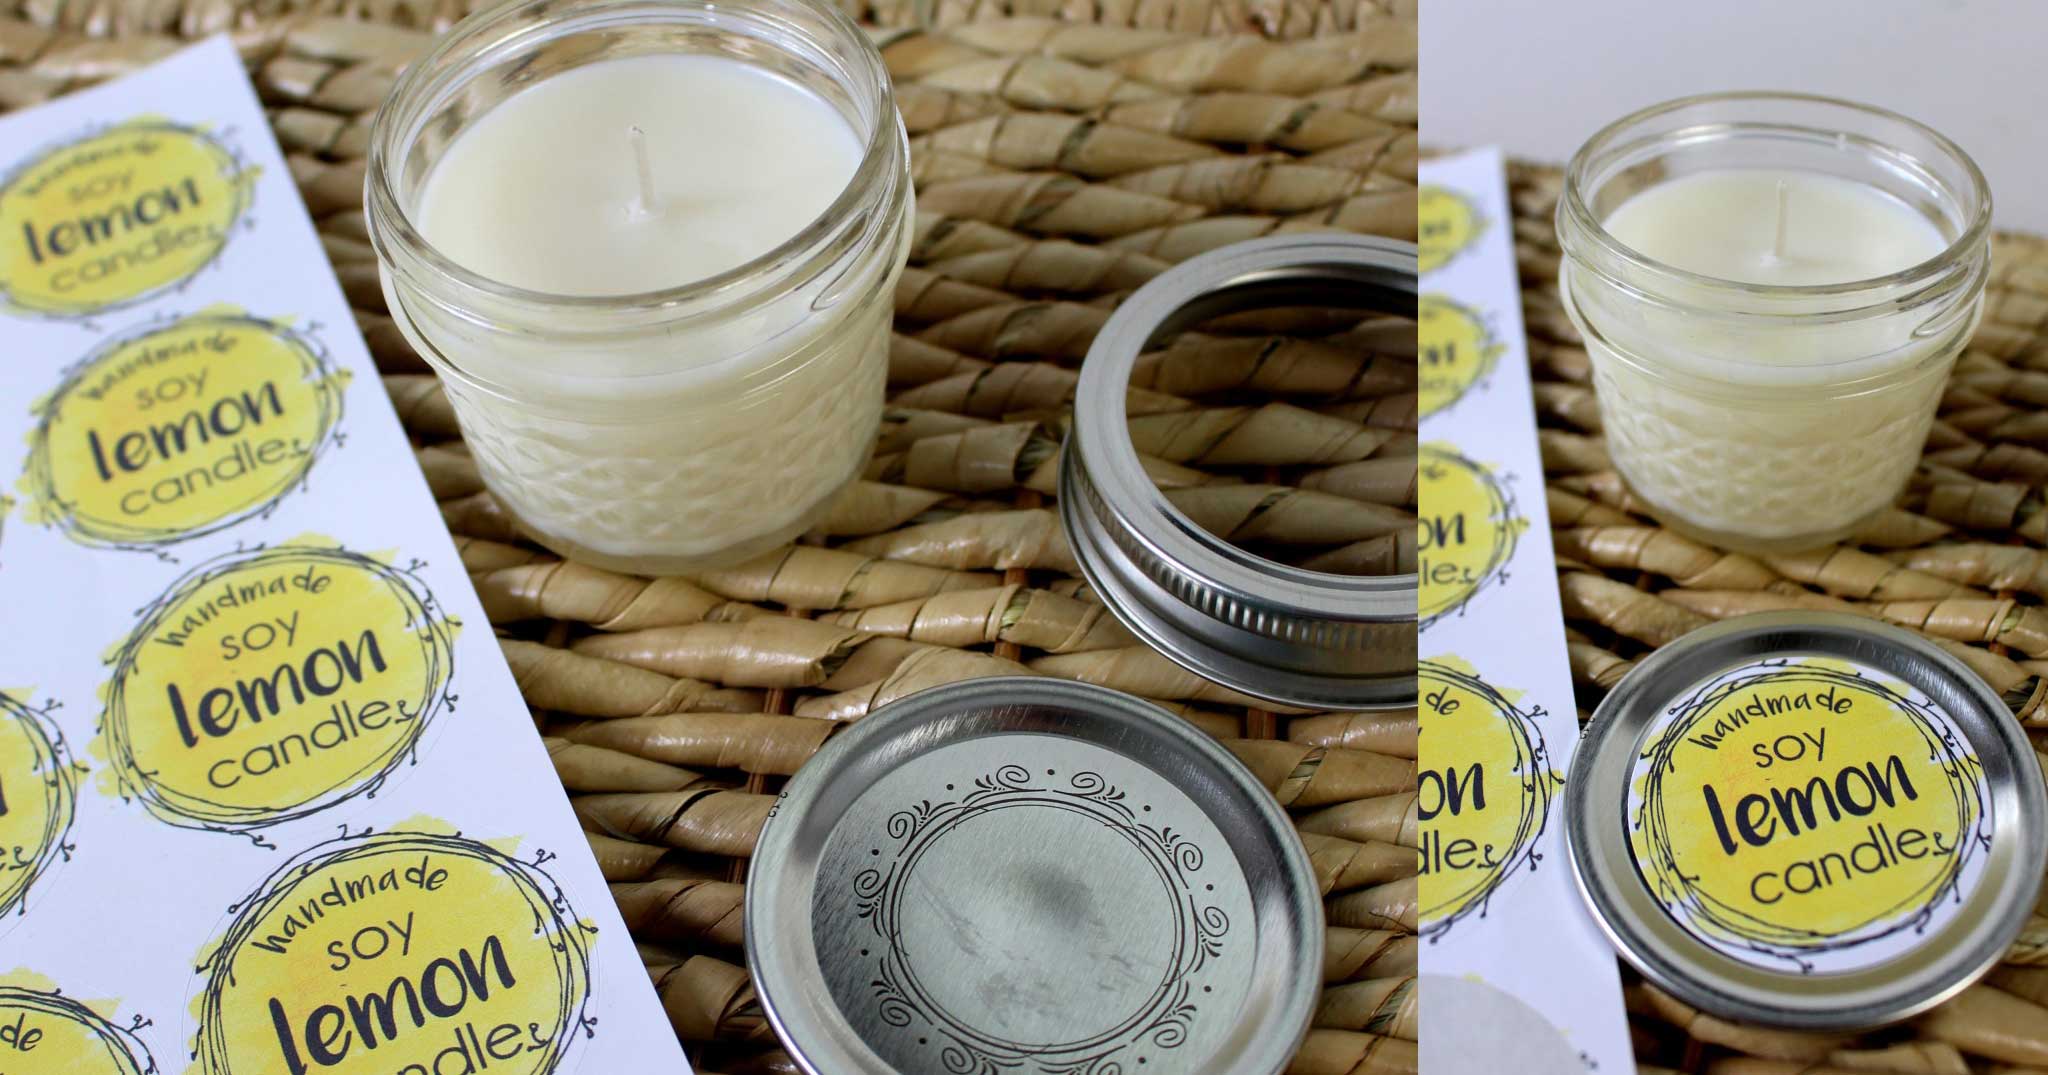
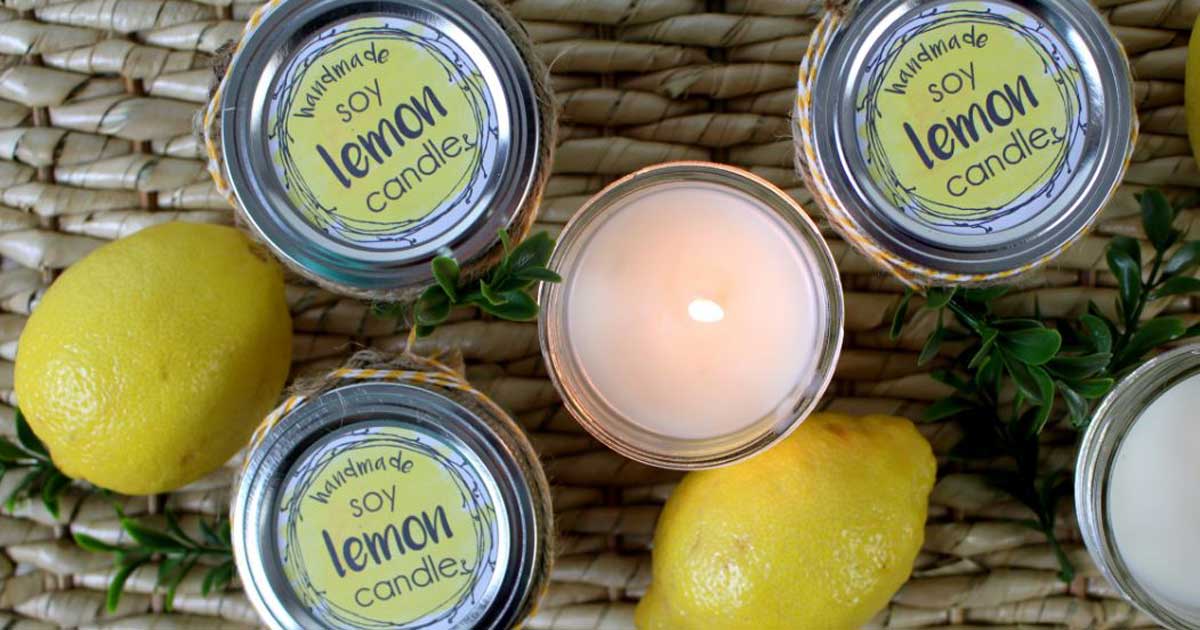
Apply the candle label to the top of the lid and place your lid on the candle.
Step 8
Add decorative elements, twine, twigs, etc. around your candle container to make it even more eye-appealing. I added yellow twine, brown twine, and artificial twigs to mine.
This is such a simple process to make unique gifts for your friends, neighbors, and family members in no time! Make just a few or make 20 at once. They are that quick to make and the end result of the candles are very professional looking especially with the label added to the lid.