Product Photography for Beginners

Customers want to see your product. They want to explore the details and get a feel for what they're buying. With so much importance placed on your product shots, it's time to get serious and up your game.
Here are tips and tricks to help your pictures sell your products.
Plan Your Shoot
Before you begin your product shoot, take some time to plan it out. You don't want to miss important shots, forget necessary props, or neglect key parts of the process. Mapping out your shoot and workflow will save time, reduce expenses, and produce higher quality images.
Grab a pen and paper and write out your:
Shot List
Your shot list should detail out all the images and styles that you want. It should include your products, desired angles, and details you want to highlight. Read our Etsy marketing article for some shot suggestions.
Pro tip: Check shots off your list as they're taken. This keeps you on track and ensures you don't miss anything you actually need. Knowing you've accomplished what you came for allows you the creative freedom to have some fun with additional spur of the moment shots.
Prop Ideas
Adding props can help customers picture your products in their life. Set a tea bag and some sugar cubes next to your handmade coffee mug, for example.
It offers dimension and a sense of practical use when your customer is clicking through your photos. Consider whatever options will offer a personalized feel.
Prospective Locations
Depending on your brand image and the platform you're selling on, product backgrounds can vary. Sites like Amazon require a white or neutral background. Etsy, on the other hand, doesn't list any requirements for sellers.
Find what works for your product, whether that's outdoors with natural light or a more relevant setting.
Not sure where to shoot? Create the perfect space at your home or office. Purchasing a white backdrop, light kit, or photobox can transform your space into a custom studio.
You can also look into renting space at a local studio or partnering with a local shops. In return, your business can tag their location in photos or offer another form of recognition.
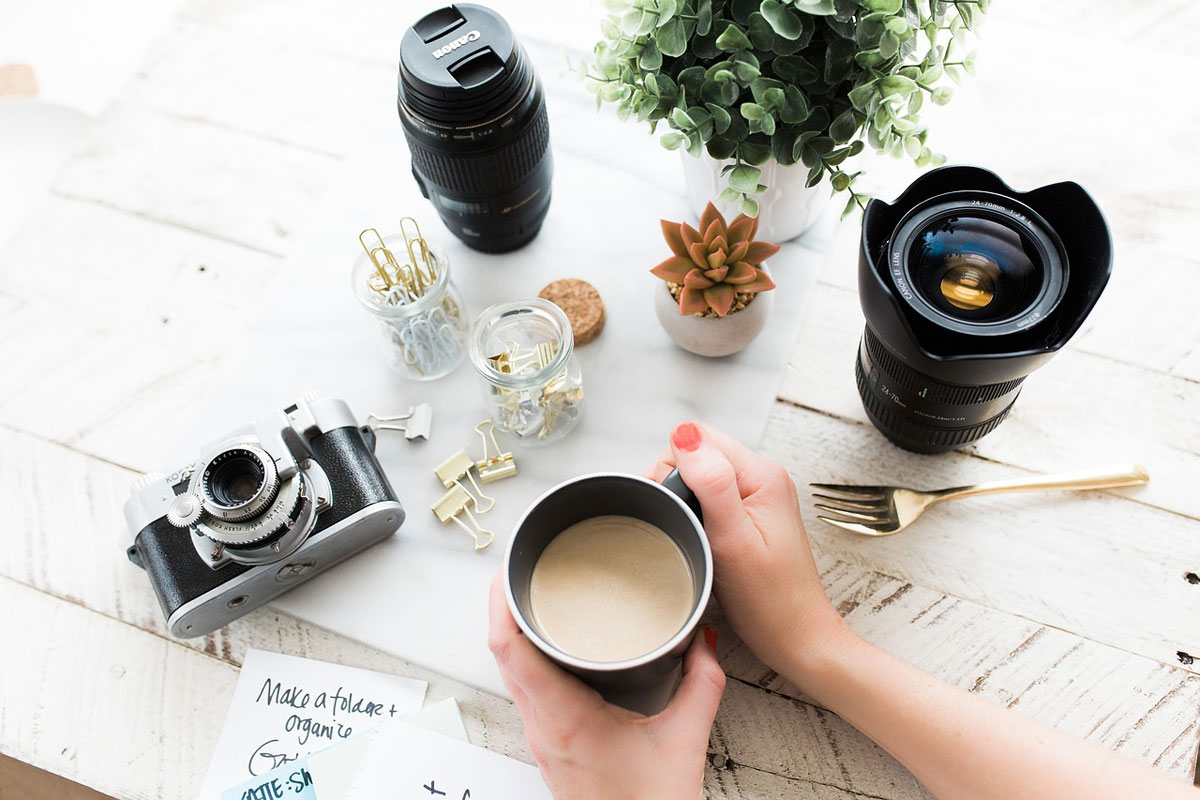
Necessary Equipment
DSLR cameras are common among product photographers. They produce high-quality images and capture photos in RAW format which allows for advanced retouching later.
Your smartphone may be just fine though, too. Phone cameras continue to get better and apps/advanced features can help get you started.
Whichever camera type you choose, invest in a tripod. Cameras contain some internal image stabilization software, but typically not enough to create the crisp, clear images you're hoping for.
Set The Scene
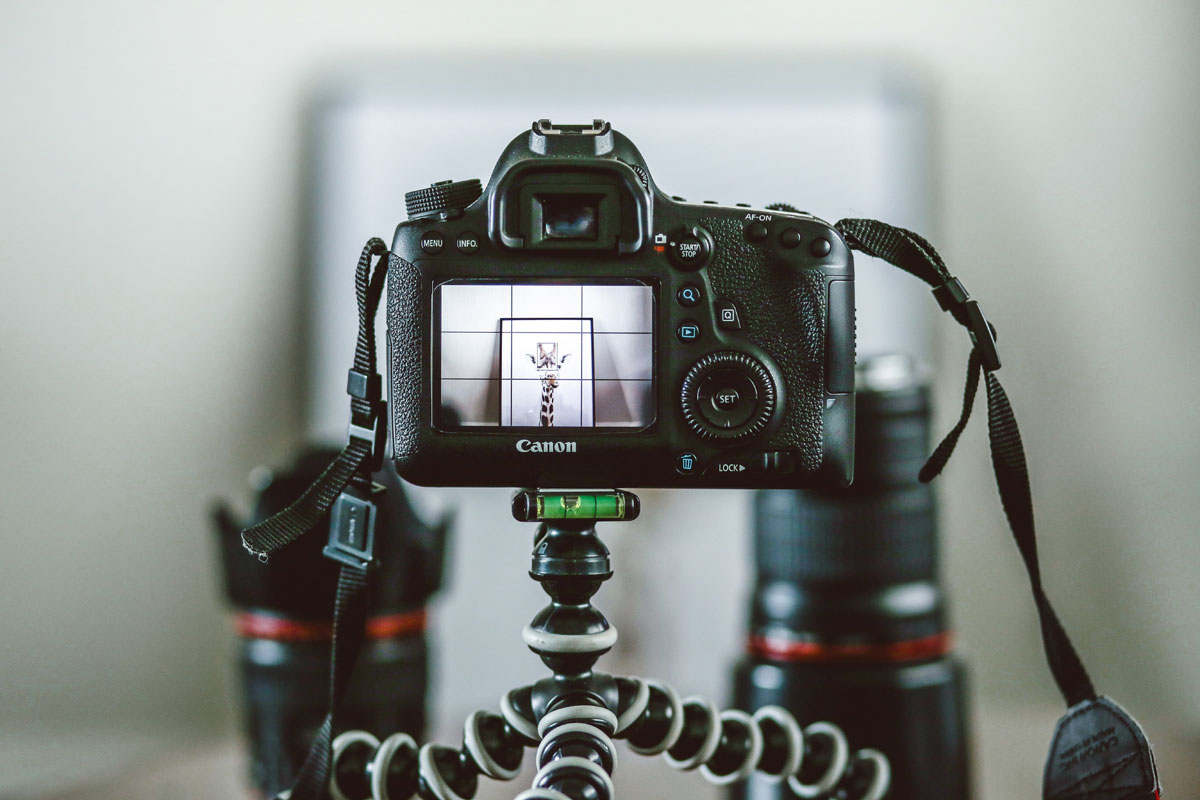
As you set up each shot, play around with angles, intriguing details, lighting, and the rule of thirds. Explore your possibilities and see what looks best for your products and brand. If you invested in props, now's the time to use them.
Or, if you are on a limited budget, see what's around the house. You may be surprised how a few household items accompanying your product in a photo can make a difference.
Start Shopping
Make sure your product is being featured with proper lighting. Try to use an area with plenty of natural light or set up your photography lights. Pay special attention to the details in your shots. Make sure everything you want showing is clear and in focus, and that tags, loose threads, etc. are out of the shot.
If you can, review the first few photos before executing every shot on your list. You're able to catch mistakes faster on a computer screen than from your camera viewfinder.
Edit & Post
After you take your product shots, load them into photo software to process and edit them. Keep in mind cropping to the correct resolution for your needs as well as adjusting light and color.
If you’re new to photo editing, you can look at free online tools. Most operating systems also include basic photo editing software. For more advanced editing software, Adobe's suite of programs, such as Lightroom and Photoshop, continue to reign supreme.
Crop & Reuse
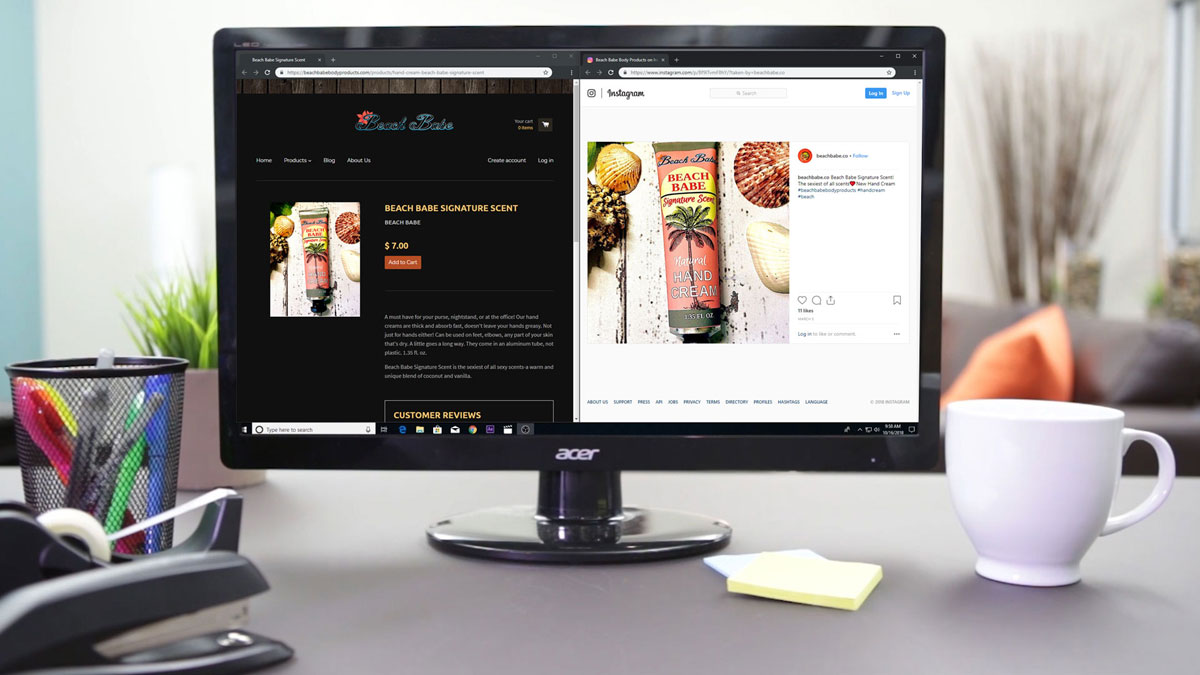
Don't let all your hard work stop at the product page. Your primary objective may be website photos, but your beautiful product images can also be repurposed for social media.
Creating evergreen pictures (those you can reuse time and time again) should be your primary goal. You'd be surprised how many uses you can get out of just one image!
Product photography is an important and necessary step for every business. Your photos give customers a clear look at your products, quality, and brand. Use these tips to create a product shot that pushes customers to buy.
Learn how to create videos for your products, too.
