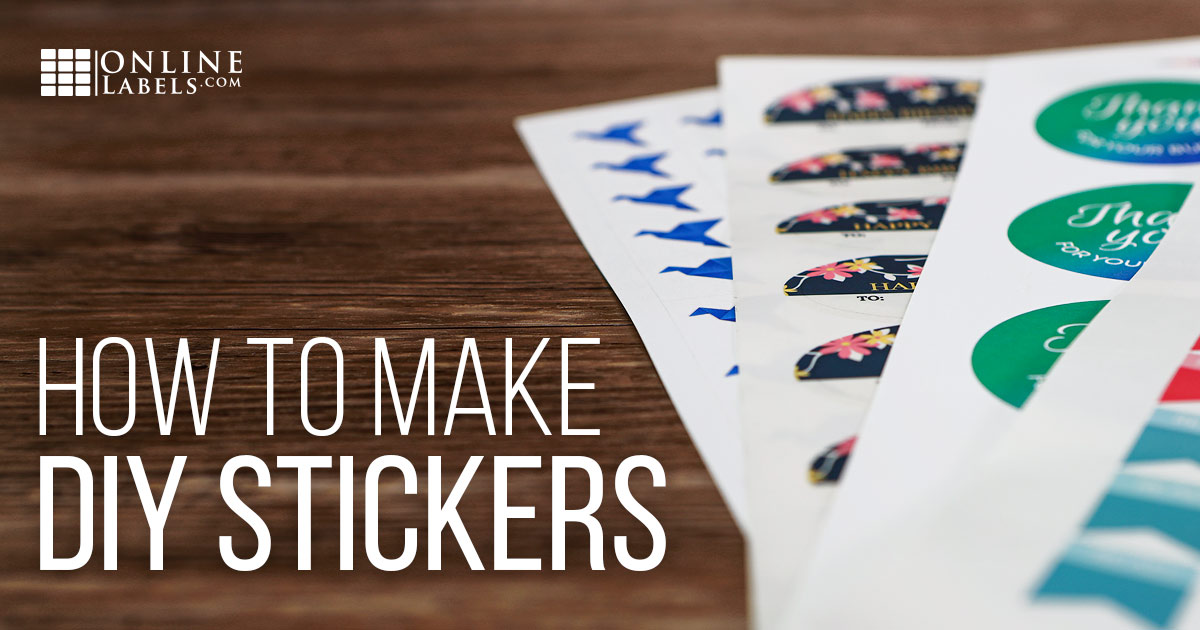
How to DIY Your Own Eye-Catching Stickers at Home Using Labels

Whether they're in the background or in your face, well-designed and well-placed stickers are great for promoting your product or brand. They're among the most cost-efficient ways to spread a message and offer the added benefit of a longer shelf life. So how should your business get started with stickers?
Follow along as we break down all the essentials for creating custom promo stickers.
1. Choose a sticker material
Considering how customers might use your labels is a crucial step in choosing a material. There are two overarching categories for sticker materials: paper or film.
Paper stickers are the most cost-effective option, but they lack water-resistance and tear-proof properties.
Film labels, on the other hand, can protect against water, rips, and more. Film labels also come in a variety of facestock finishes, which aren't available for paper labels. Gloss labels are extremely popular to help vibrant designs pop whereas matte stickers are great for projects where easily readable registration marks are needed.
You may also want to review the adhesive types that go along with each of our materials. We offer four different types of adhesives: standard permanent, heavy-duty permanent, weatherproof permanent, and removable. View materials by adhesive type.
Expert recommendation: Some materials are printer-specific, so be mindful of your printer type when making a decision. Try our weatherproof matte inkjet or weatherproof gloss inkjet material for inkjet printers or weatherproof polyester laser material for laser printers.
2. Decide on your sticker configuration
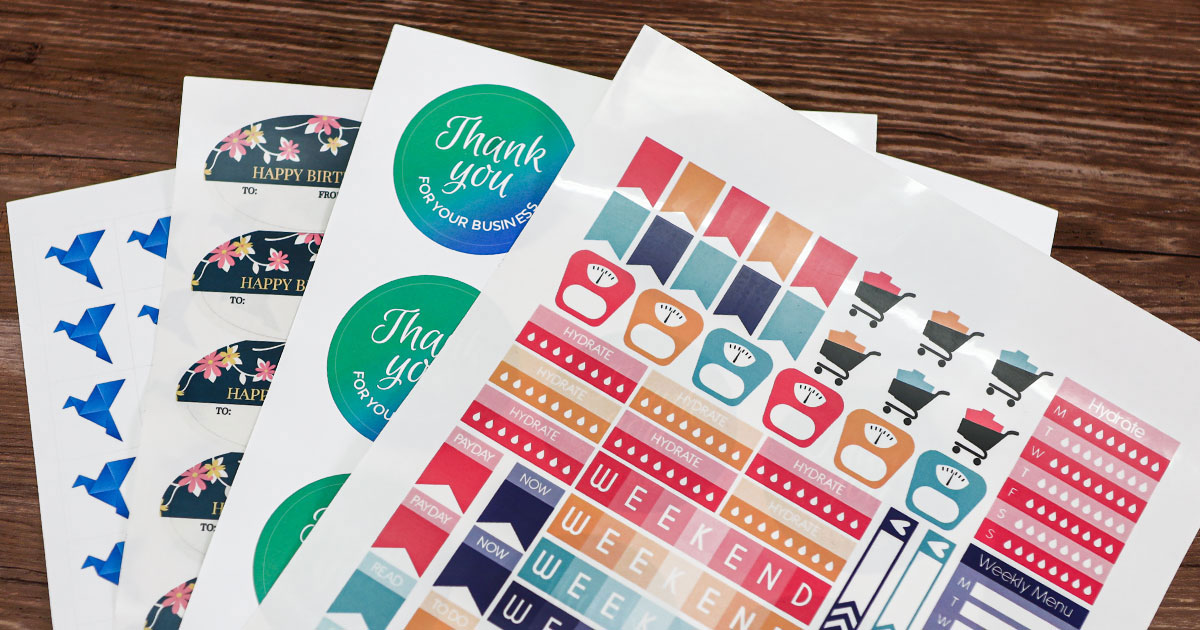
We offer hundreds of label configurations so you can find the right shape and size sticker for your needs. Shop our popular shapes using the links below.
If you're looking for truly unique stickers, you can always create your own! We can produce any label shape, size, or configuration for use on your home or office printer.
Sticker paper is another popular option for users with electronic cutting machines. Products like the Silhouette Cameo or Cricut Explore allow anyone to die-cut their own label sheets. Use them to make planner stickers, custom shapes and sheet designs, and more.
Expert recommendation: Browse all pre-made sticker shapes and narrow down your selection from there.
Or, if you'd rather have individually cut and packaged stickers to hand out or sell, you'll want to go with die-cut stickers. At OnlineLabels, we offer custom stickers, and take away the hassle of printing and cutting them yourself.
3. Find your sticker template
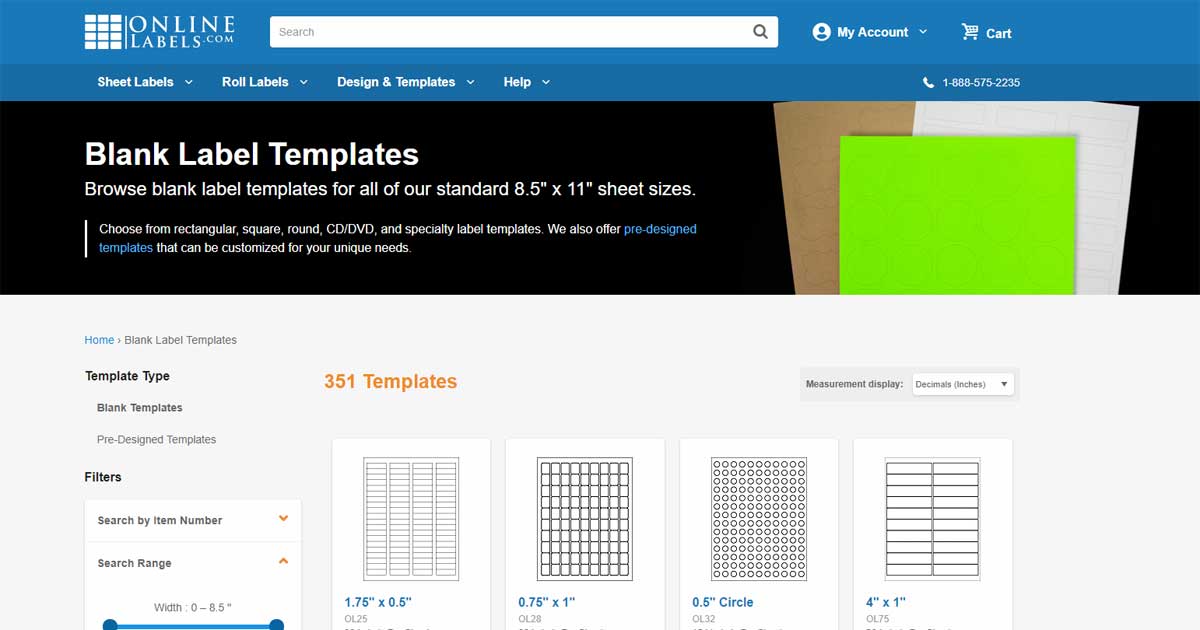
We offer free downloadable templates in a variety of different formats so you can design where you feel most comfortable. From Adobe Photoshop to Microsoft Word, all you need to do is download the right template and get creative. Browse blank sticker templates.
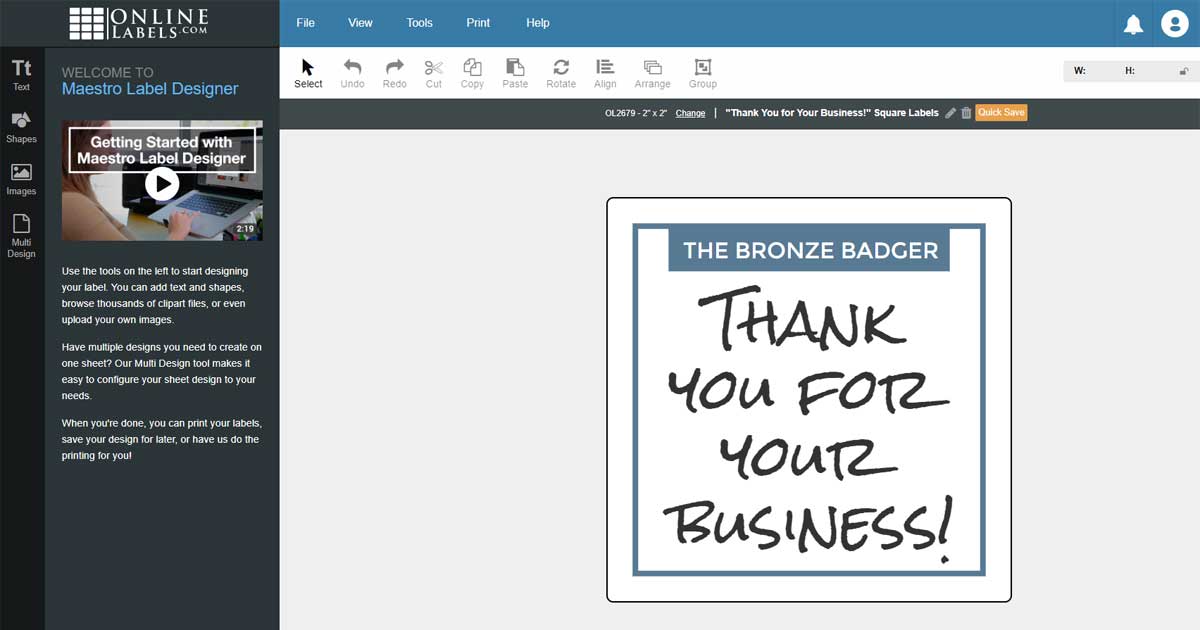
Expert recommendation: Launch Maestro Label Designer. This online design program was created exclusively for OnlineLabels.com customers. It's preloaded with blank templates for every shape and configuration we offer so you don't have to manually setup margins, align your sheets, or search for the right template.
4. Create your sticker design
We have tons of articles with design tips and tricks so your stickers really pop. Use the summarized list below to gather some quick tips or check out more articles and topics.
- Choose colors that pop
- Stay true to your brand
- Limit the number of fonts you use
- Make sure the font size is readable
- Don't try to fit too much content
- Include a call-to-action
- Use only high-resolution graphics
Expert recommendation: Start with one of our professionally designed sticker templates.
5. Print your stickers
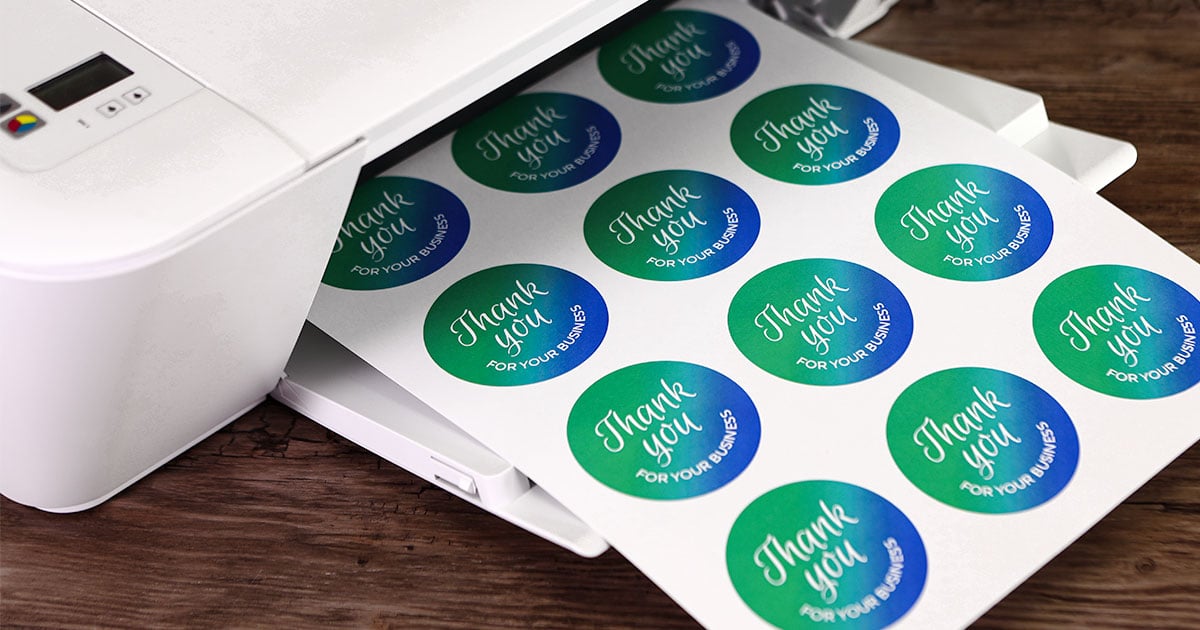
Before loading the label sheets into your printer, conduct one test print on blank printer paper and one on your blank label material. You want to make sure everything looks great before printing the whole batch.
Start by printing your design on regular paper. Stack the printed sheet beneath one of your blank sticker sheets and hold them up to the light. You should be able to see if your design is aligned with the labels. This is also the time to check that your borders, bleed, and safe zone margins are set up correctly. Learn more about artwork requirements for quality sticker prints.
Once you're satisfied with the alignment, take a look at the design. Check for typos, grammar issues, font size legibility, etc.
Next, print your design on one sheet of your label material. You want to make sure the print doesn't smear or flake. If you've let your design dry for a few moments and the smudging or flaking persists, you'll need to adjust your material settings in the printer dialog box. Find the recommended setting for your material.
You should also check that your design complements your material – this is especially important if you're using a clear or colored material. Most common printers don't print white so your material color (or lack thereof) may show through the sticker design. This can affect the appearance of your colors and, if your design had white words or graphics, change how readable your stickers are.
Expert recommendation: Have multiple people proof your design before printing your entire run. Try using it as intended too, to make sure it works with your needs.
Bonus: I have leftover stickers … what else can I use them for?
There's a lot you can do with stickers from advertising to labeling. Here are a few ideas of what you can create and print at home:
- Branding, packaging, and marketing
- ‘To/from' personalized gift stickers
- Planner or calendar organization
- Pantry or home organization
- Family chore charts
- Address and return address labels
Sticker printing can seem intimidating for a first-timer, but once you're familiar with the process, you can focus on the creative aspects of your design. Familiarizing yourself with the intricacies of sticker printing can save you frustration and a lot of money in the end. Now that you understand the step-by-step process, get creating!
Interested in die-cut stickers? Shop custom stickers.
