How To Add Images & Clipart to Your Label Design

Personalize your labels by uploading your own images and adding clipart from our collection. Follow these steps to get started.
How to Add Images
Launch Maestro Label Designer and sign in.
-
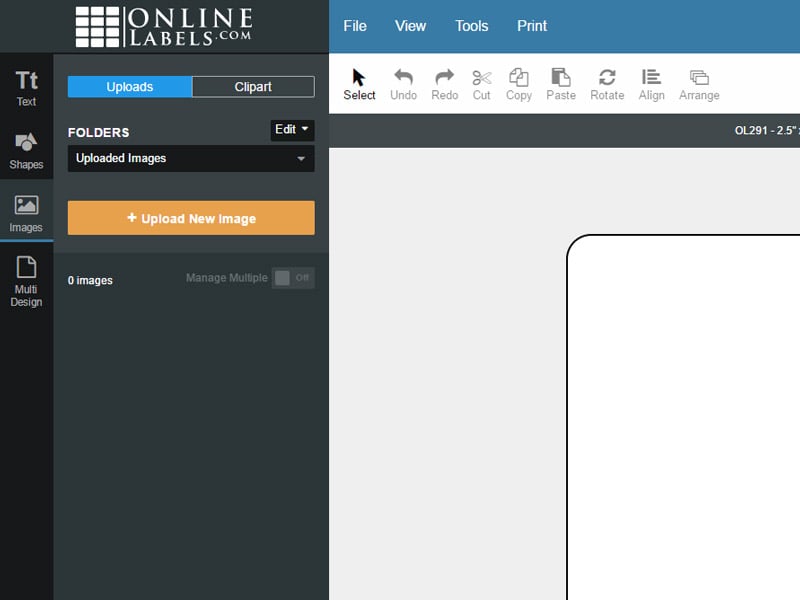
With your label template open, click "Images" in the vertical toolbar to the left of your label and then "+Upload New Image."
-
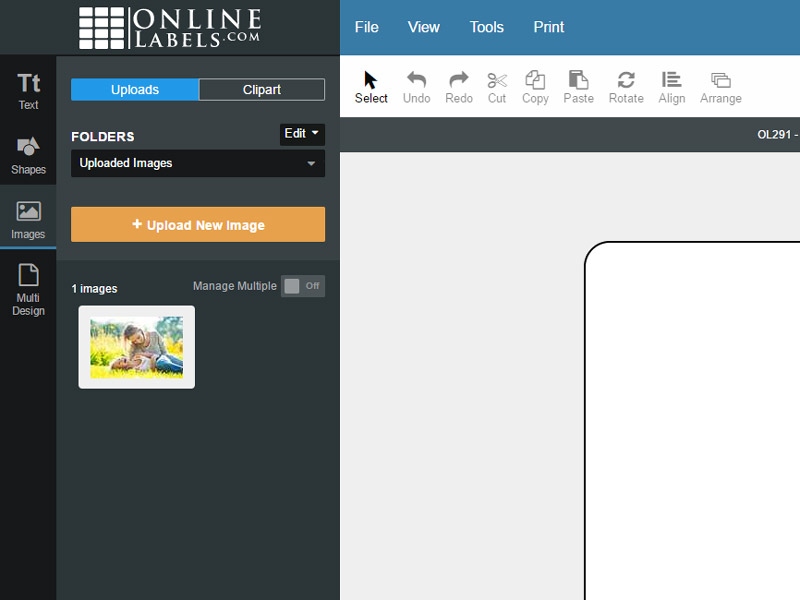
Select the photo you would like to upload and click "Open."
Note: Some photos may look blurry within Maestro Label Designer. If your photo is of a high resolution, Maestro Label Designer may optimize it on-screen to help with program performance. This won't have any effect on your print quality.
-
Locate your image below the "+Upload New Image" button, click on it to add it to your design.
How to Add Clipart
Launch Maestro Label Designer and sign in.
-
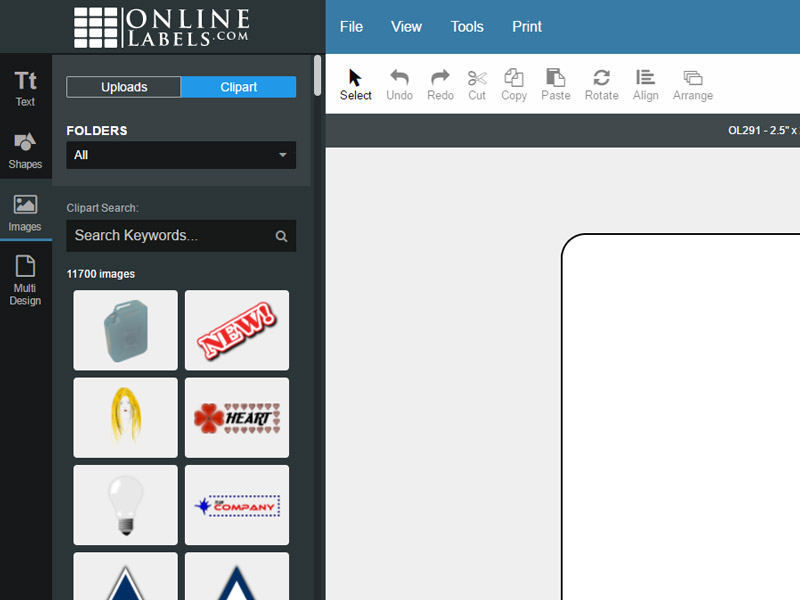
With your label template open, click "Images" in the vertical toolbar to the left of your label.
-
Switch between the "Uploads" and "Clipart" tabs at the top of the gray panel.
Use the search bar to narrow your search or scroll through the "Folders" dropdown to view the files by category.
-
Find a clipart file you like, click on it to add it to your design.
Note: Purchased clipart files from the old version of Maestro Label Designer are filed under "Purchased Images."
If you need additional help adding images and clipart to your design, our support team is available at 1-888-575-2235.
